
Sites
Partner can create as many sites as they want for on-location identification. Sites are added by partners and linked with at Agents (at least one). Below are the steps to add sites in the partner panel.
Steps to add a site in partner panel
- Partner after login into their panel, can create any event, site or add an agent from the left sidebar under 1:OLI, as shown below. To add site Go to Sites from the left sidebar.
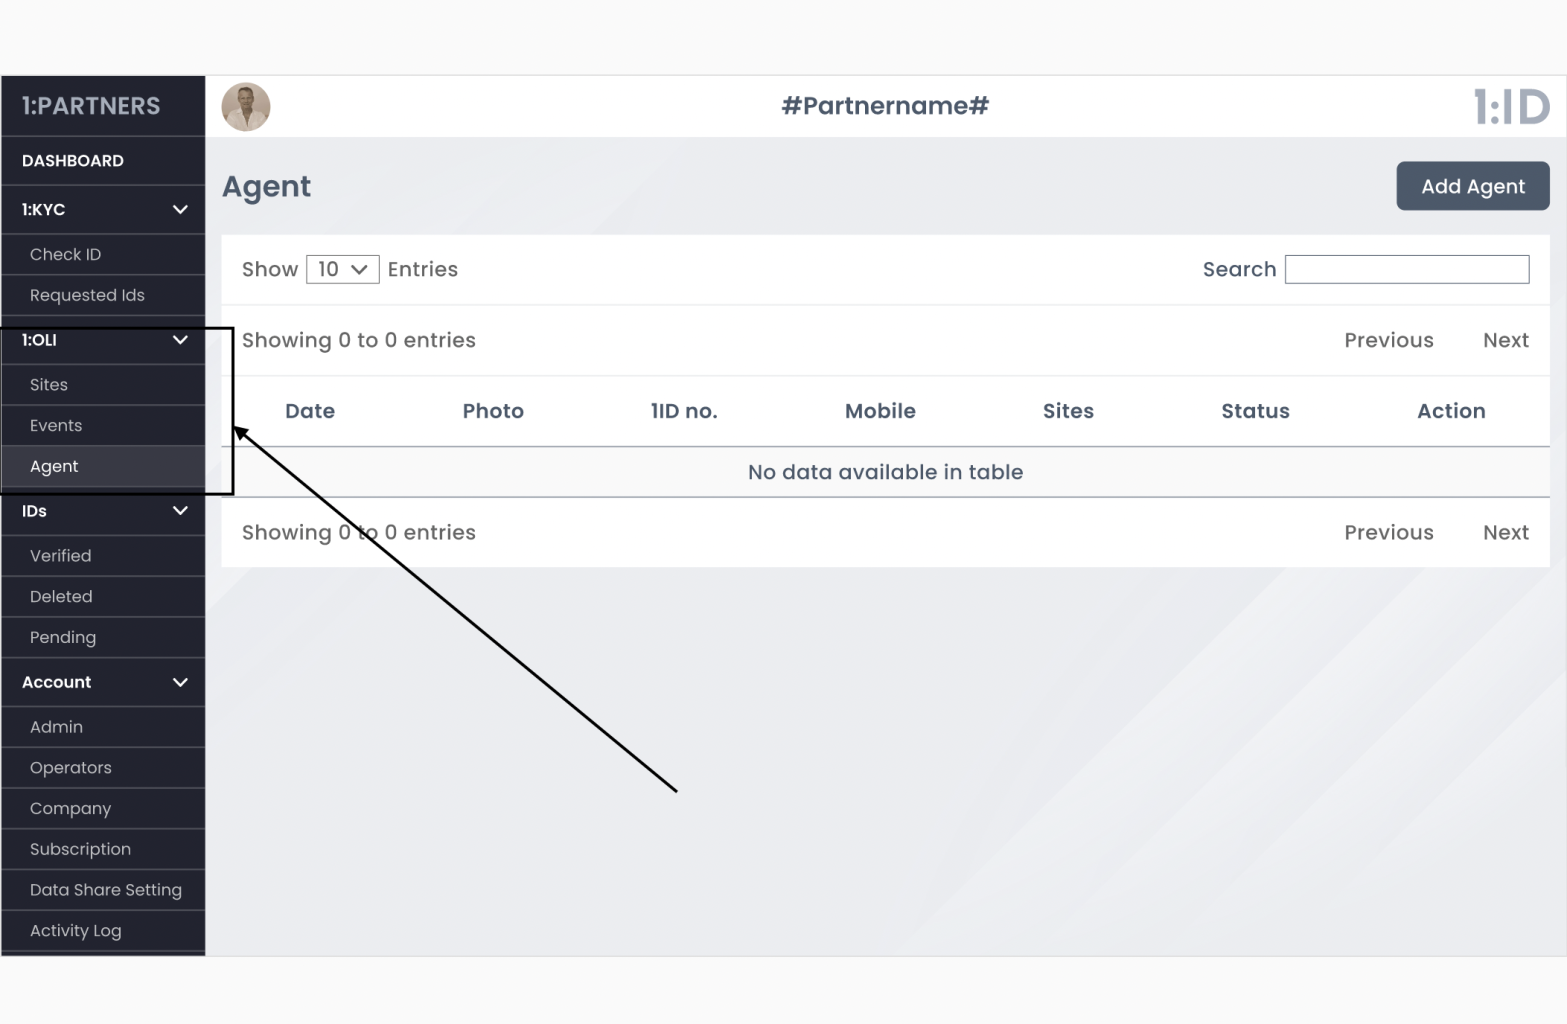
- Click on Add Site button from the top right corner of the page.
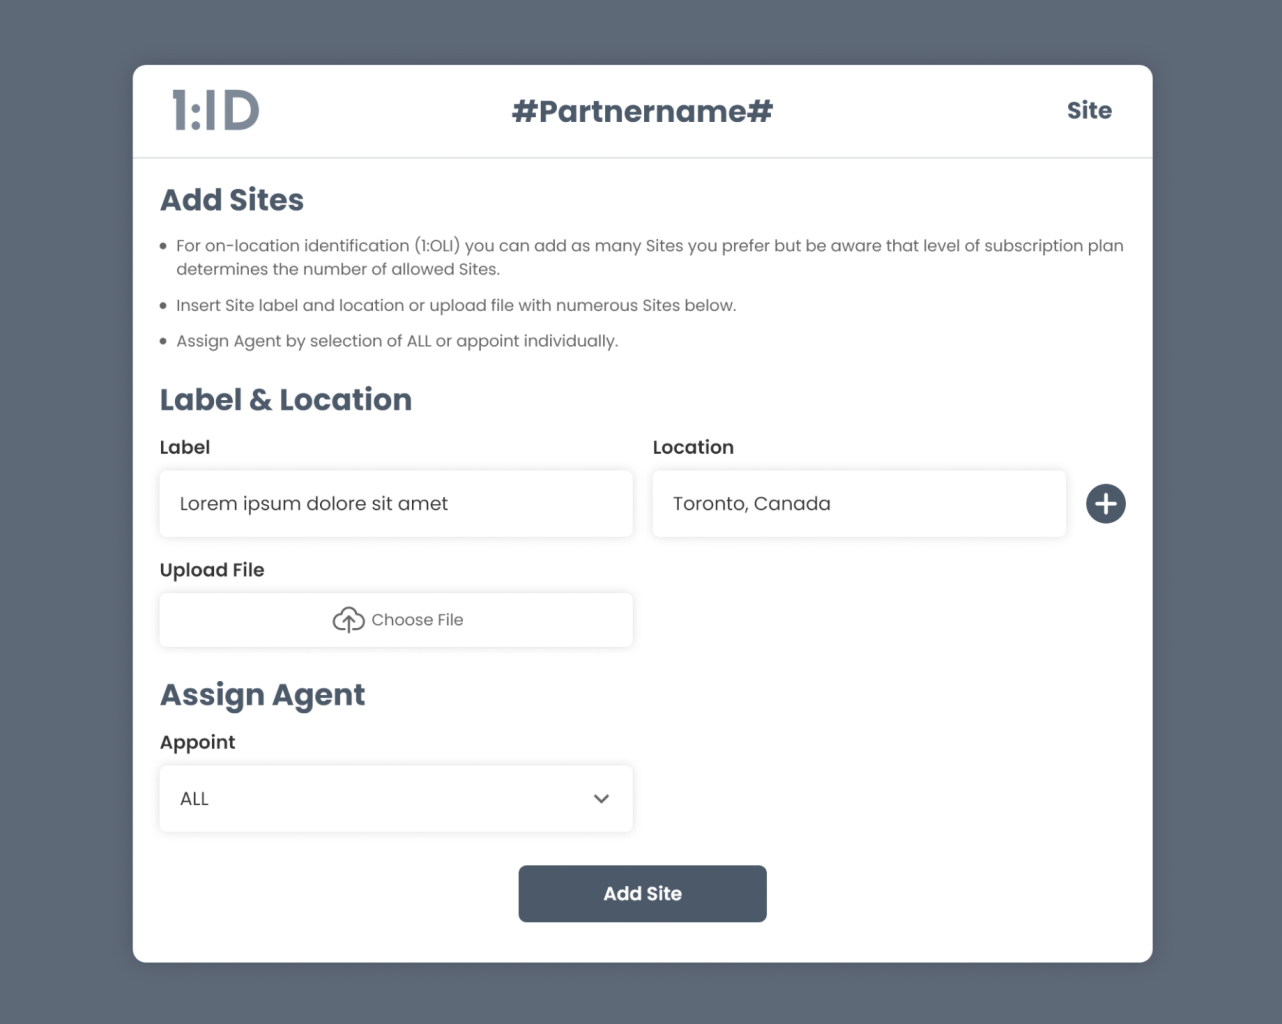
- Insert site label and location or upload a file with numerous site information as shown below. Assign an agent to a site as well. At lease one agent will be linked with any created site. All the agents that partner has added from the panel will be displayed here in the dropdown while selecting one.
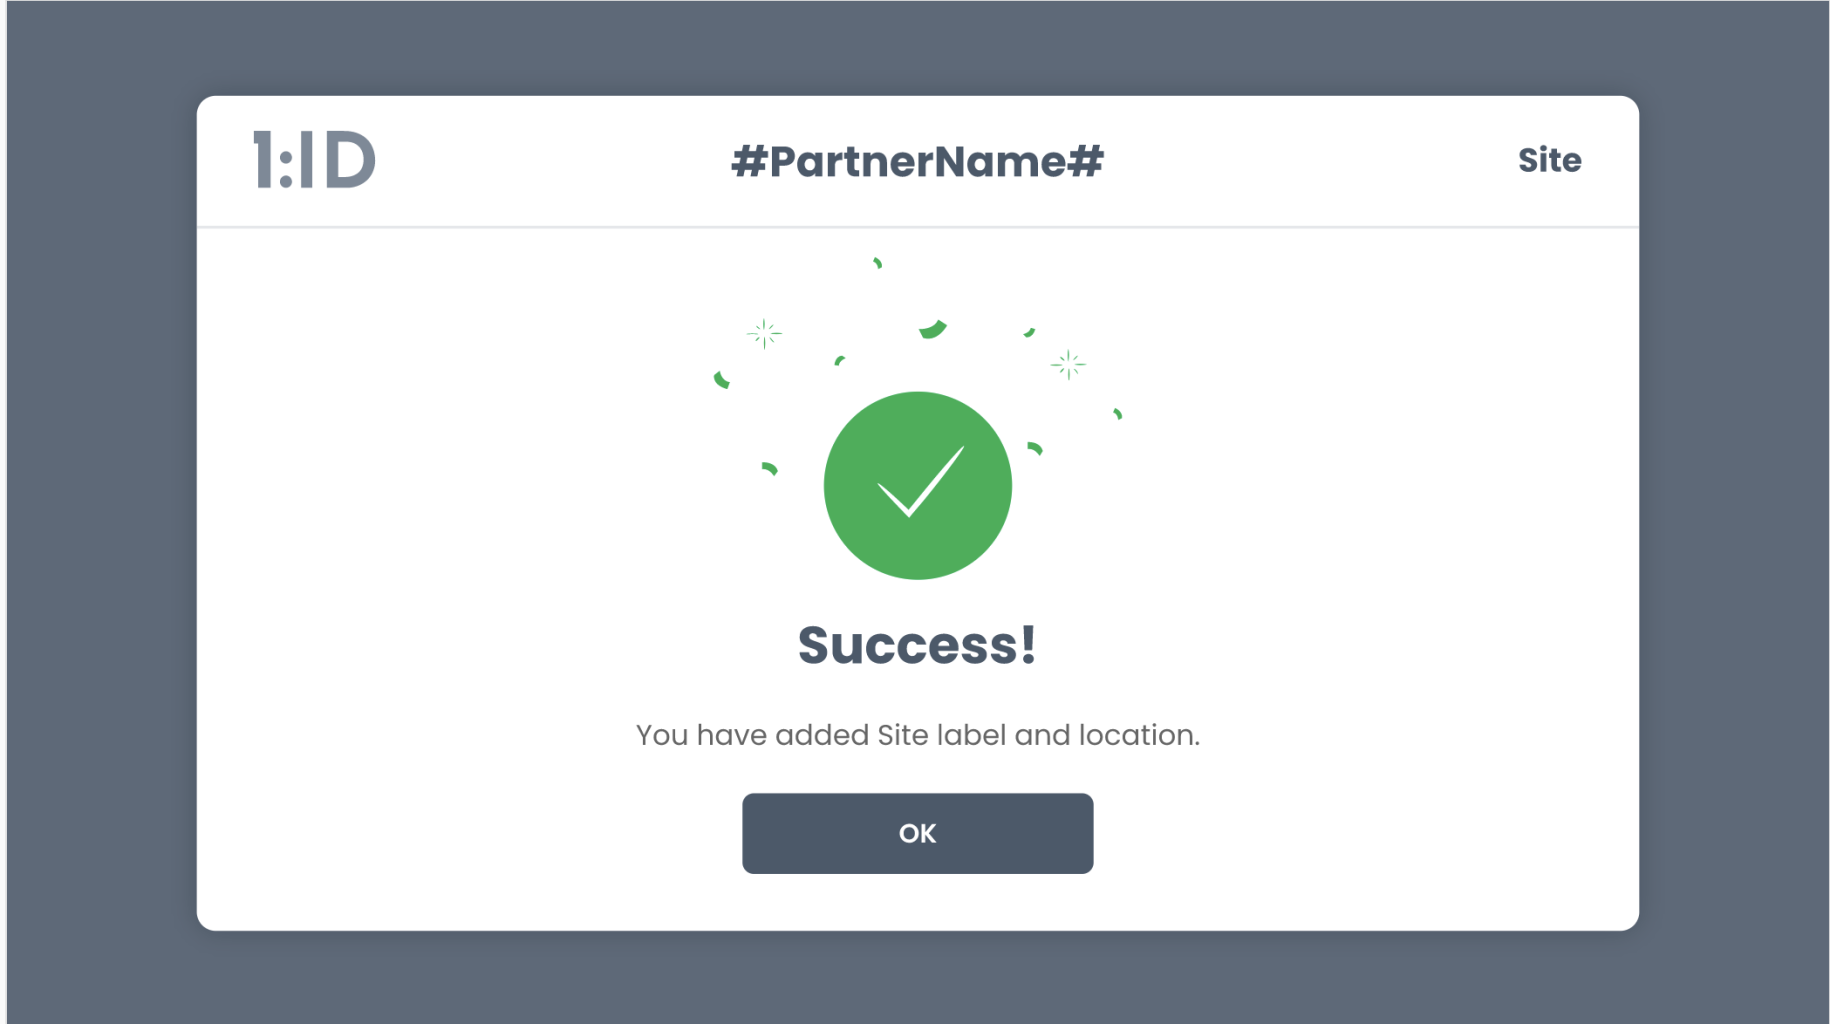
- Upon successfully adding site, partner will receive below success dialog box.
Steps for an agent to activate site
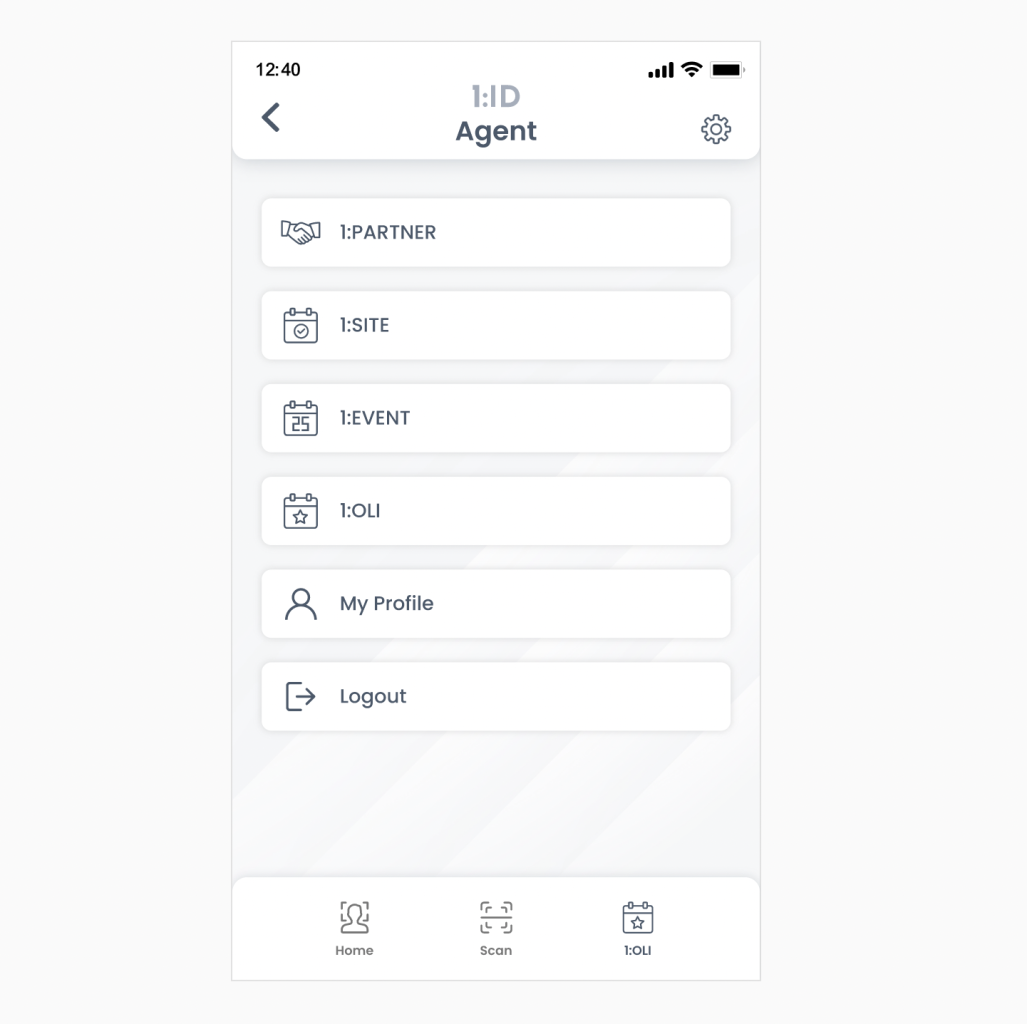
- After successfully logged in 1:OLI application, click on 1:SITE as shown below.
- All the sites assigned to the agent will be displayed as shown below. Site with yellow icon at right end are the ones which are not approved by the agent yet and sites with blue tick mark icon at right end are the ones which agent has approved. Agent can approve only one site at a time.
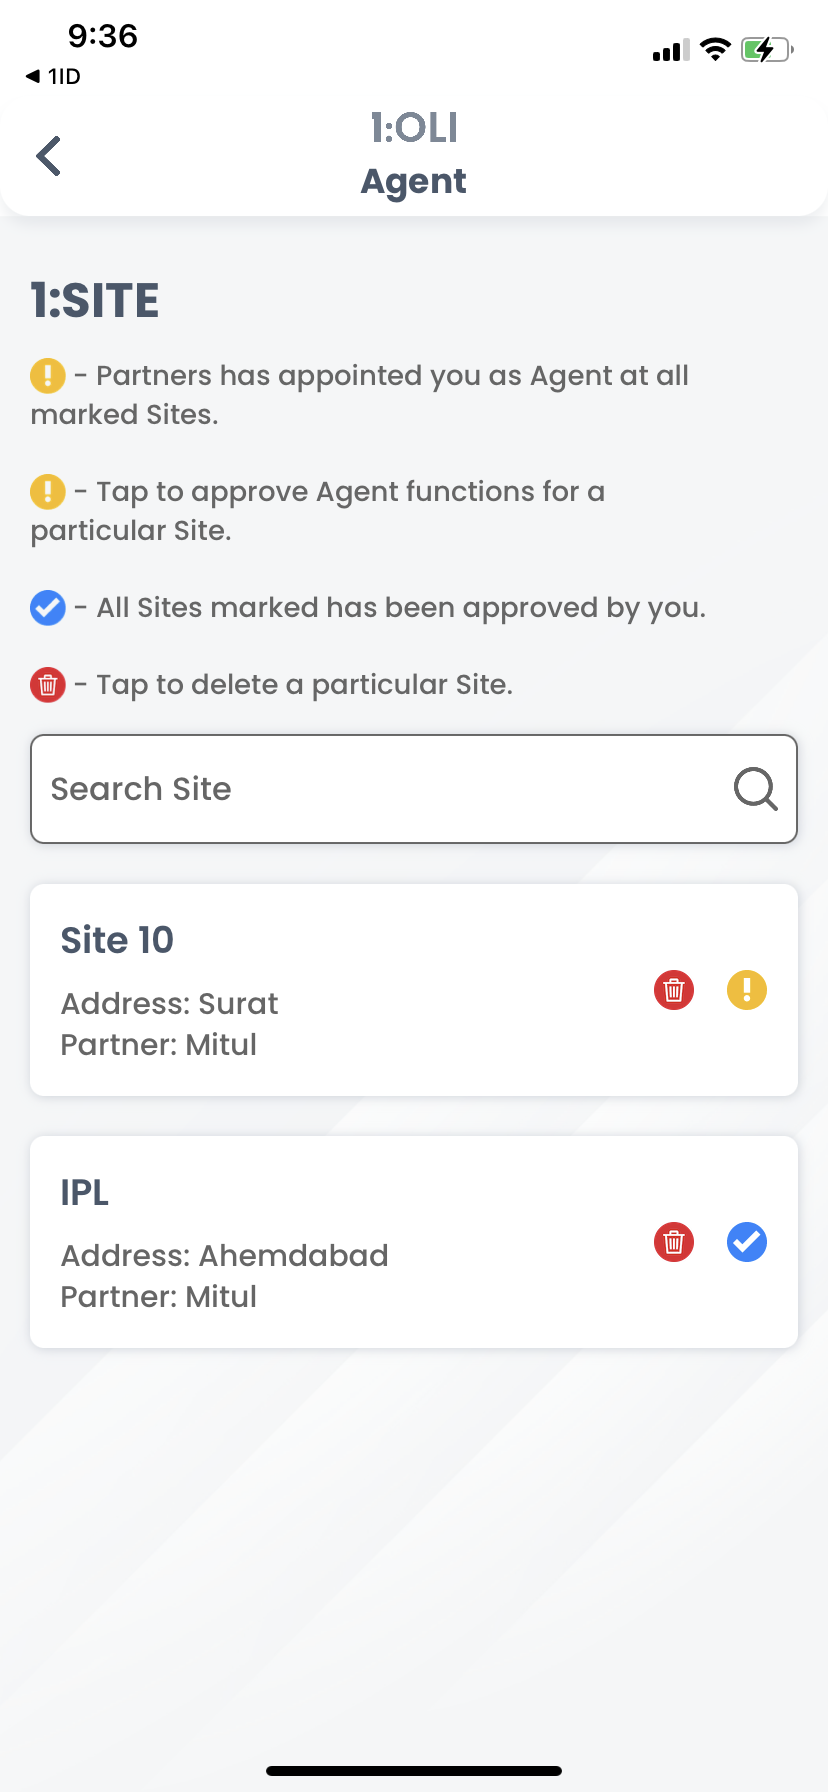
- Click on yellow icon to approve the site.
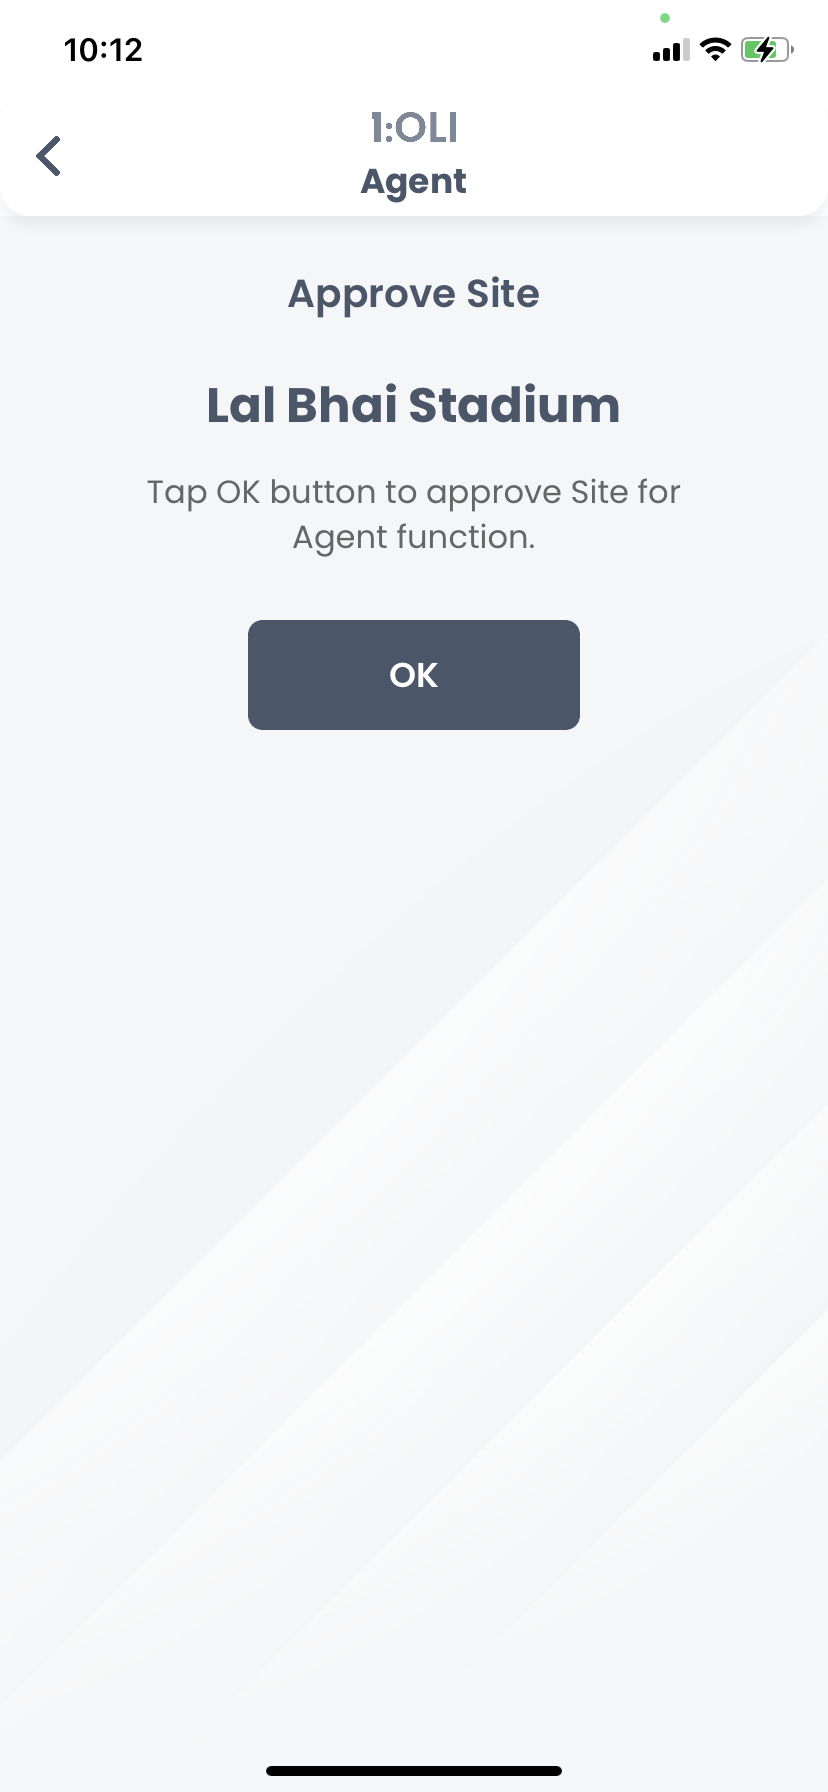
- Click OK to approve the site and agent will get below success dialog box.

- Click on red icon to delete the site in step 2.
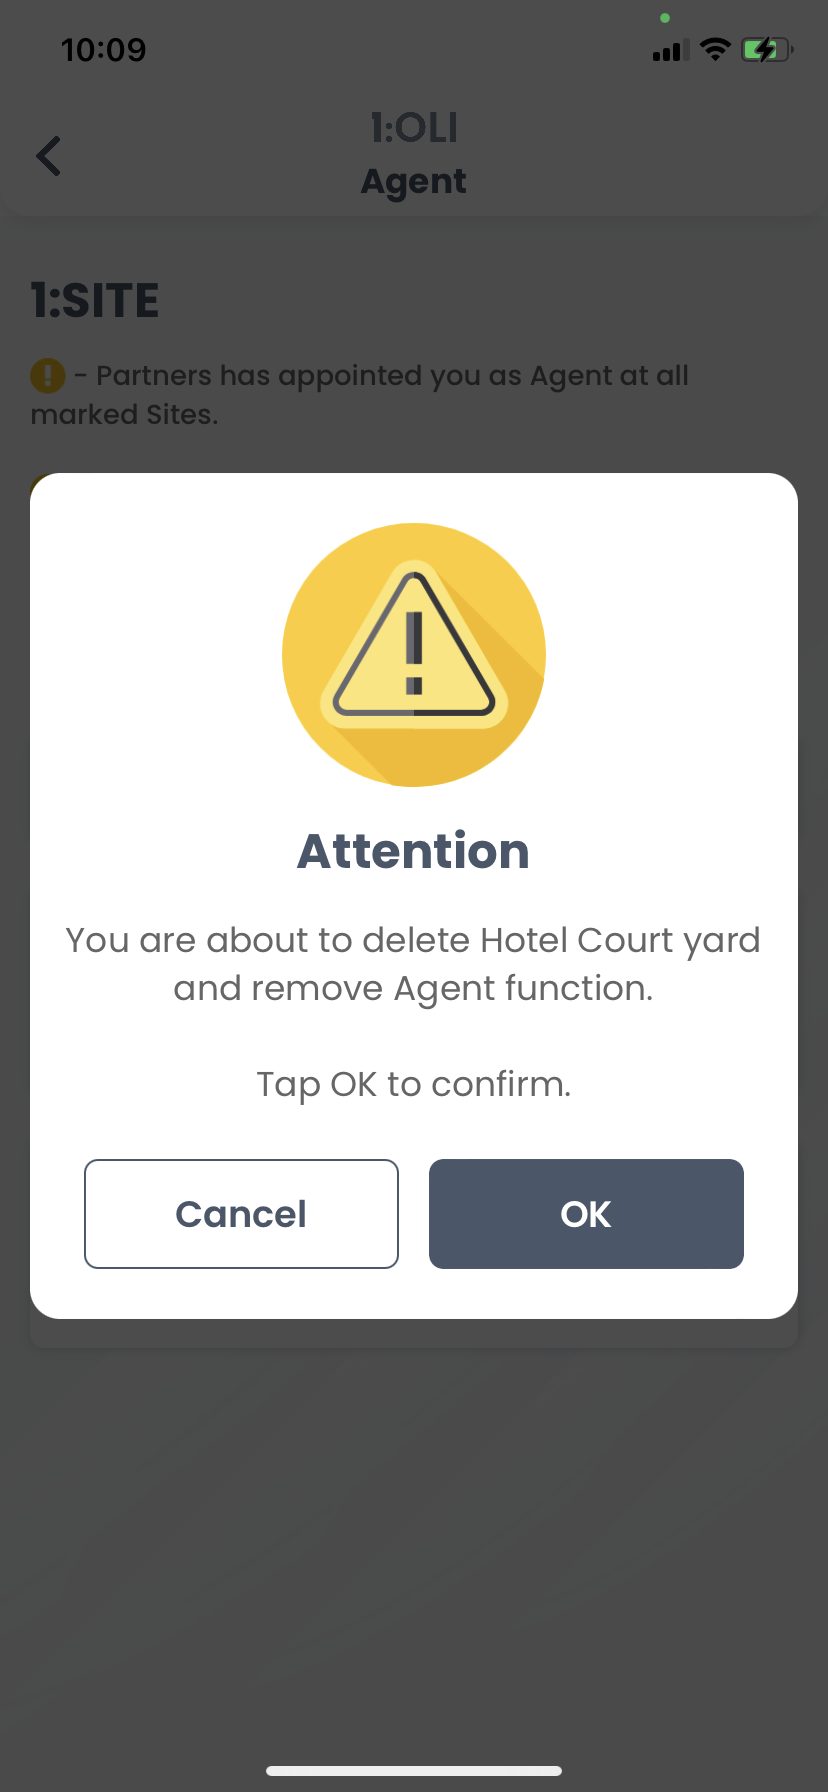
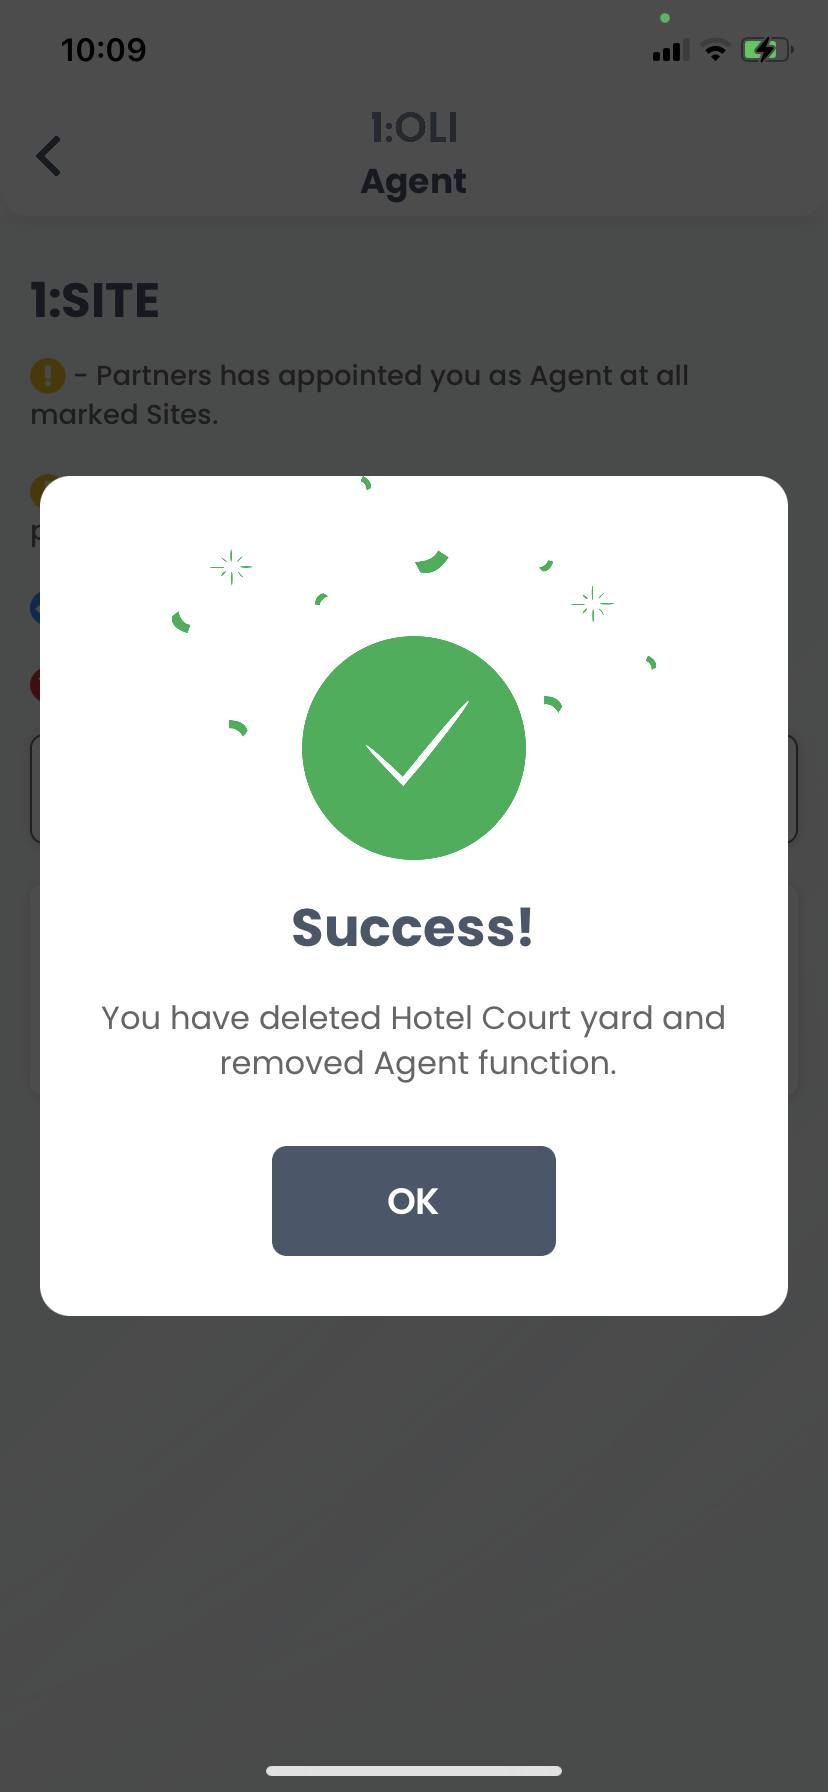
- Click OK to confirm the delete action of the site.
Updated about 3 years ago