
Check ID - 1:KYC
For compliance with KYC and AML regulations or other commercial requirements, you can (manually) ask for automatic identification of any customer or contact remotely.
Steps to achieve the 1:KYC auto identification of customer
-
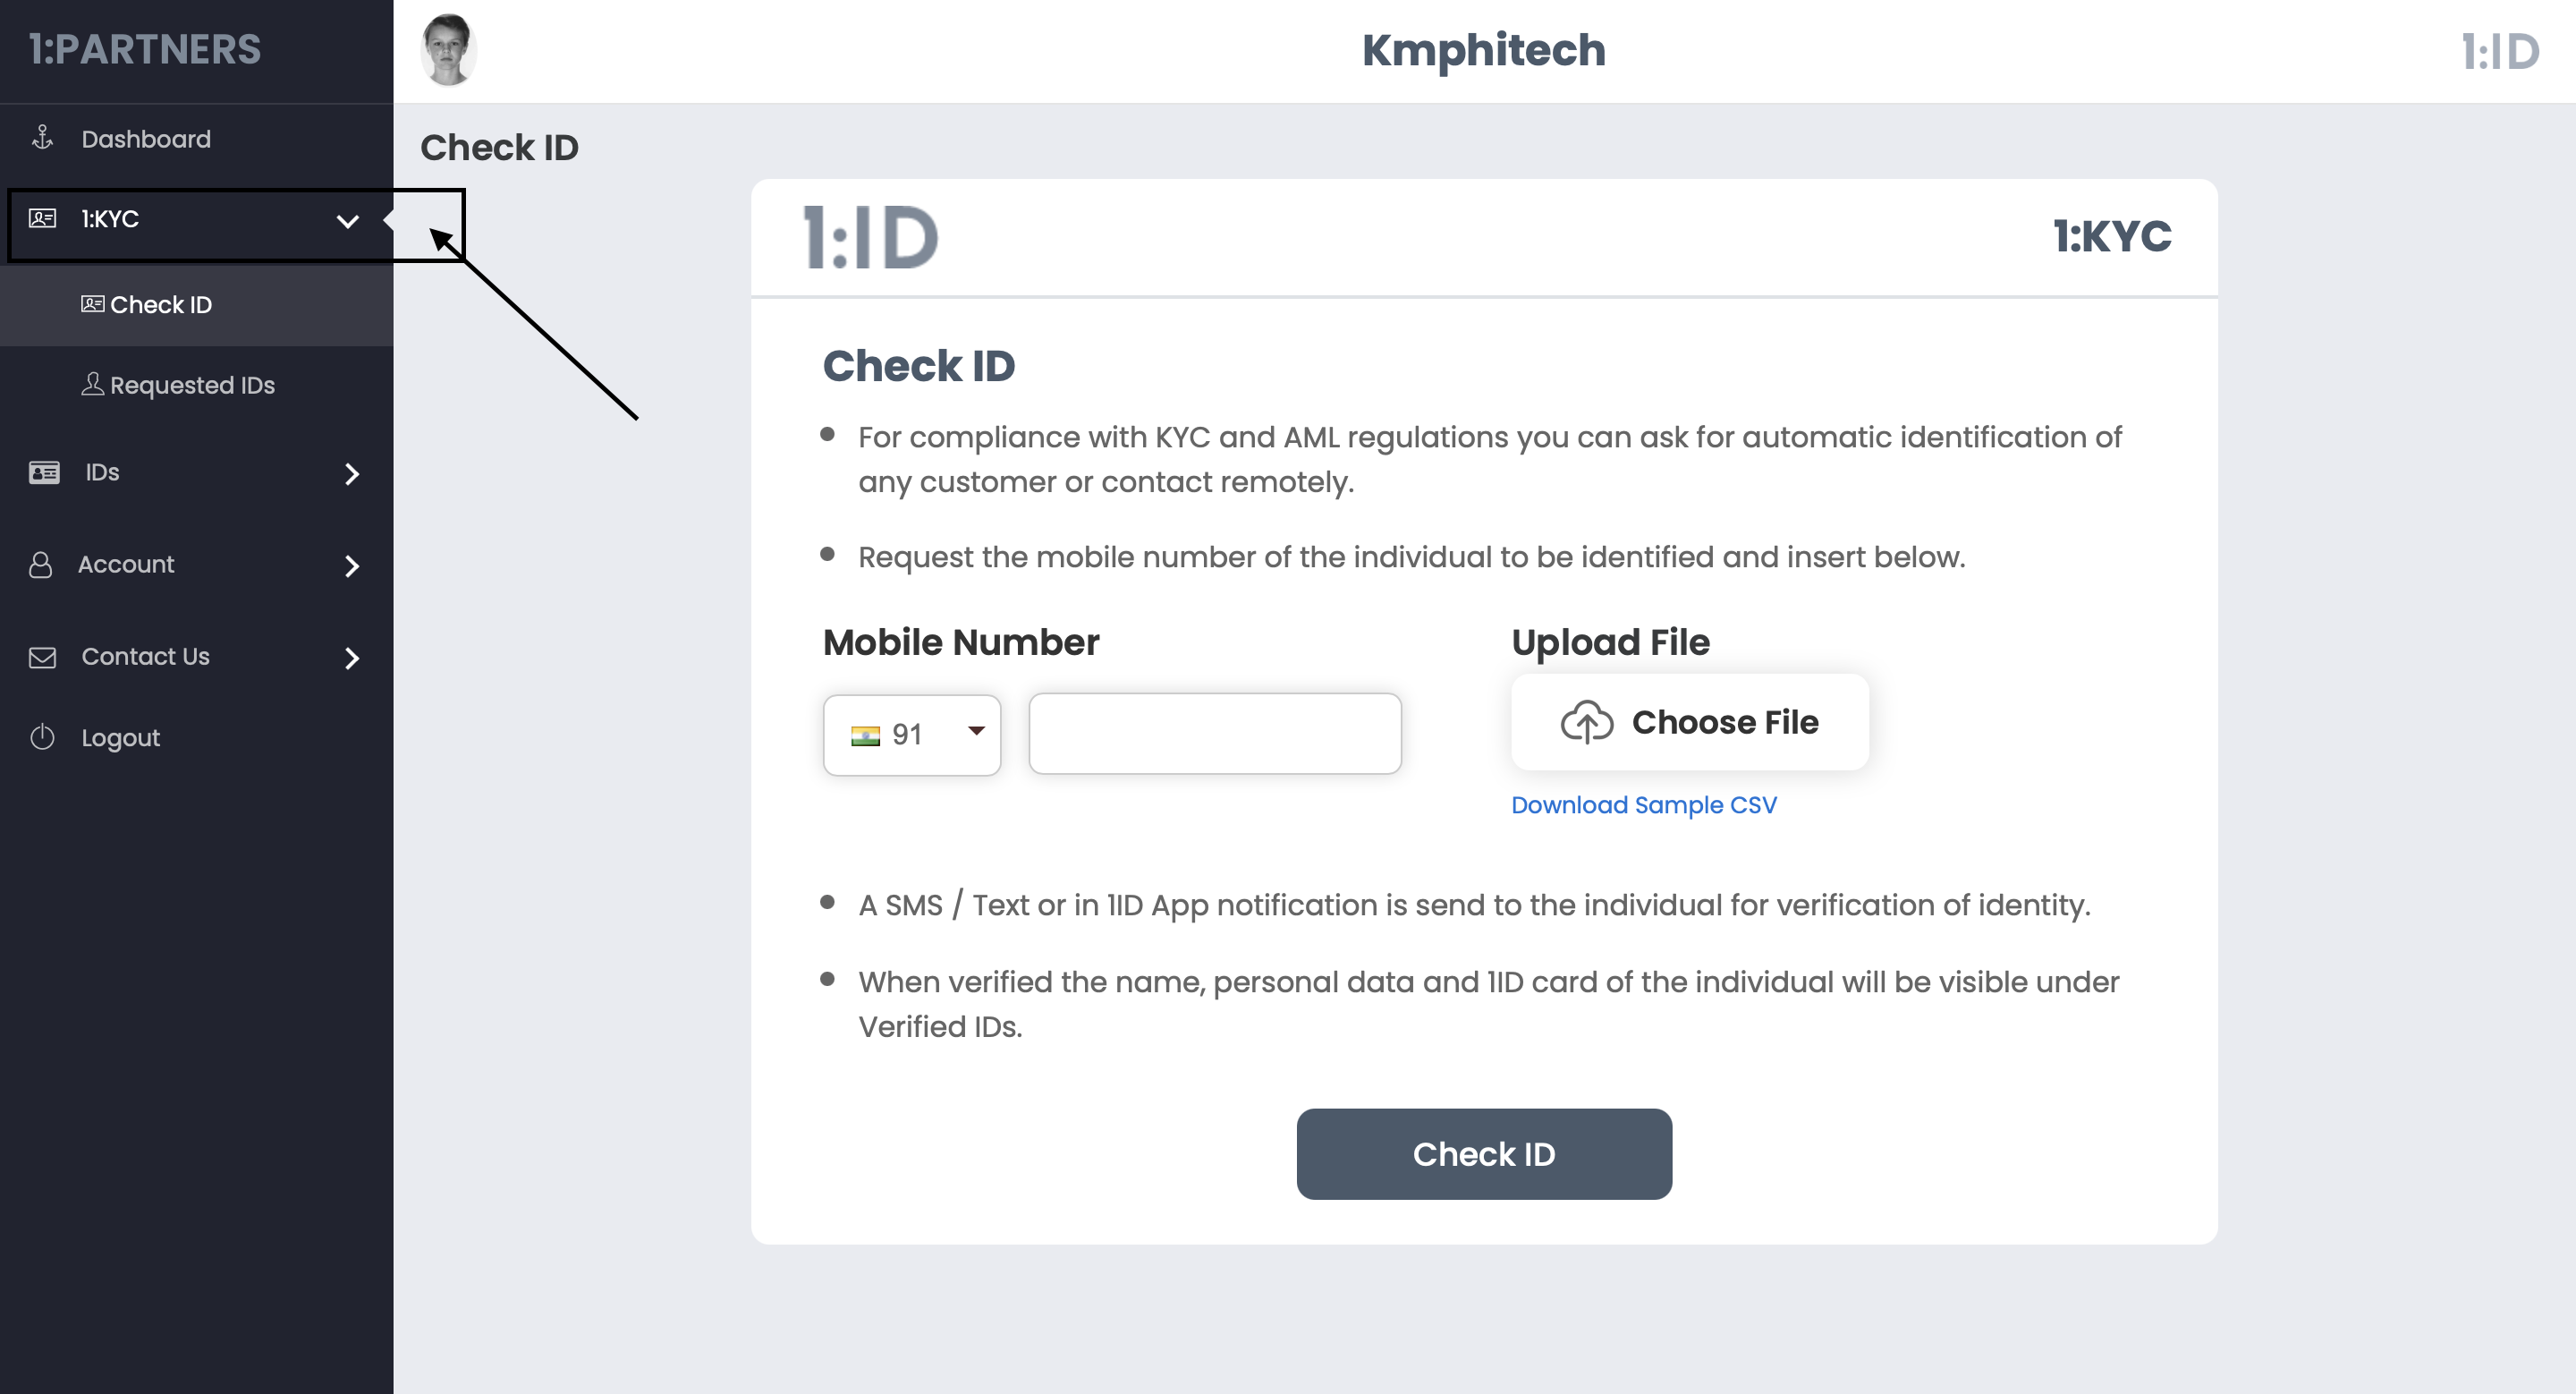
Login to your Partner Panel from 1:ID website. Now click on the 1:KYC function from the left side menu of the Partner Panel as shown in the image. Go to Check ID.
-
Enter the mobile number of an individual you want to identify in the given field.
If you have multiple people to be identified then upload an Excel sheet or a CSV file containing the mobile numbers or email addresses of those individuals and click on Check ID button.
-
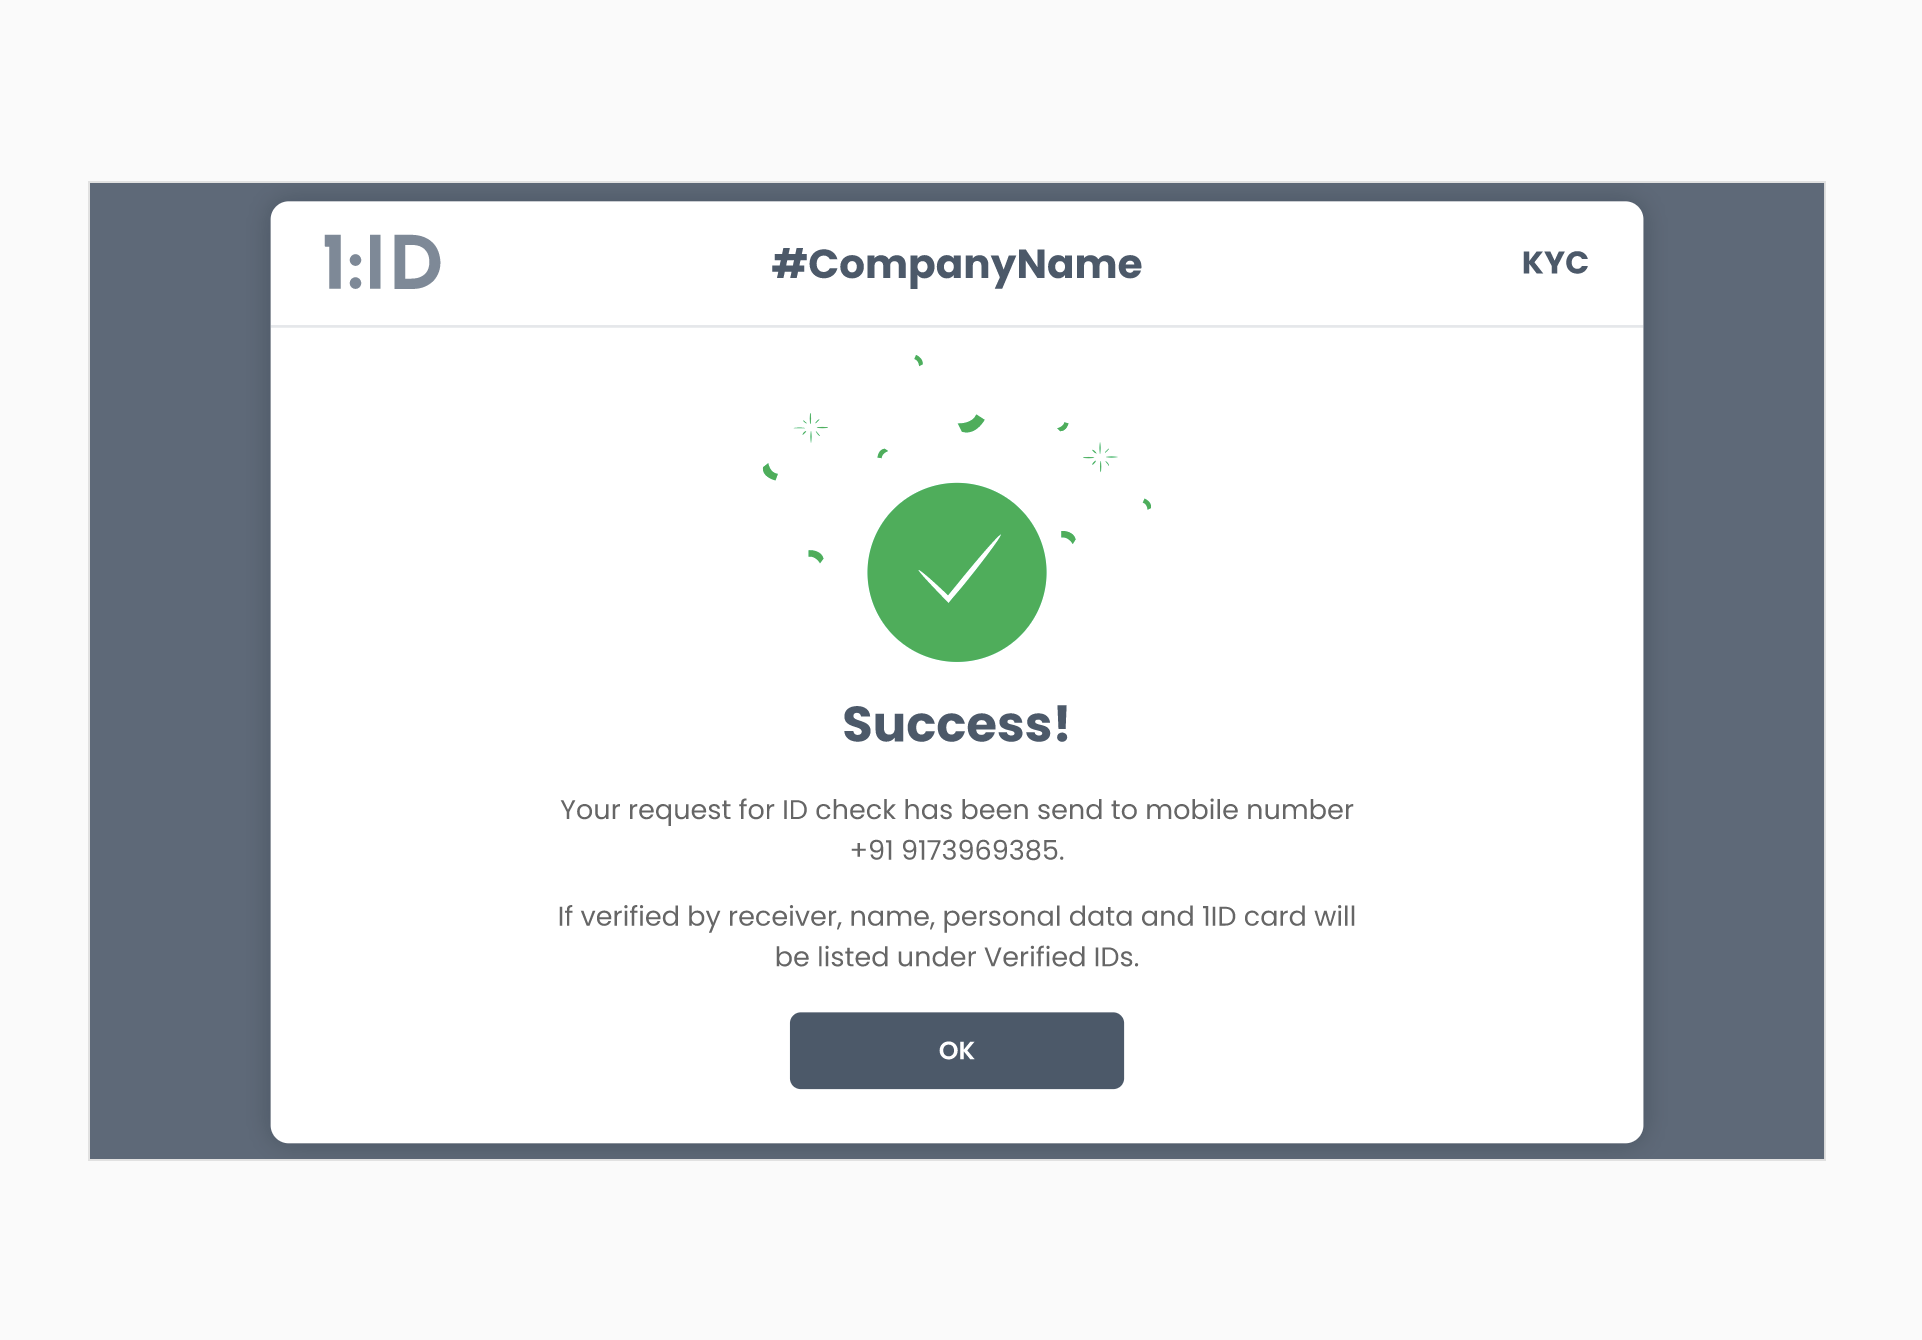
A request for ID check will be sent to the mobile number you've entered or to all individuals in the file uploaded and you will receive a success dialog box on your screen.
-
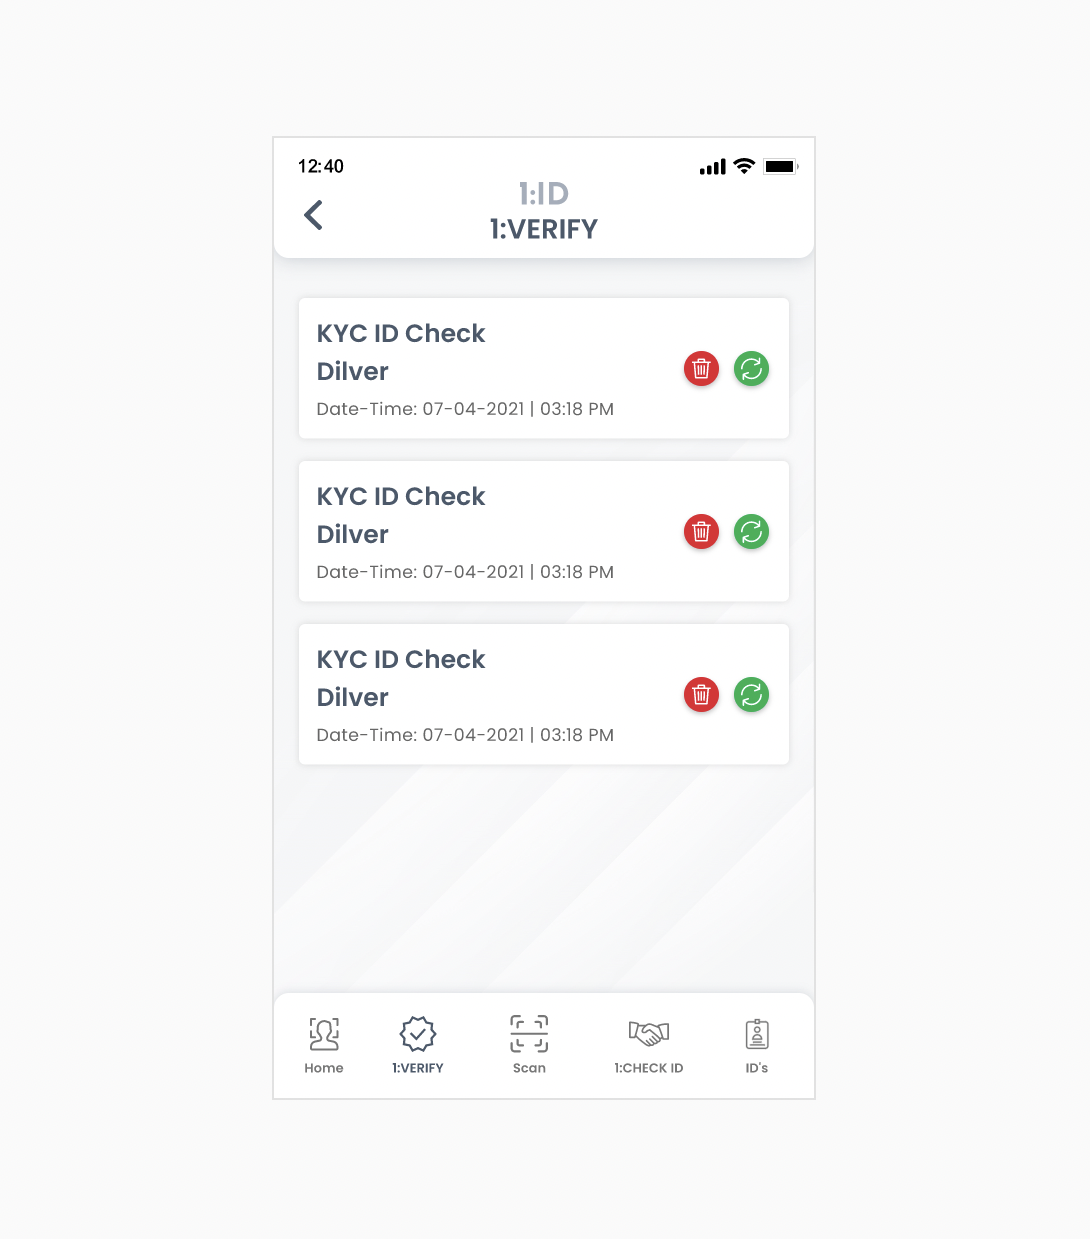
User will receive a request for the ID check in the 1:VERIFY tab from the bottom menu of their 1:ID application. They can either accept it by clicking on a green icon or reject by clicking on a red bin icon. Note that the Dilver here in the below image is the company name which has requested for the ID check.
-
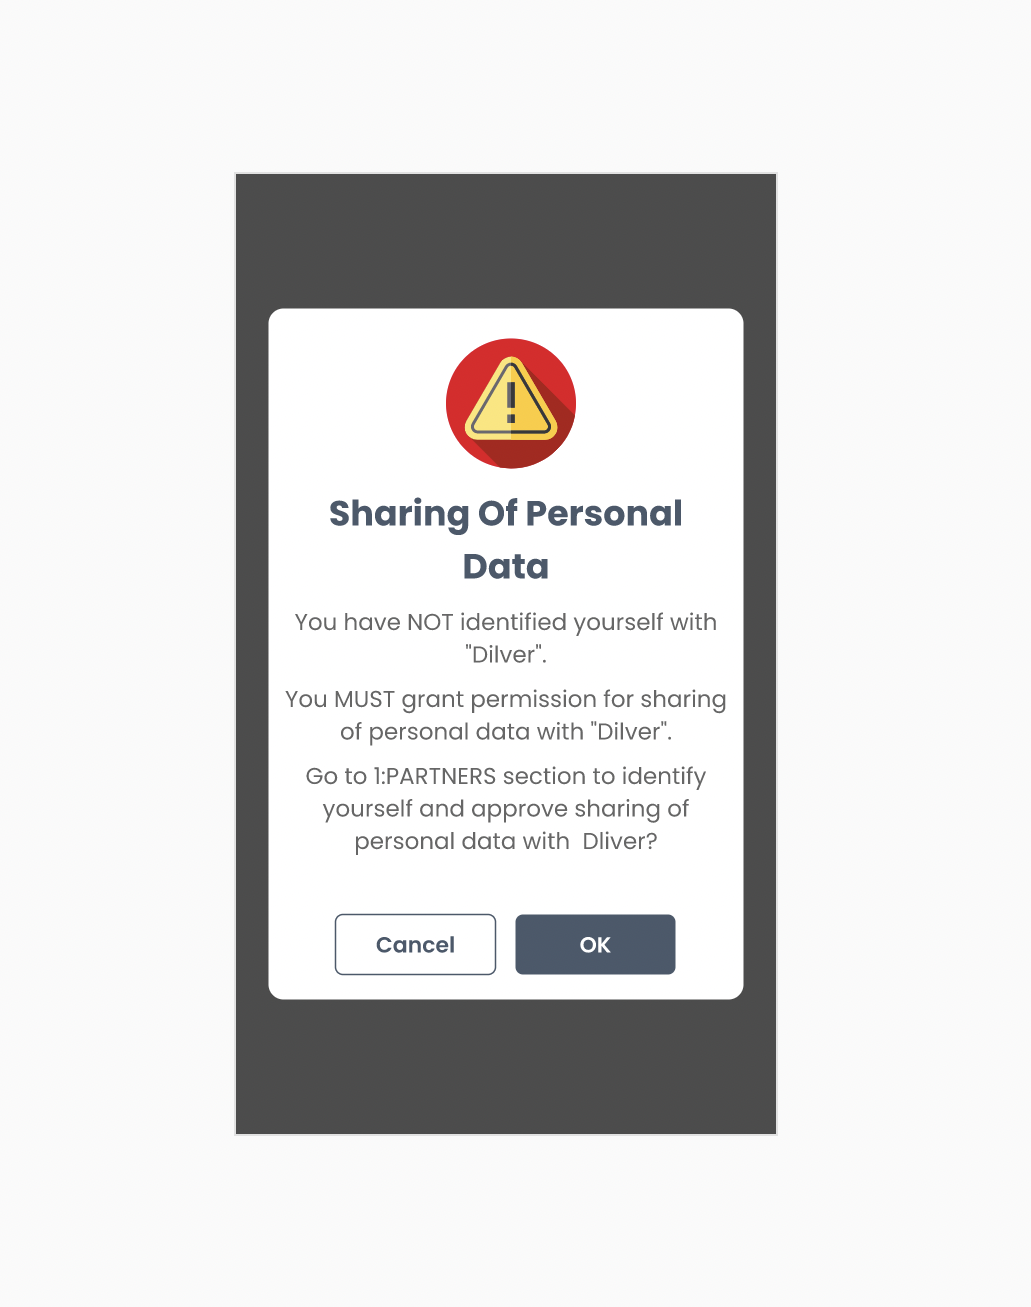
While accepting the request from the above screen, when user has not yet identified himself with your company, he will be prompted below alert dialog box to grant permission of sharing his personal data with your company, for which user will have to click on the Setting icon on the top right corner of the app and go to 1:PARTNERS section to identified himself and sharing his personal data with the company.
-
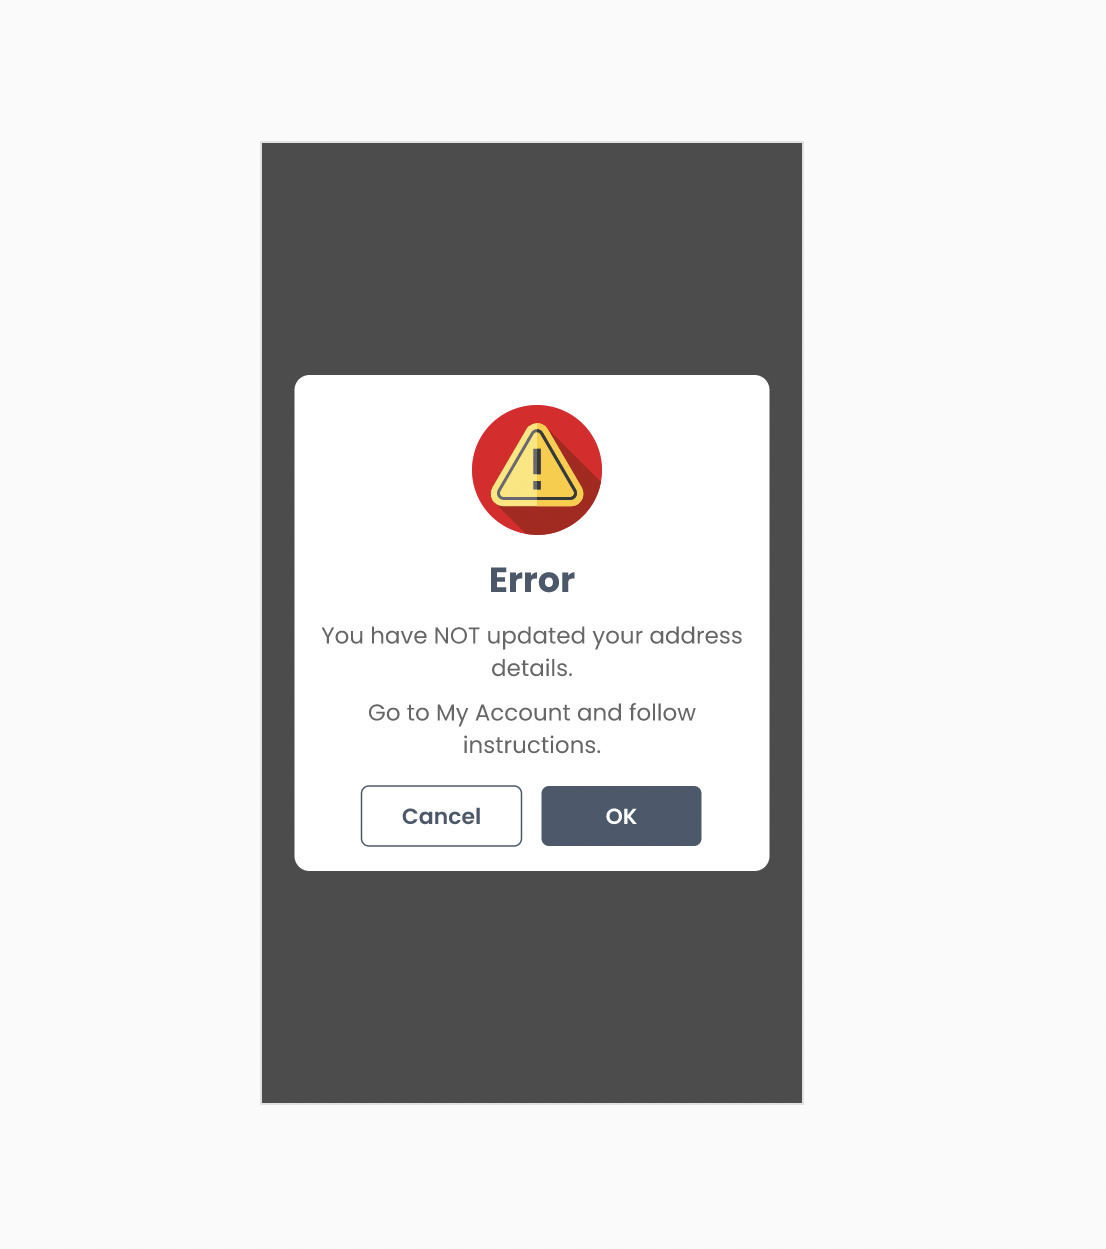
If user has not added/updated his Address, below alert dialog box will be prompted.
-
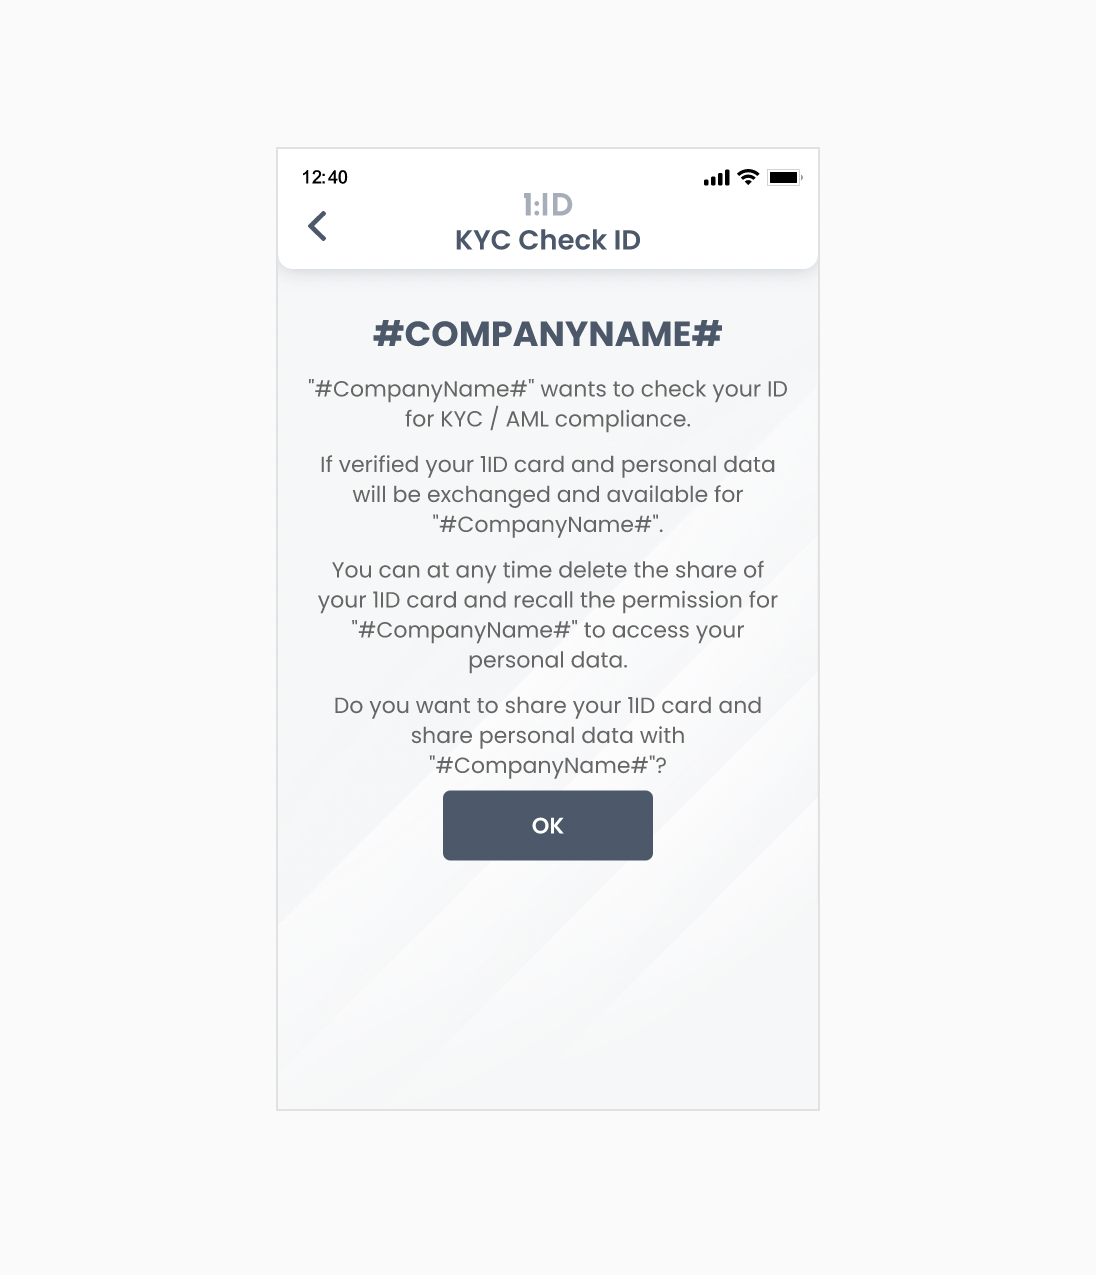
After successfully updating his address & giving permission to access his personal information to the company, user will get the screen below for the Check ID request for which user can withdraw the access anytime in the future.
-
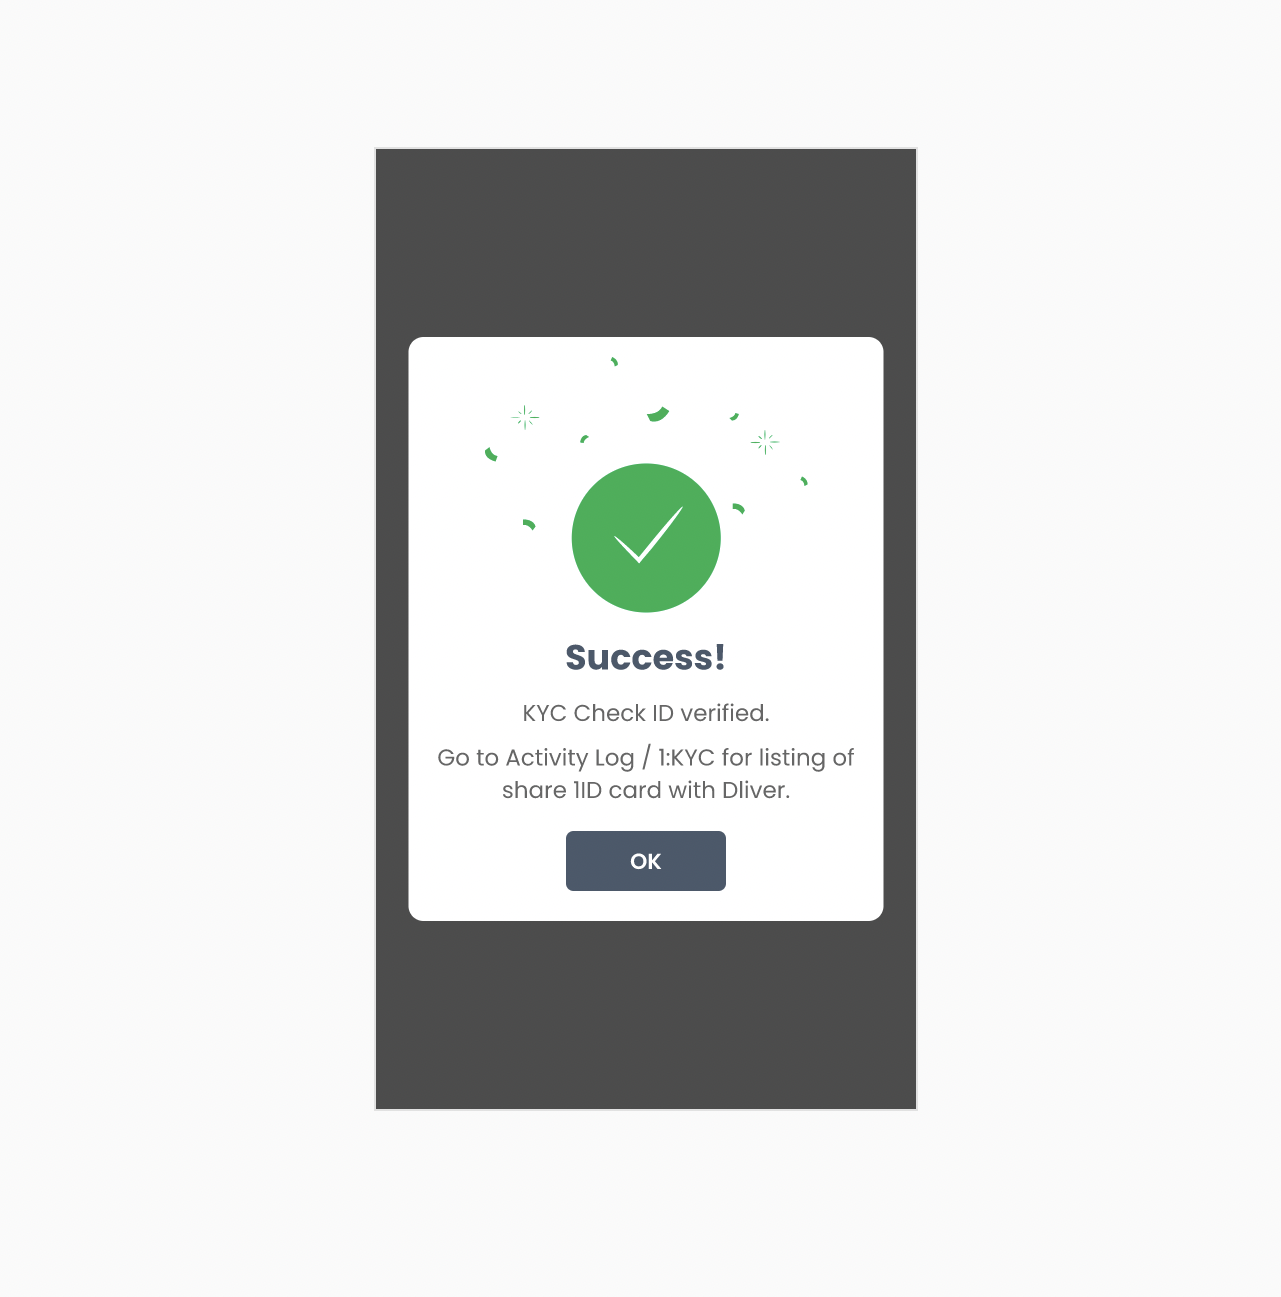
Upon clicking on OK button at the bottom of the above screen, the Check ID will be verified successfully and the personal information of the user will be shared with the company.
-
User can see the companies he has given permission of auto identification 1:KYC to, in the page 1:KYC. Click on the Setting icon on the top right corner of the app and go to 1:KYC section.
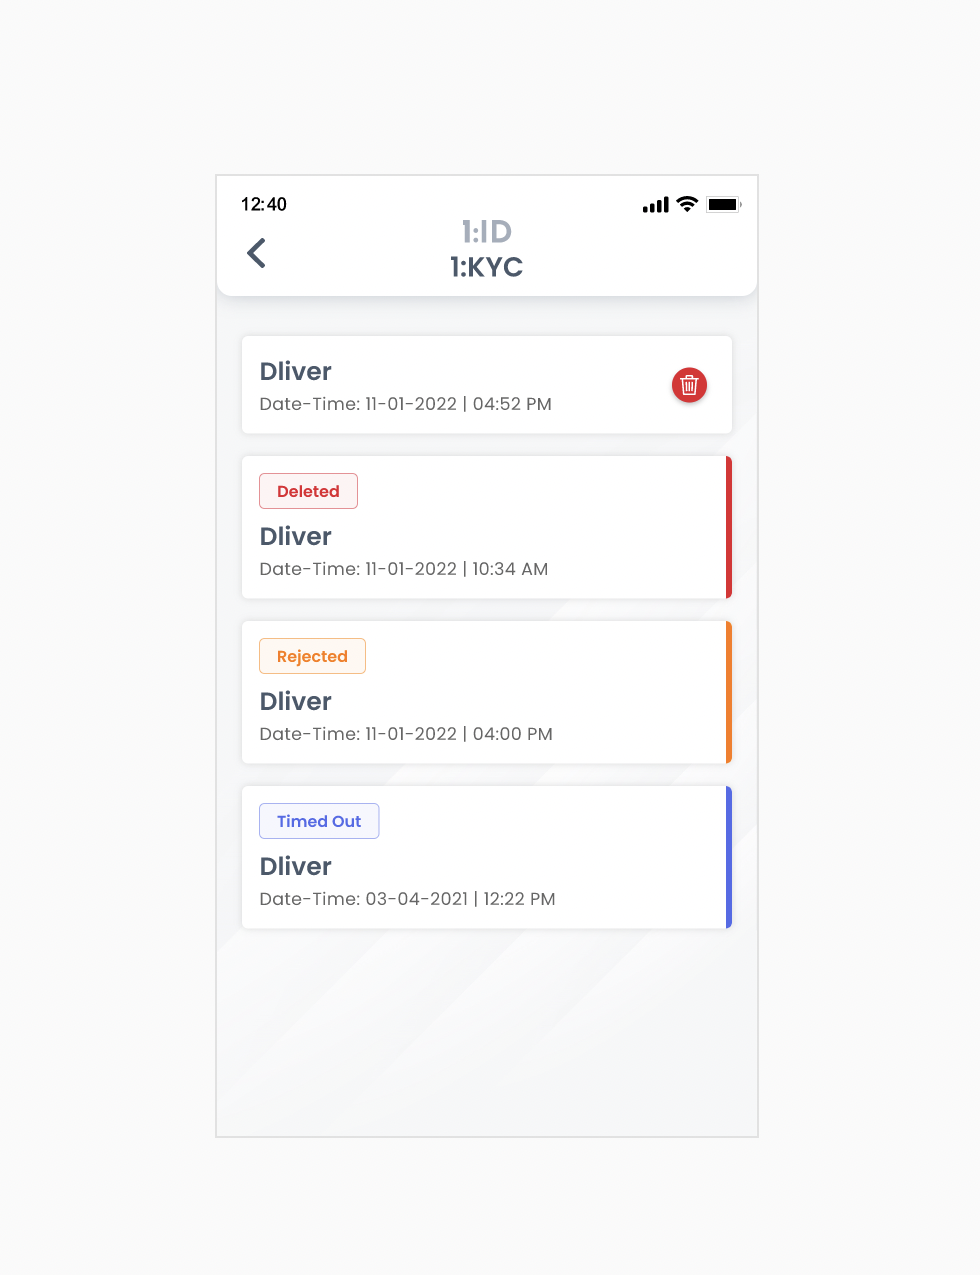
In the above screen, the first represents that user has approved the request of Check ID from the company 'Dliver'. User can delete it anytime by clicking on the Bin icon at the right side of the tab.
The Deleted, Rejected and Timed Out request will be displayed as shown above.