
Control Panel
Partner Control Panel
1 Dashboard
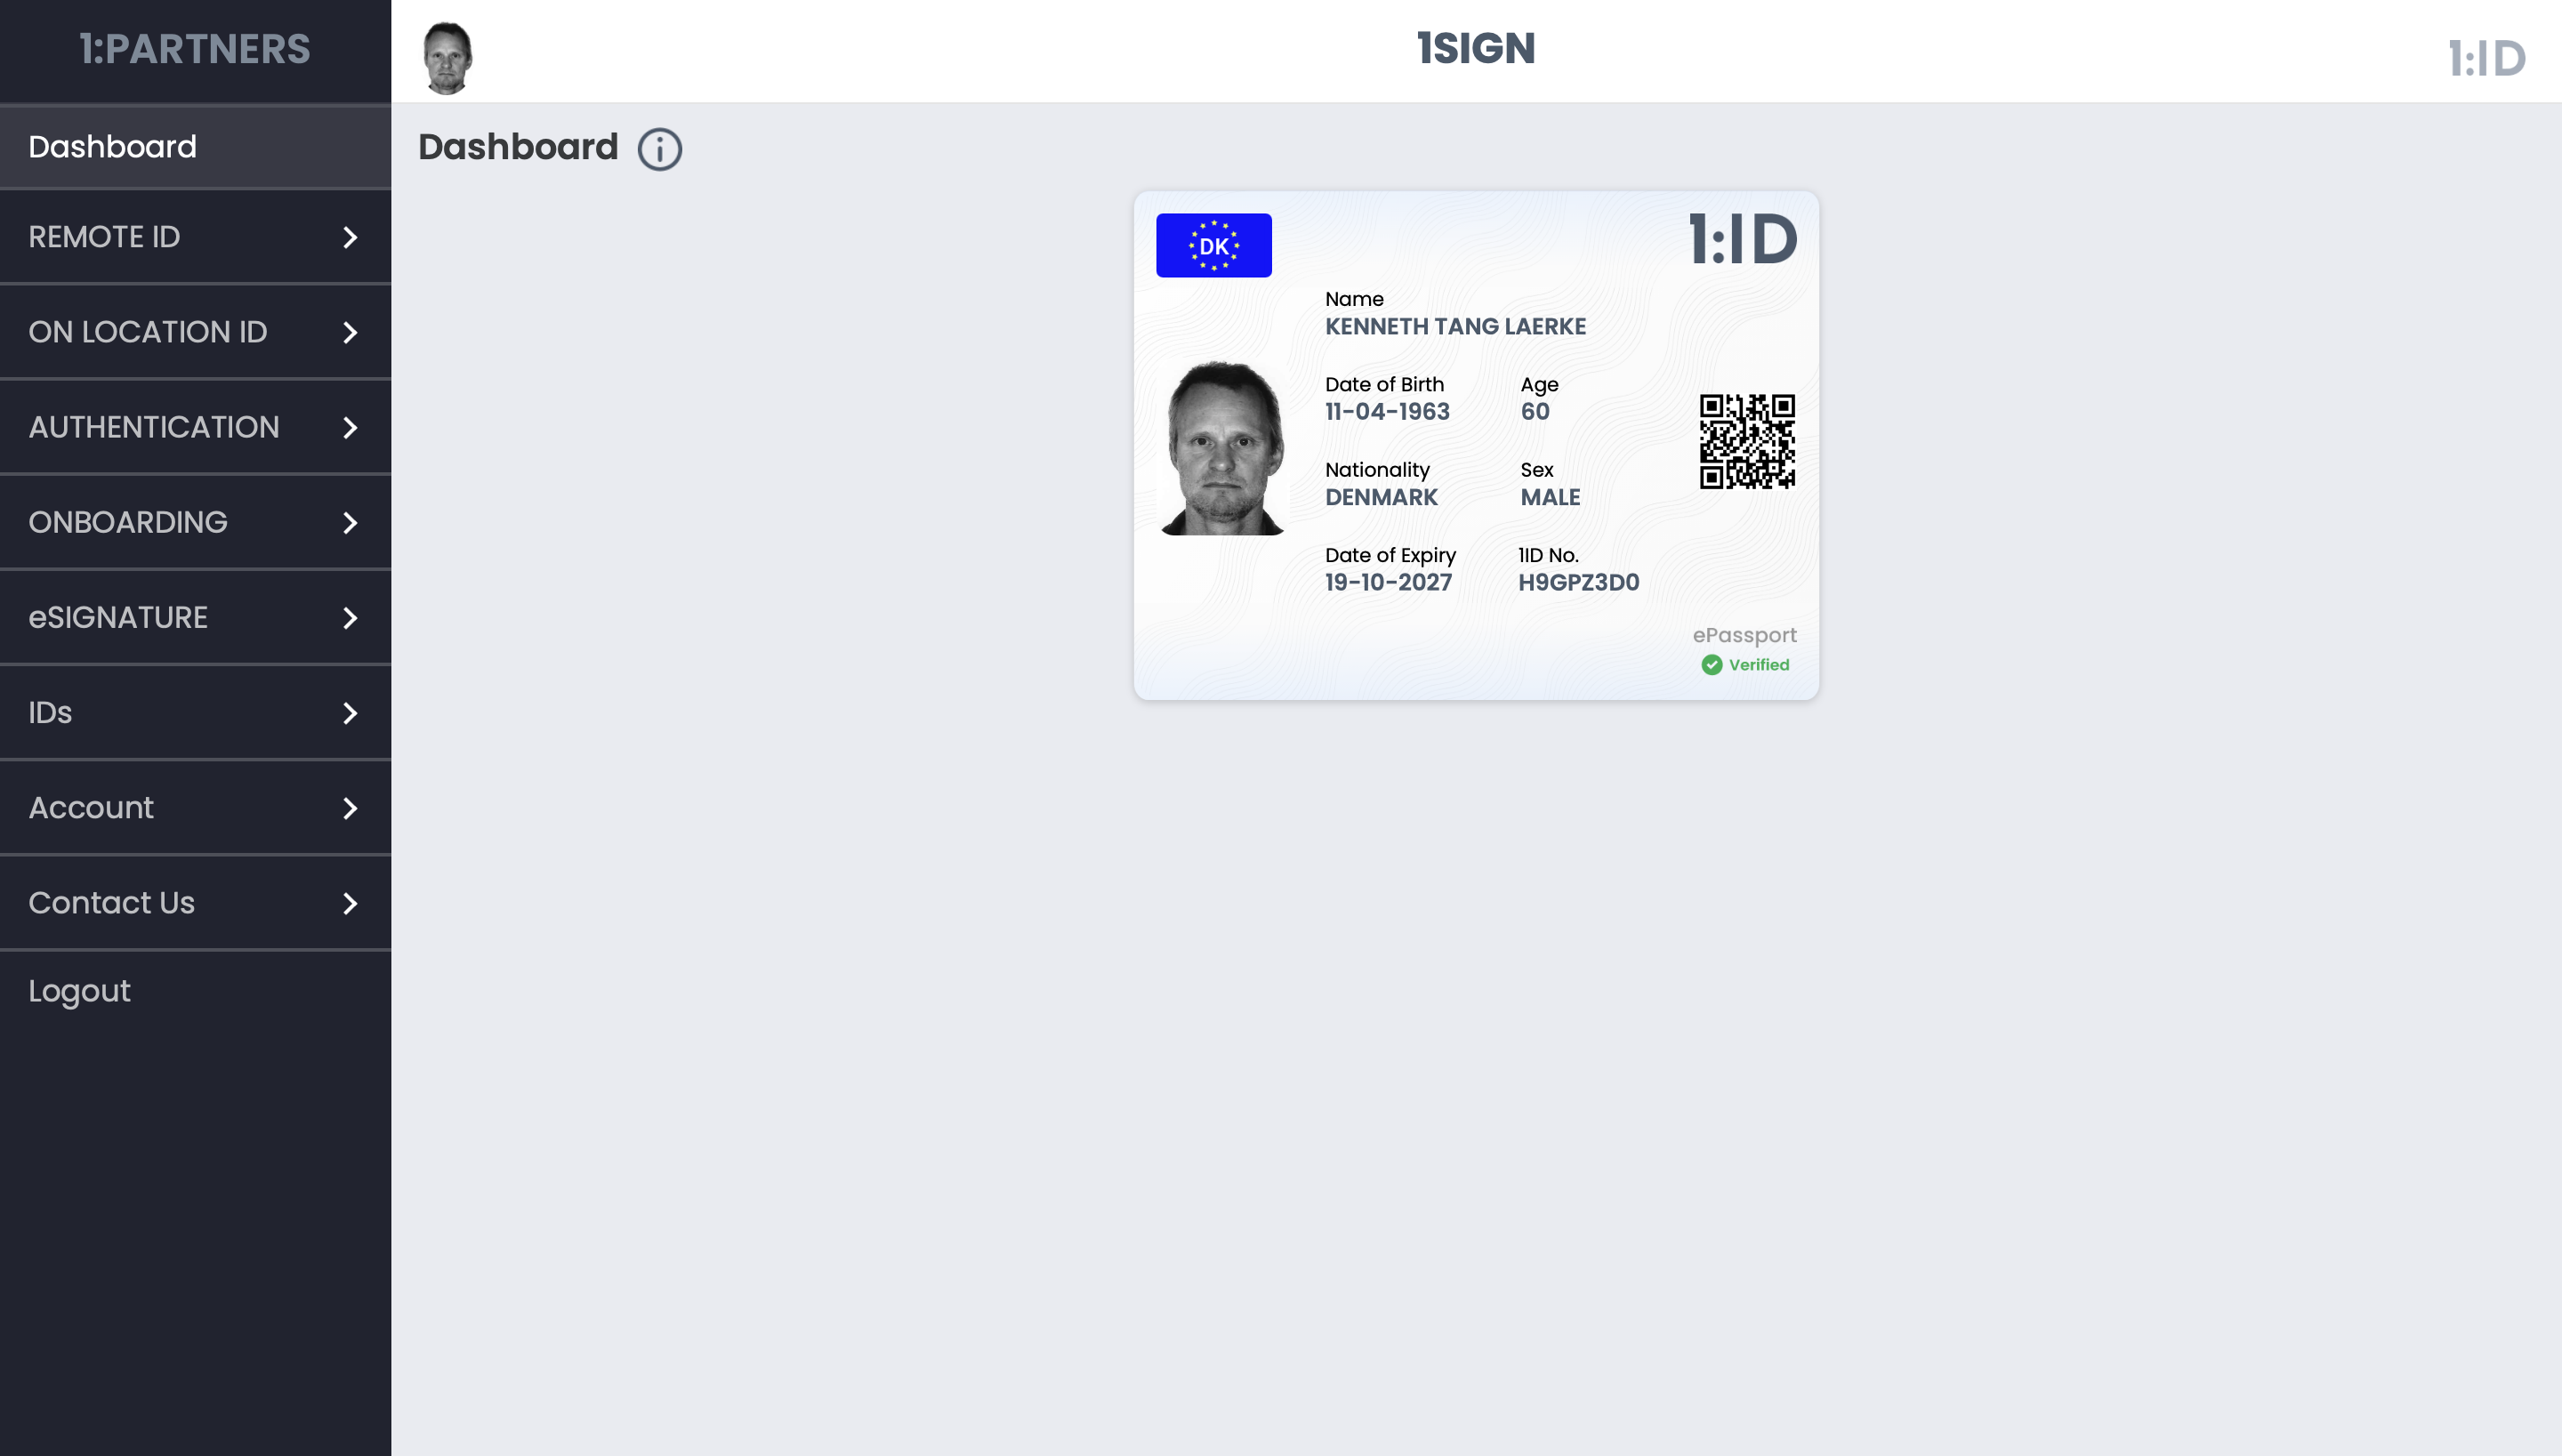
Upon successfully login, you can see the dashboard of your Partner Panel with your company name displayed at the top of the Panel as shown below. The dashboard displays the 1:ID card which is basically identical to your passport or any identification card you've scanned while signing up.
2 REMOTE ID
Remote ID is the function to be used by the partner for auto remote identification check of any person. The function is qualified to be used for compliance with Know your customer & Anti money laundery legislation.
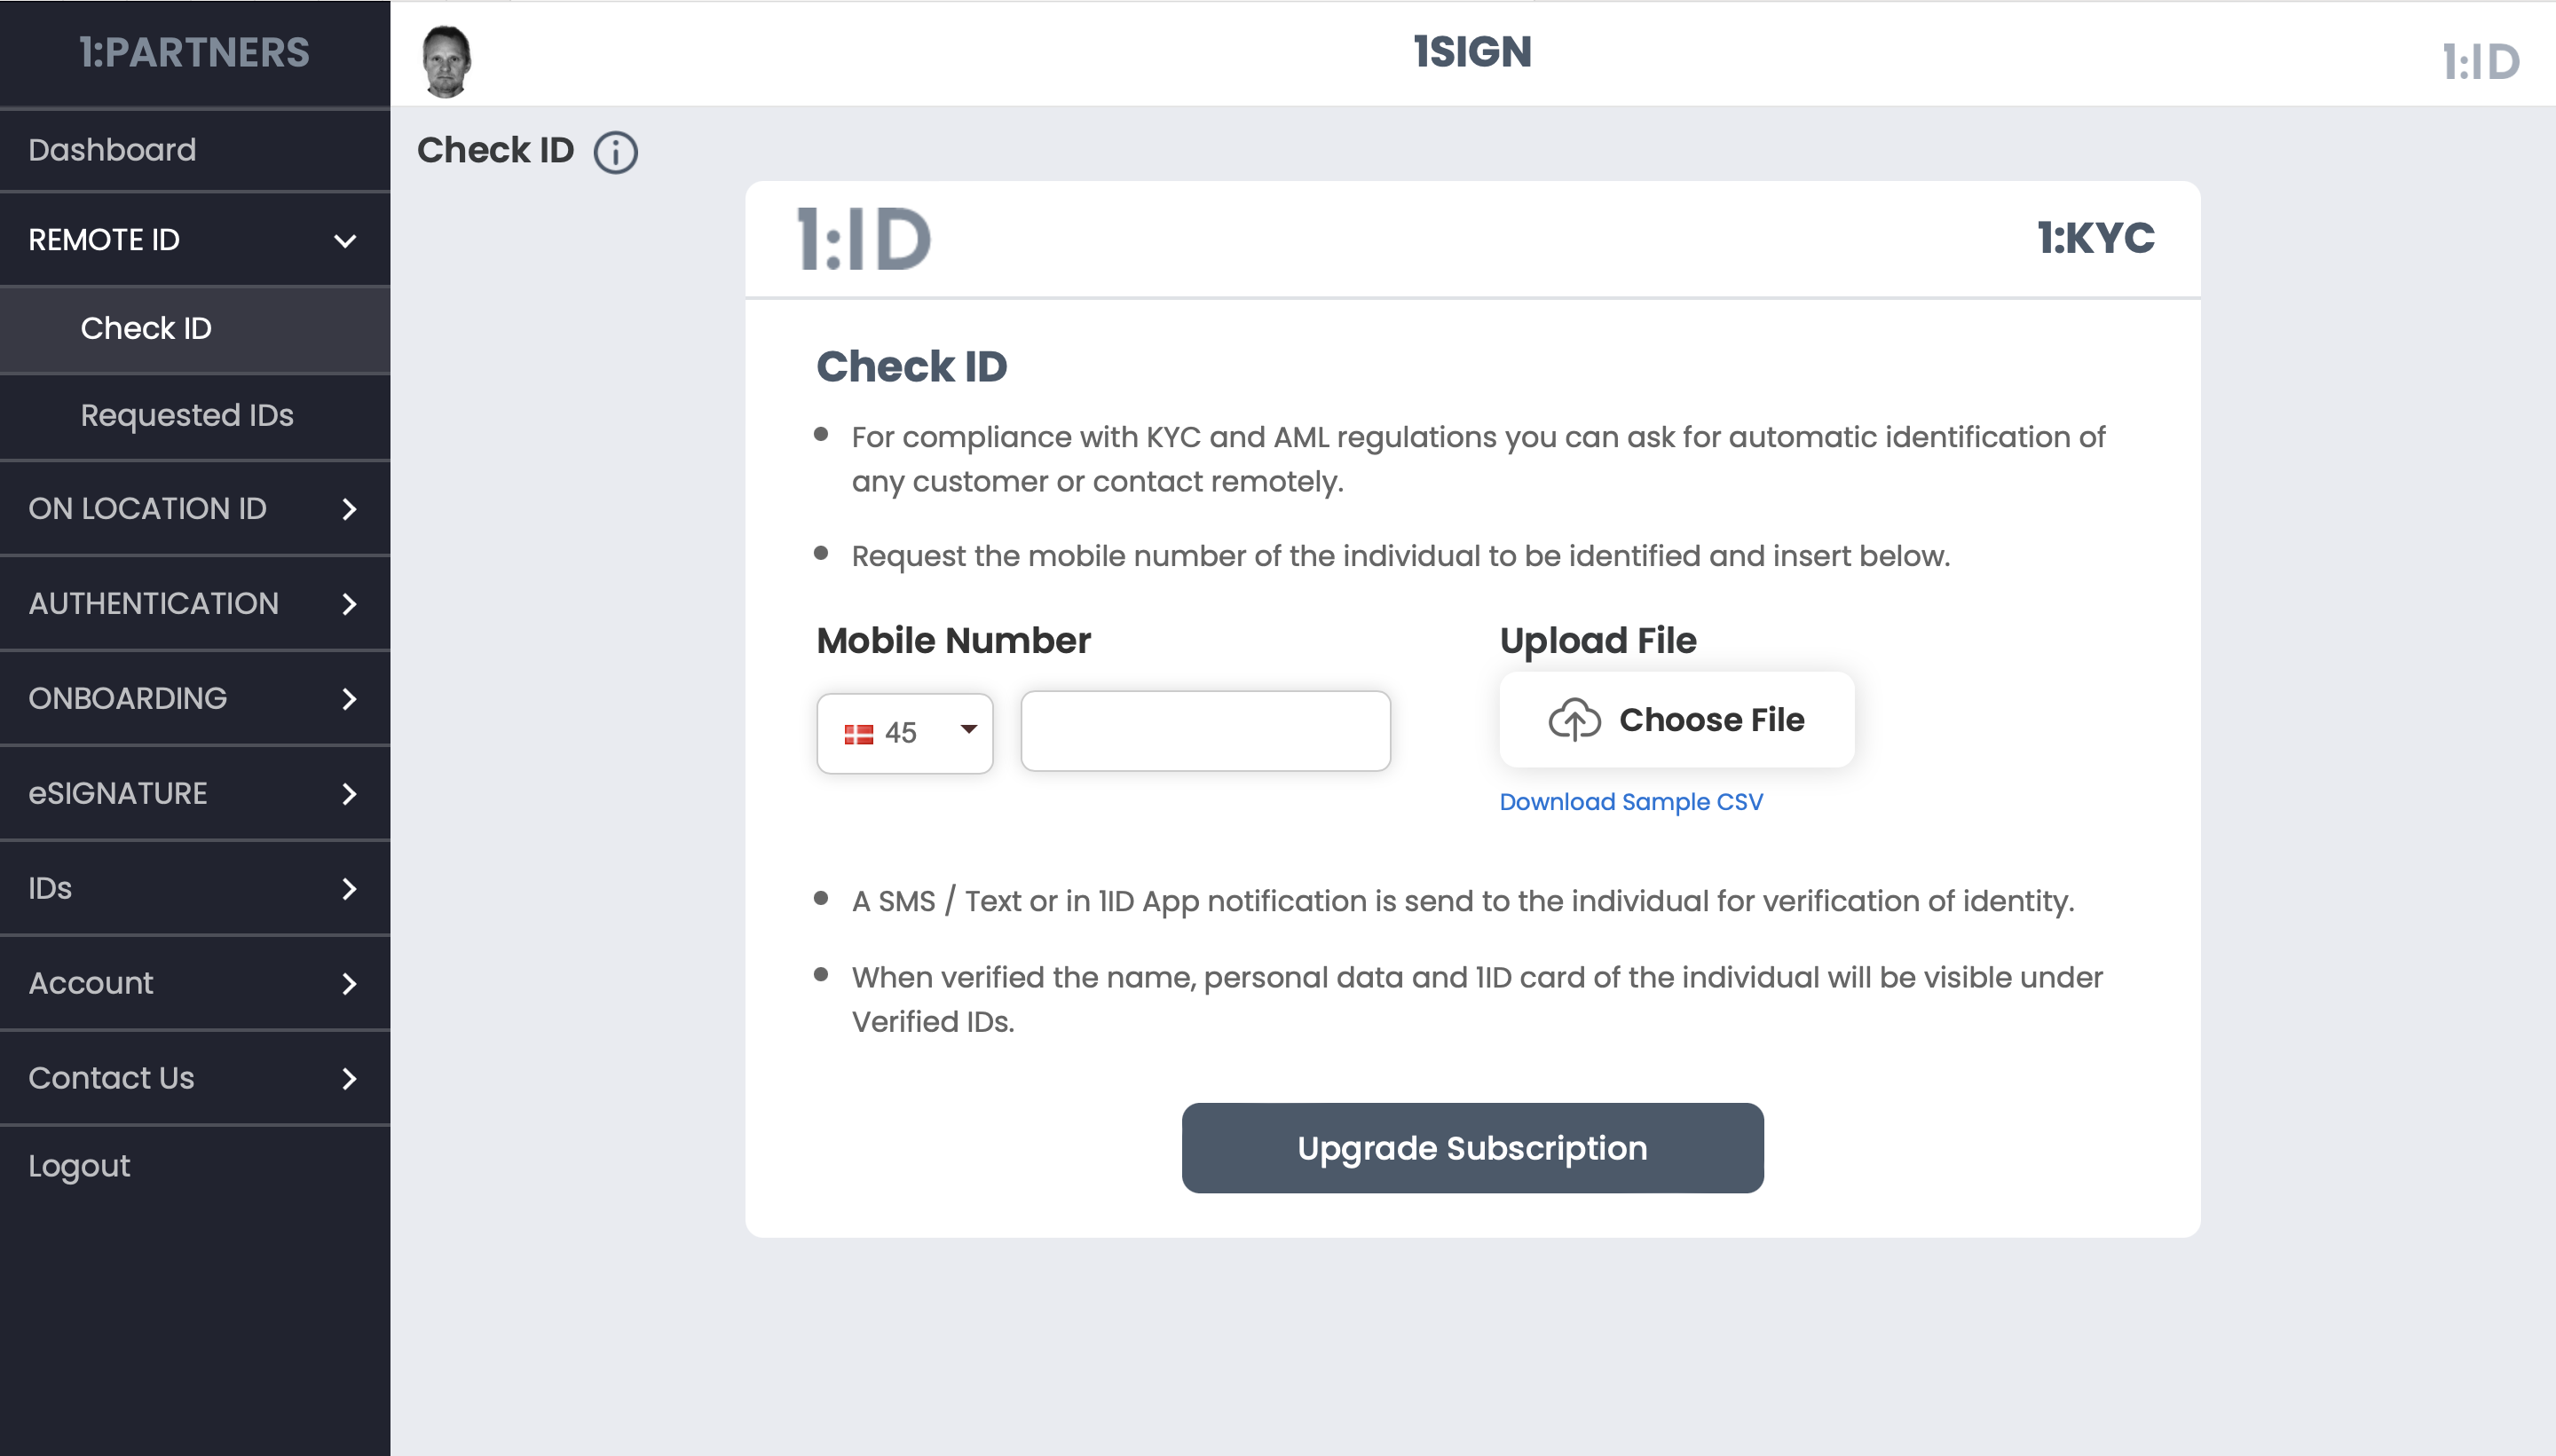
a. Remote ID - Check ID
For compliance with KYC and AML regulations, You can ask for automatic identification of any user being a customer, client, employee or any other counterpart remotely. Check ID is performed by Mobile request from this partner panel or via integration of widget hosted by you. You can check as many IDs as preferred but with restrictions related to different subscription plans.
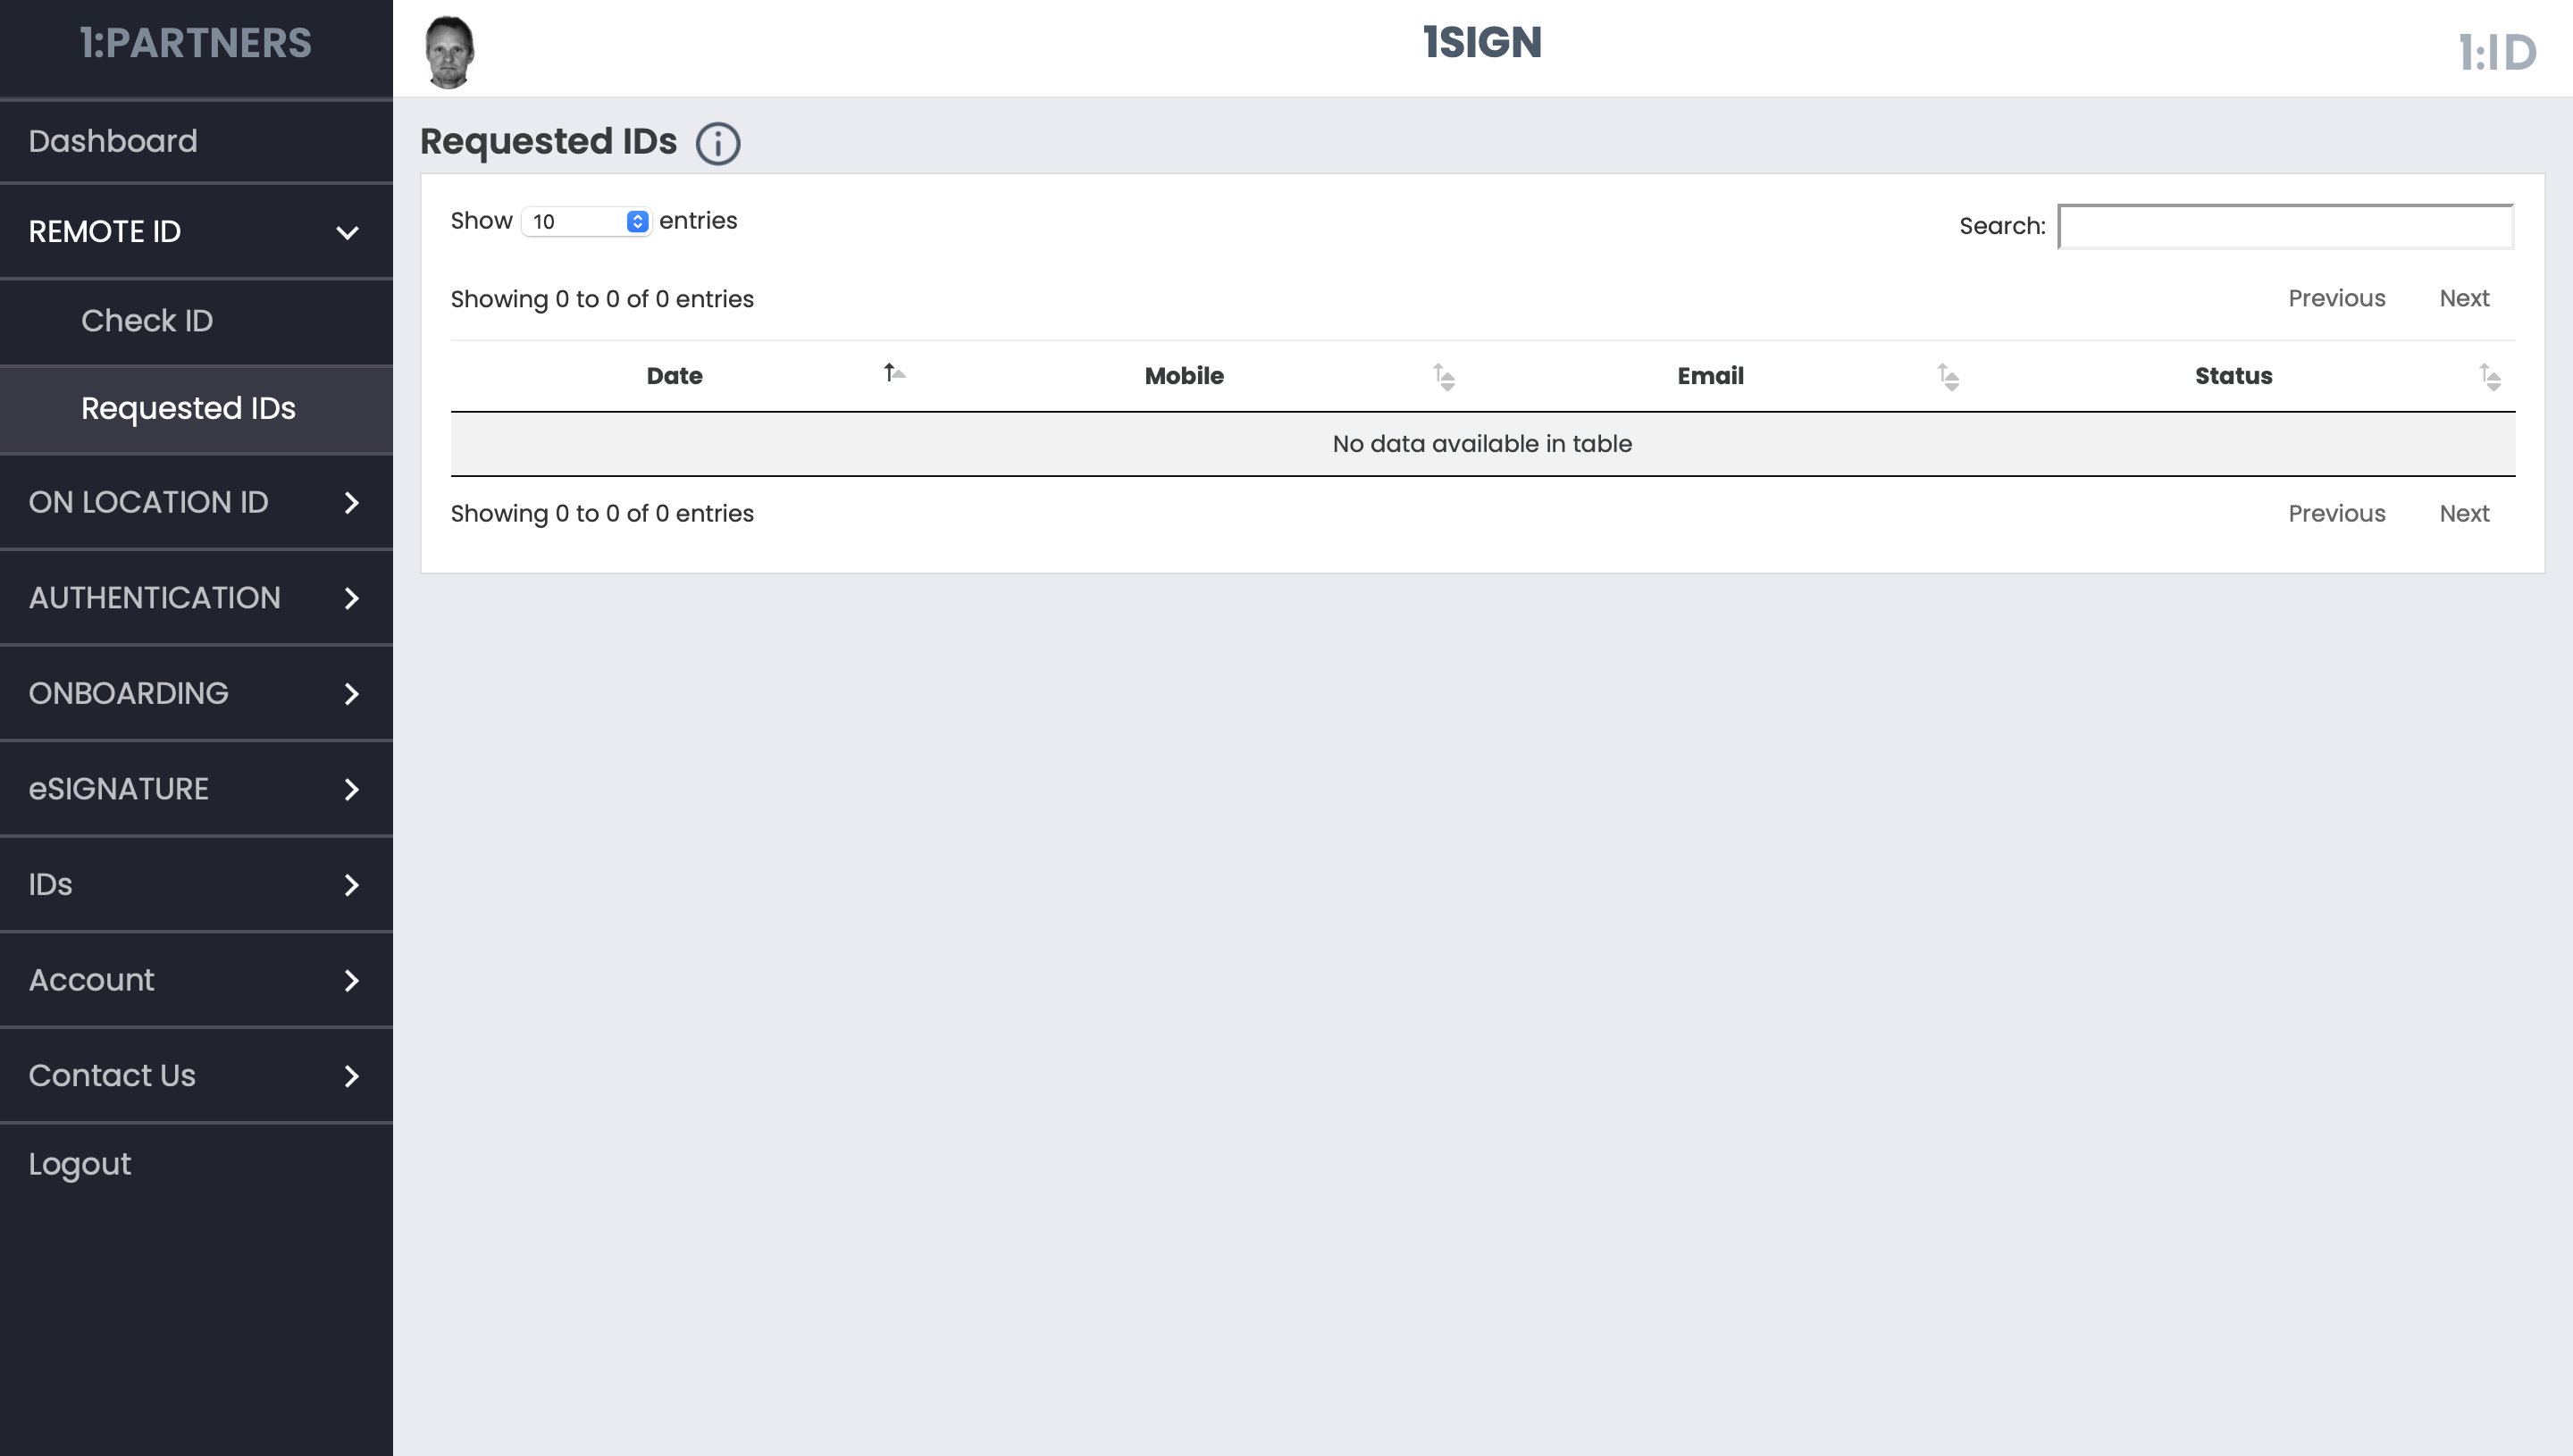
b. Requested IDs tab shows all the user's details to whom company has requested the permission for the auto identification and they still haven't accepted or rejected the request yet.
3 ON LOCATION ID
On Location Identification function is separately explained as a new section (5th) in the guide. Please refer it to understand the function better.
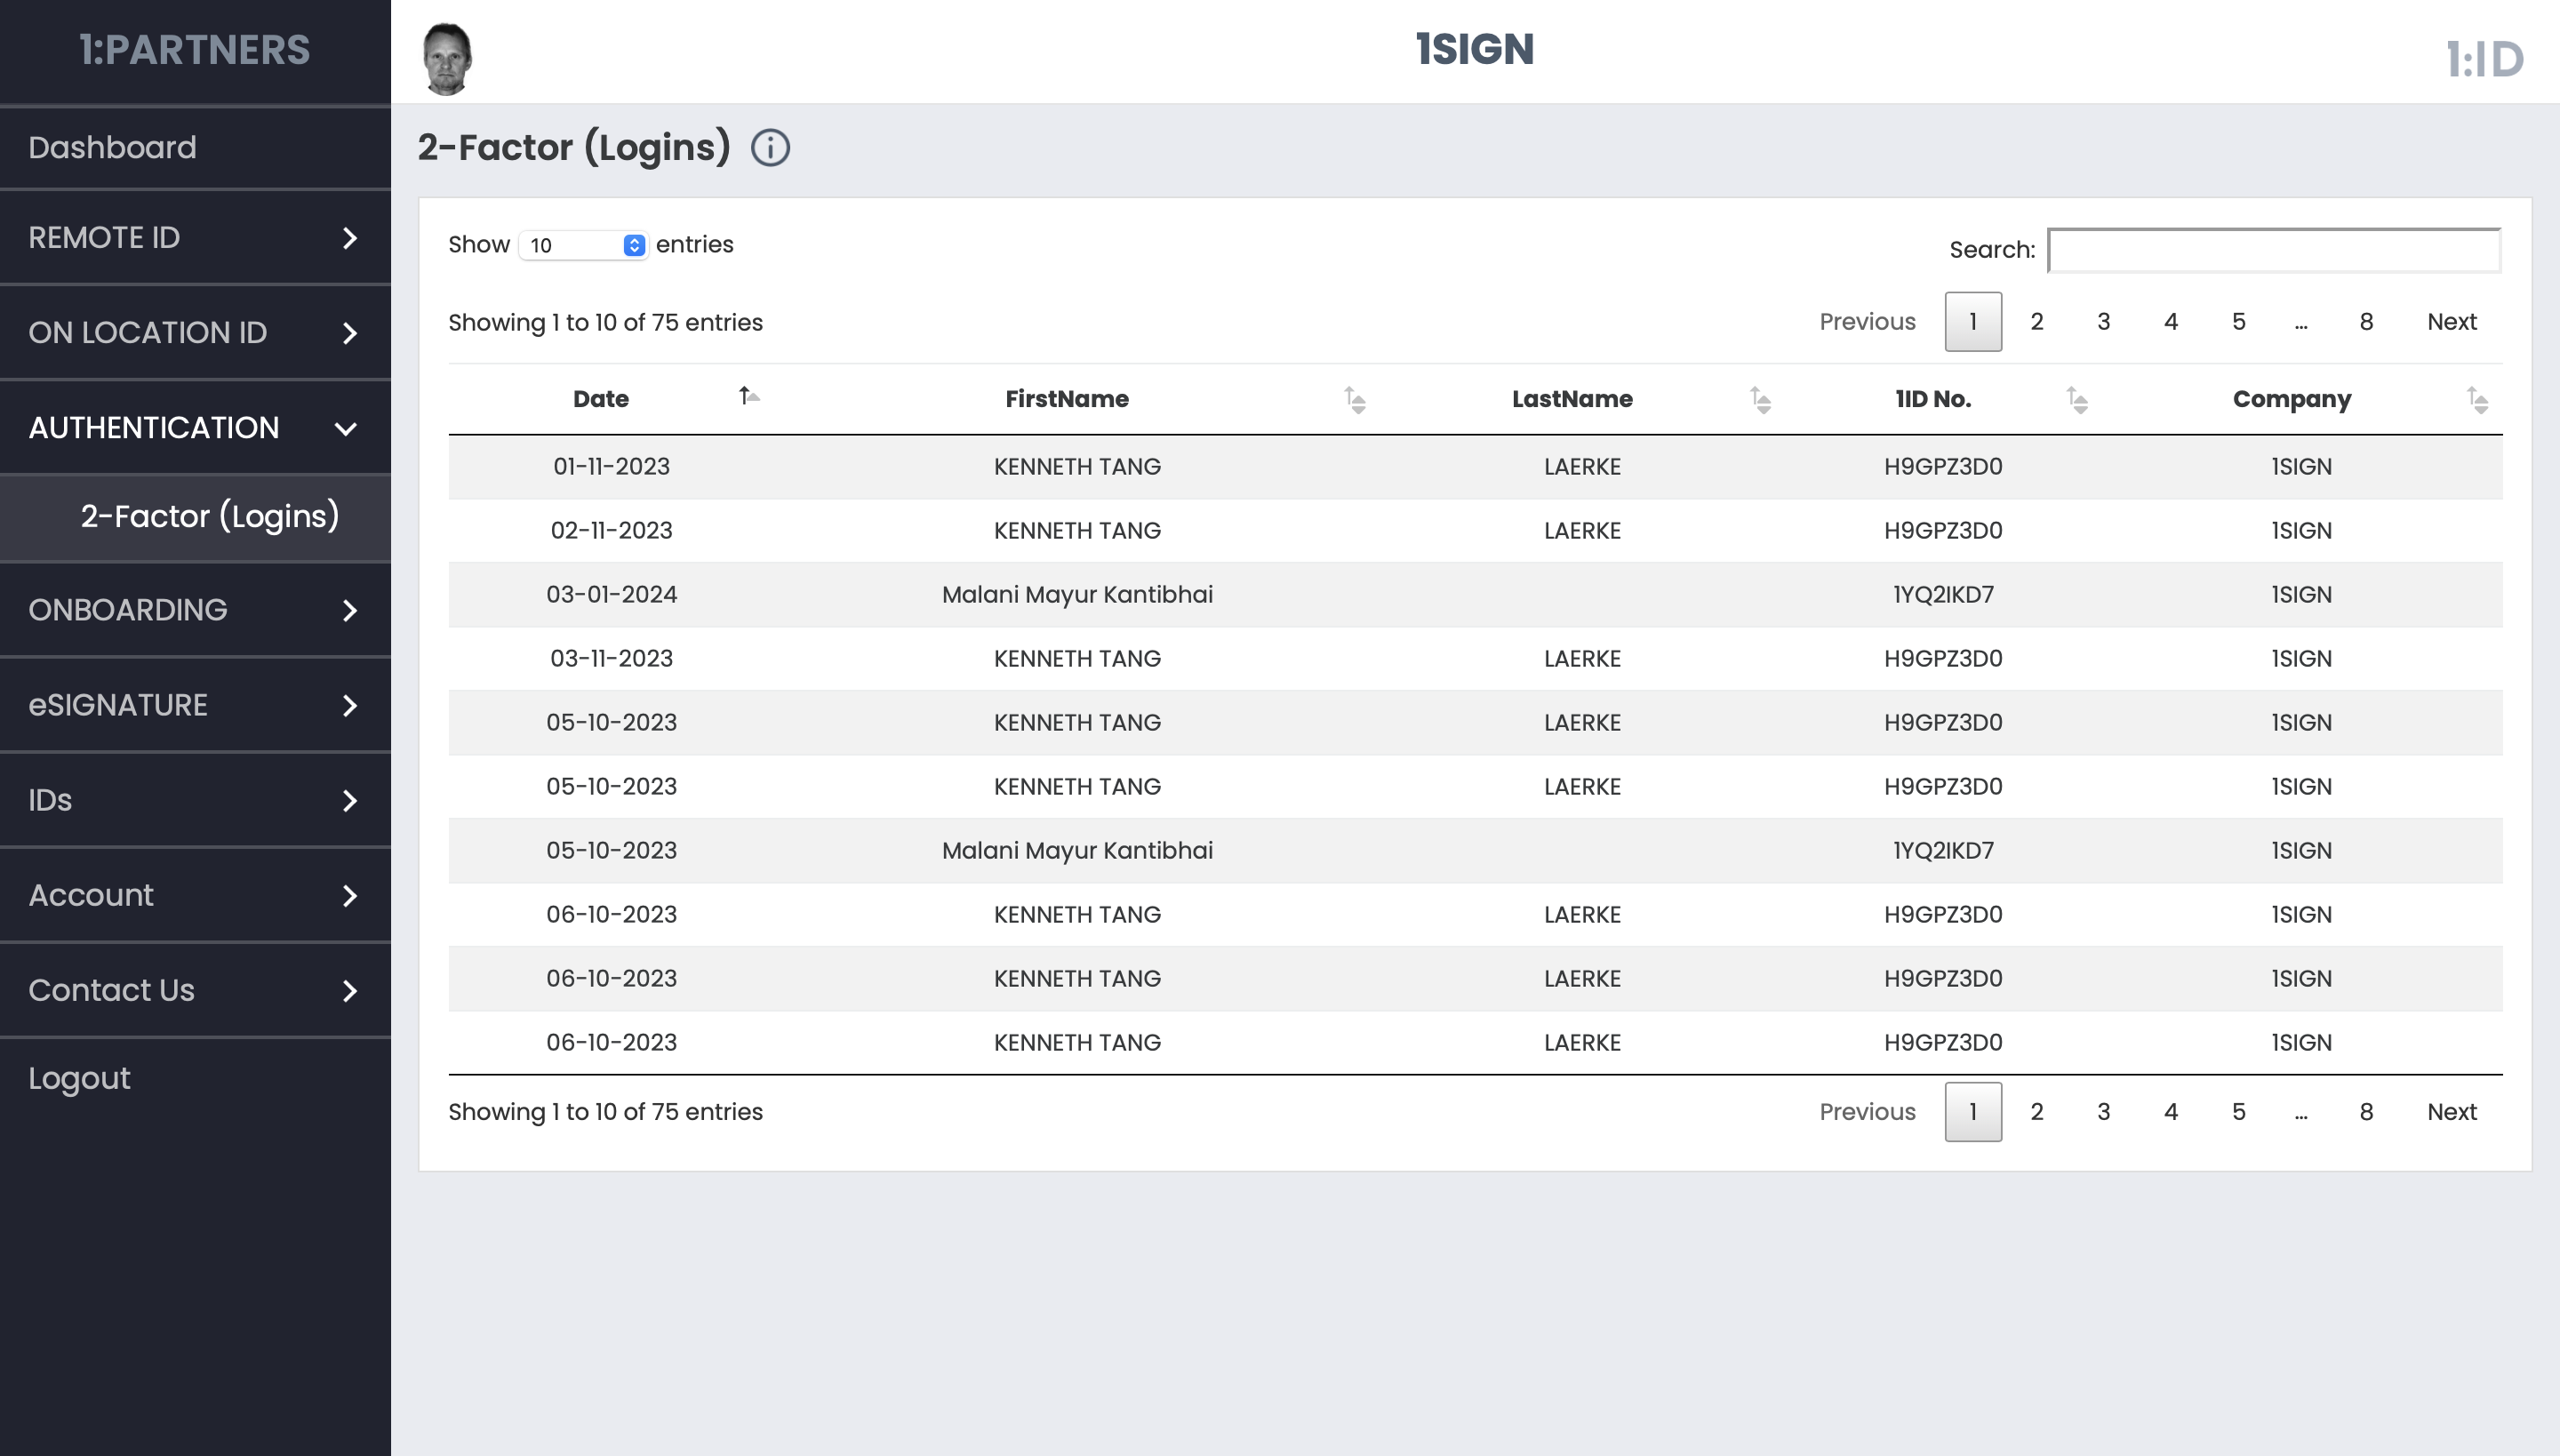
4 AUTHENTICALTION
2-Factor (Logins) displays the list of 1ID profile that login with own account hosted by Partner.
5 ONBOARING
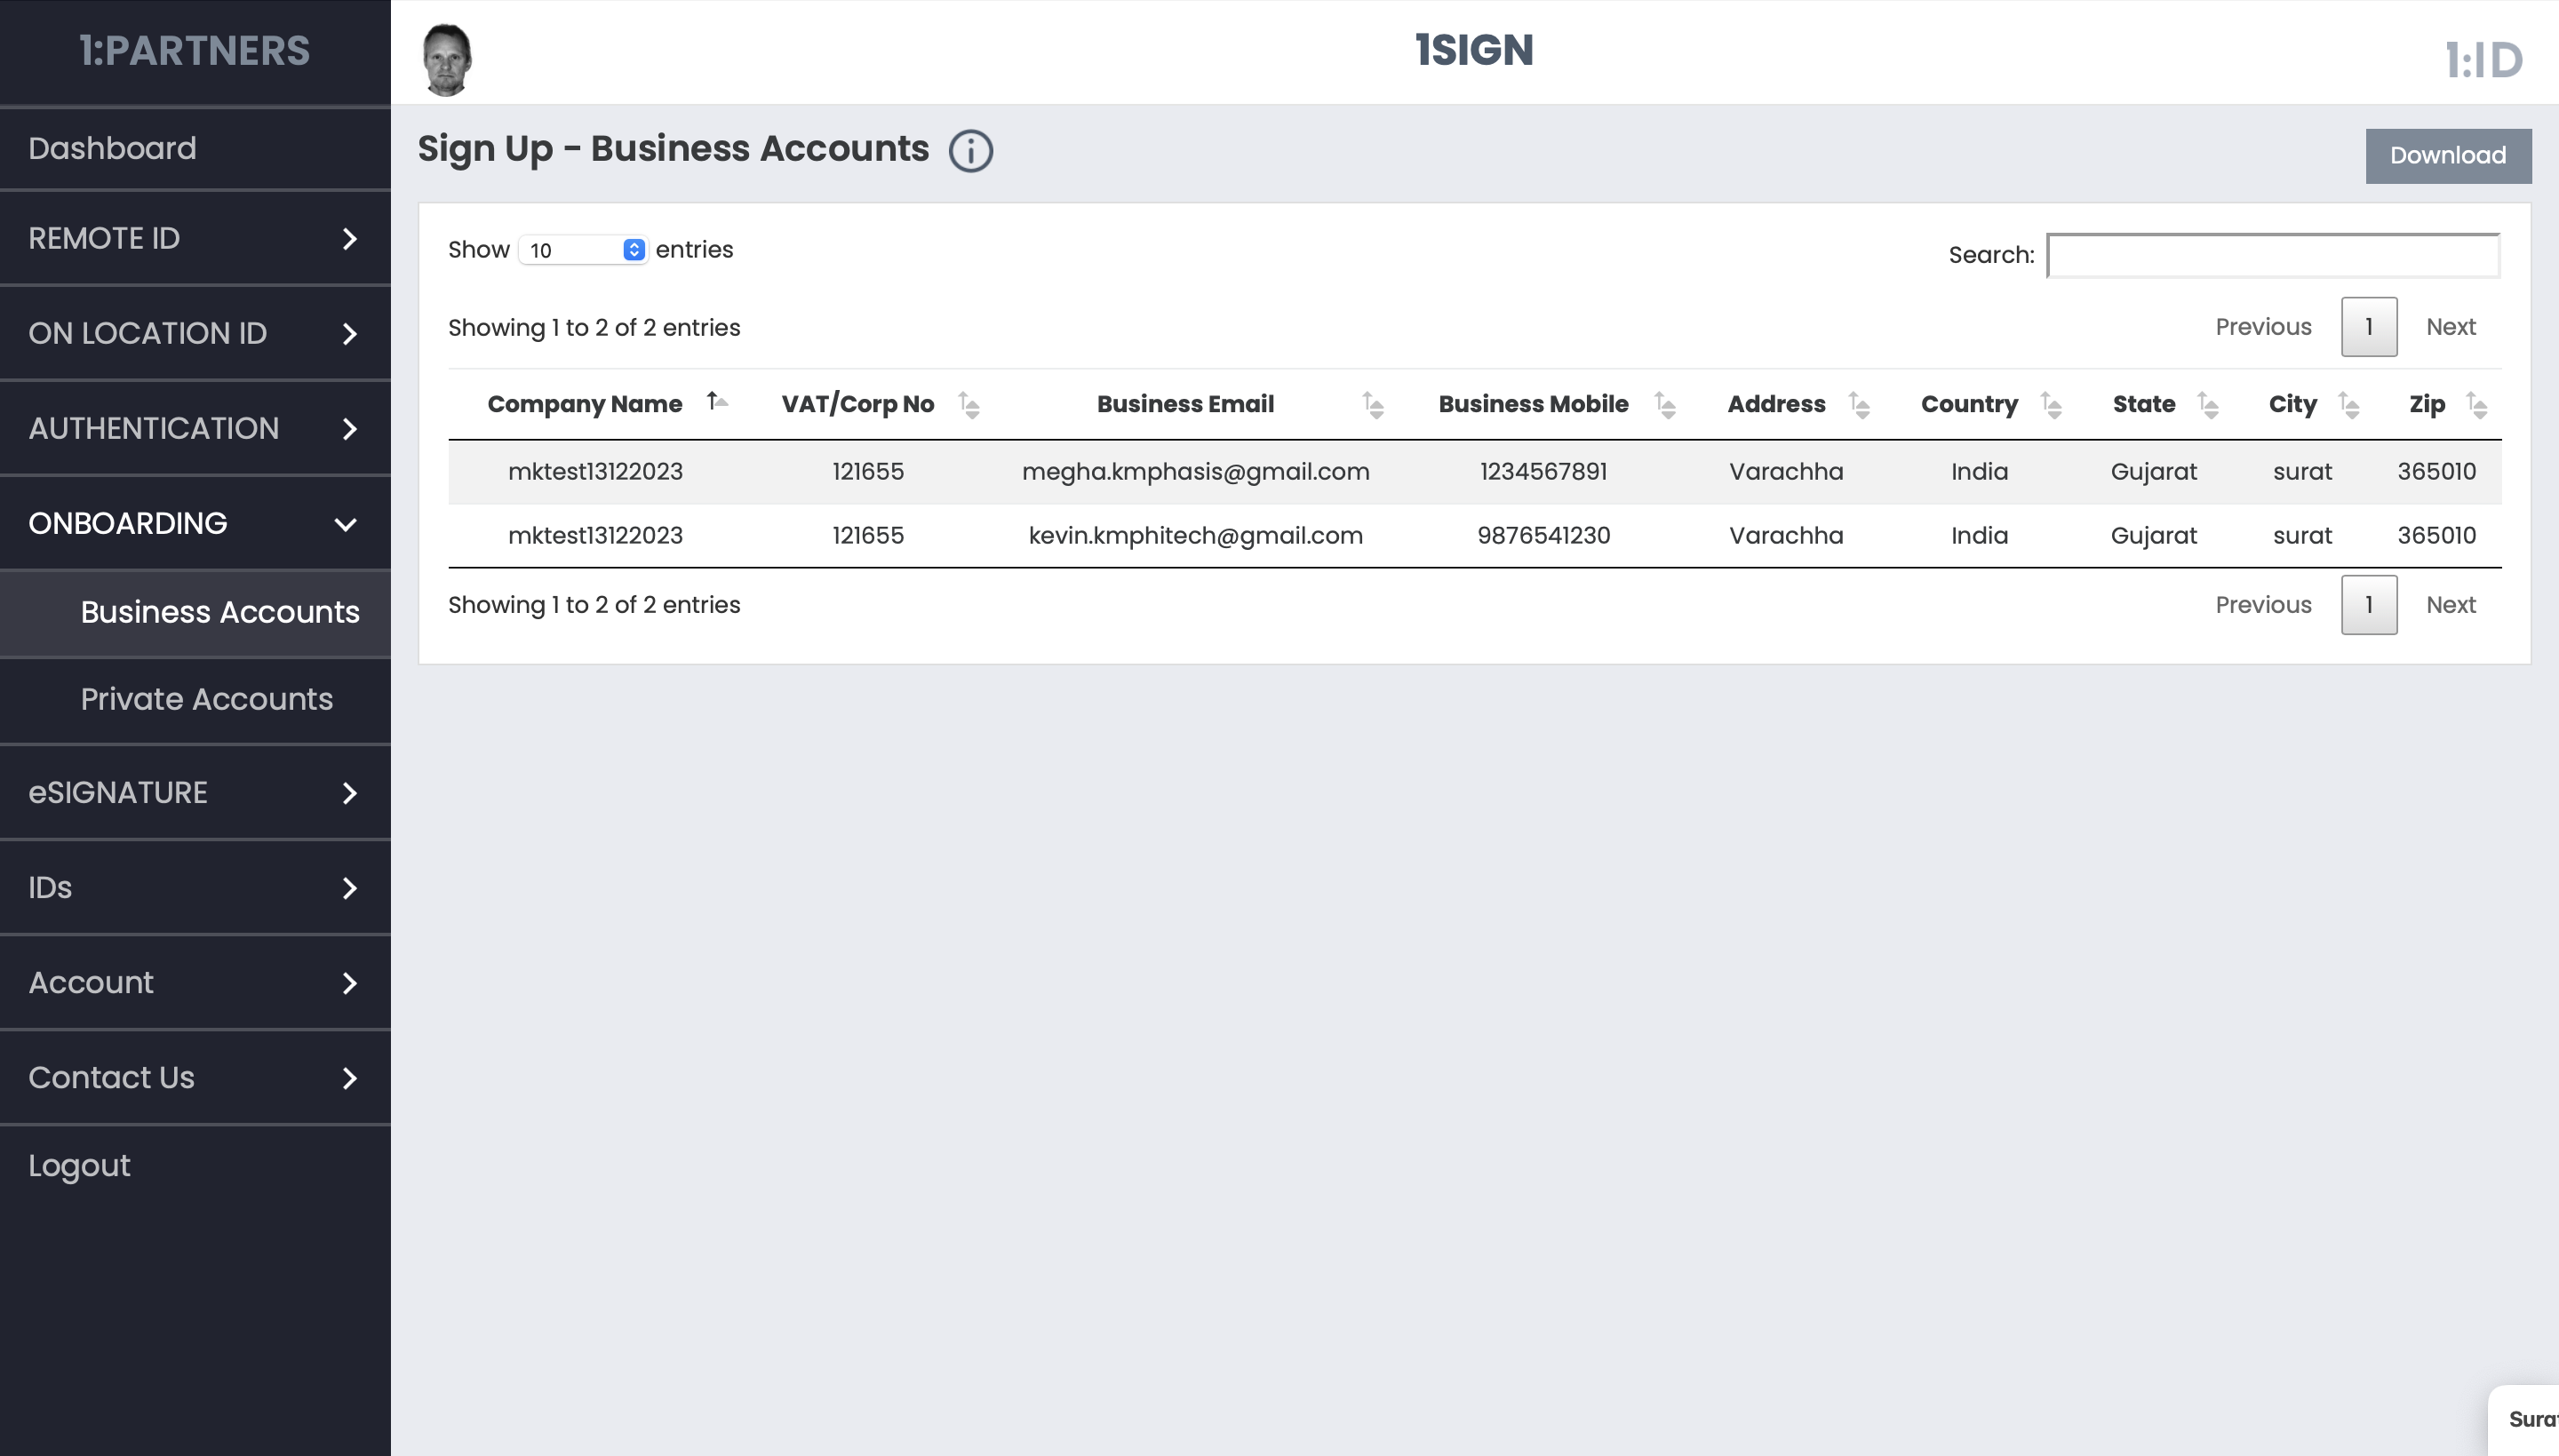
a. business Accounts
Business Accounts lists all the businesses who have onboarded and created an account with the partner.
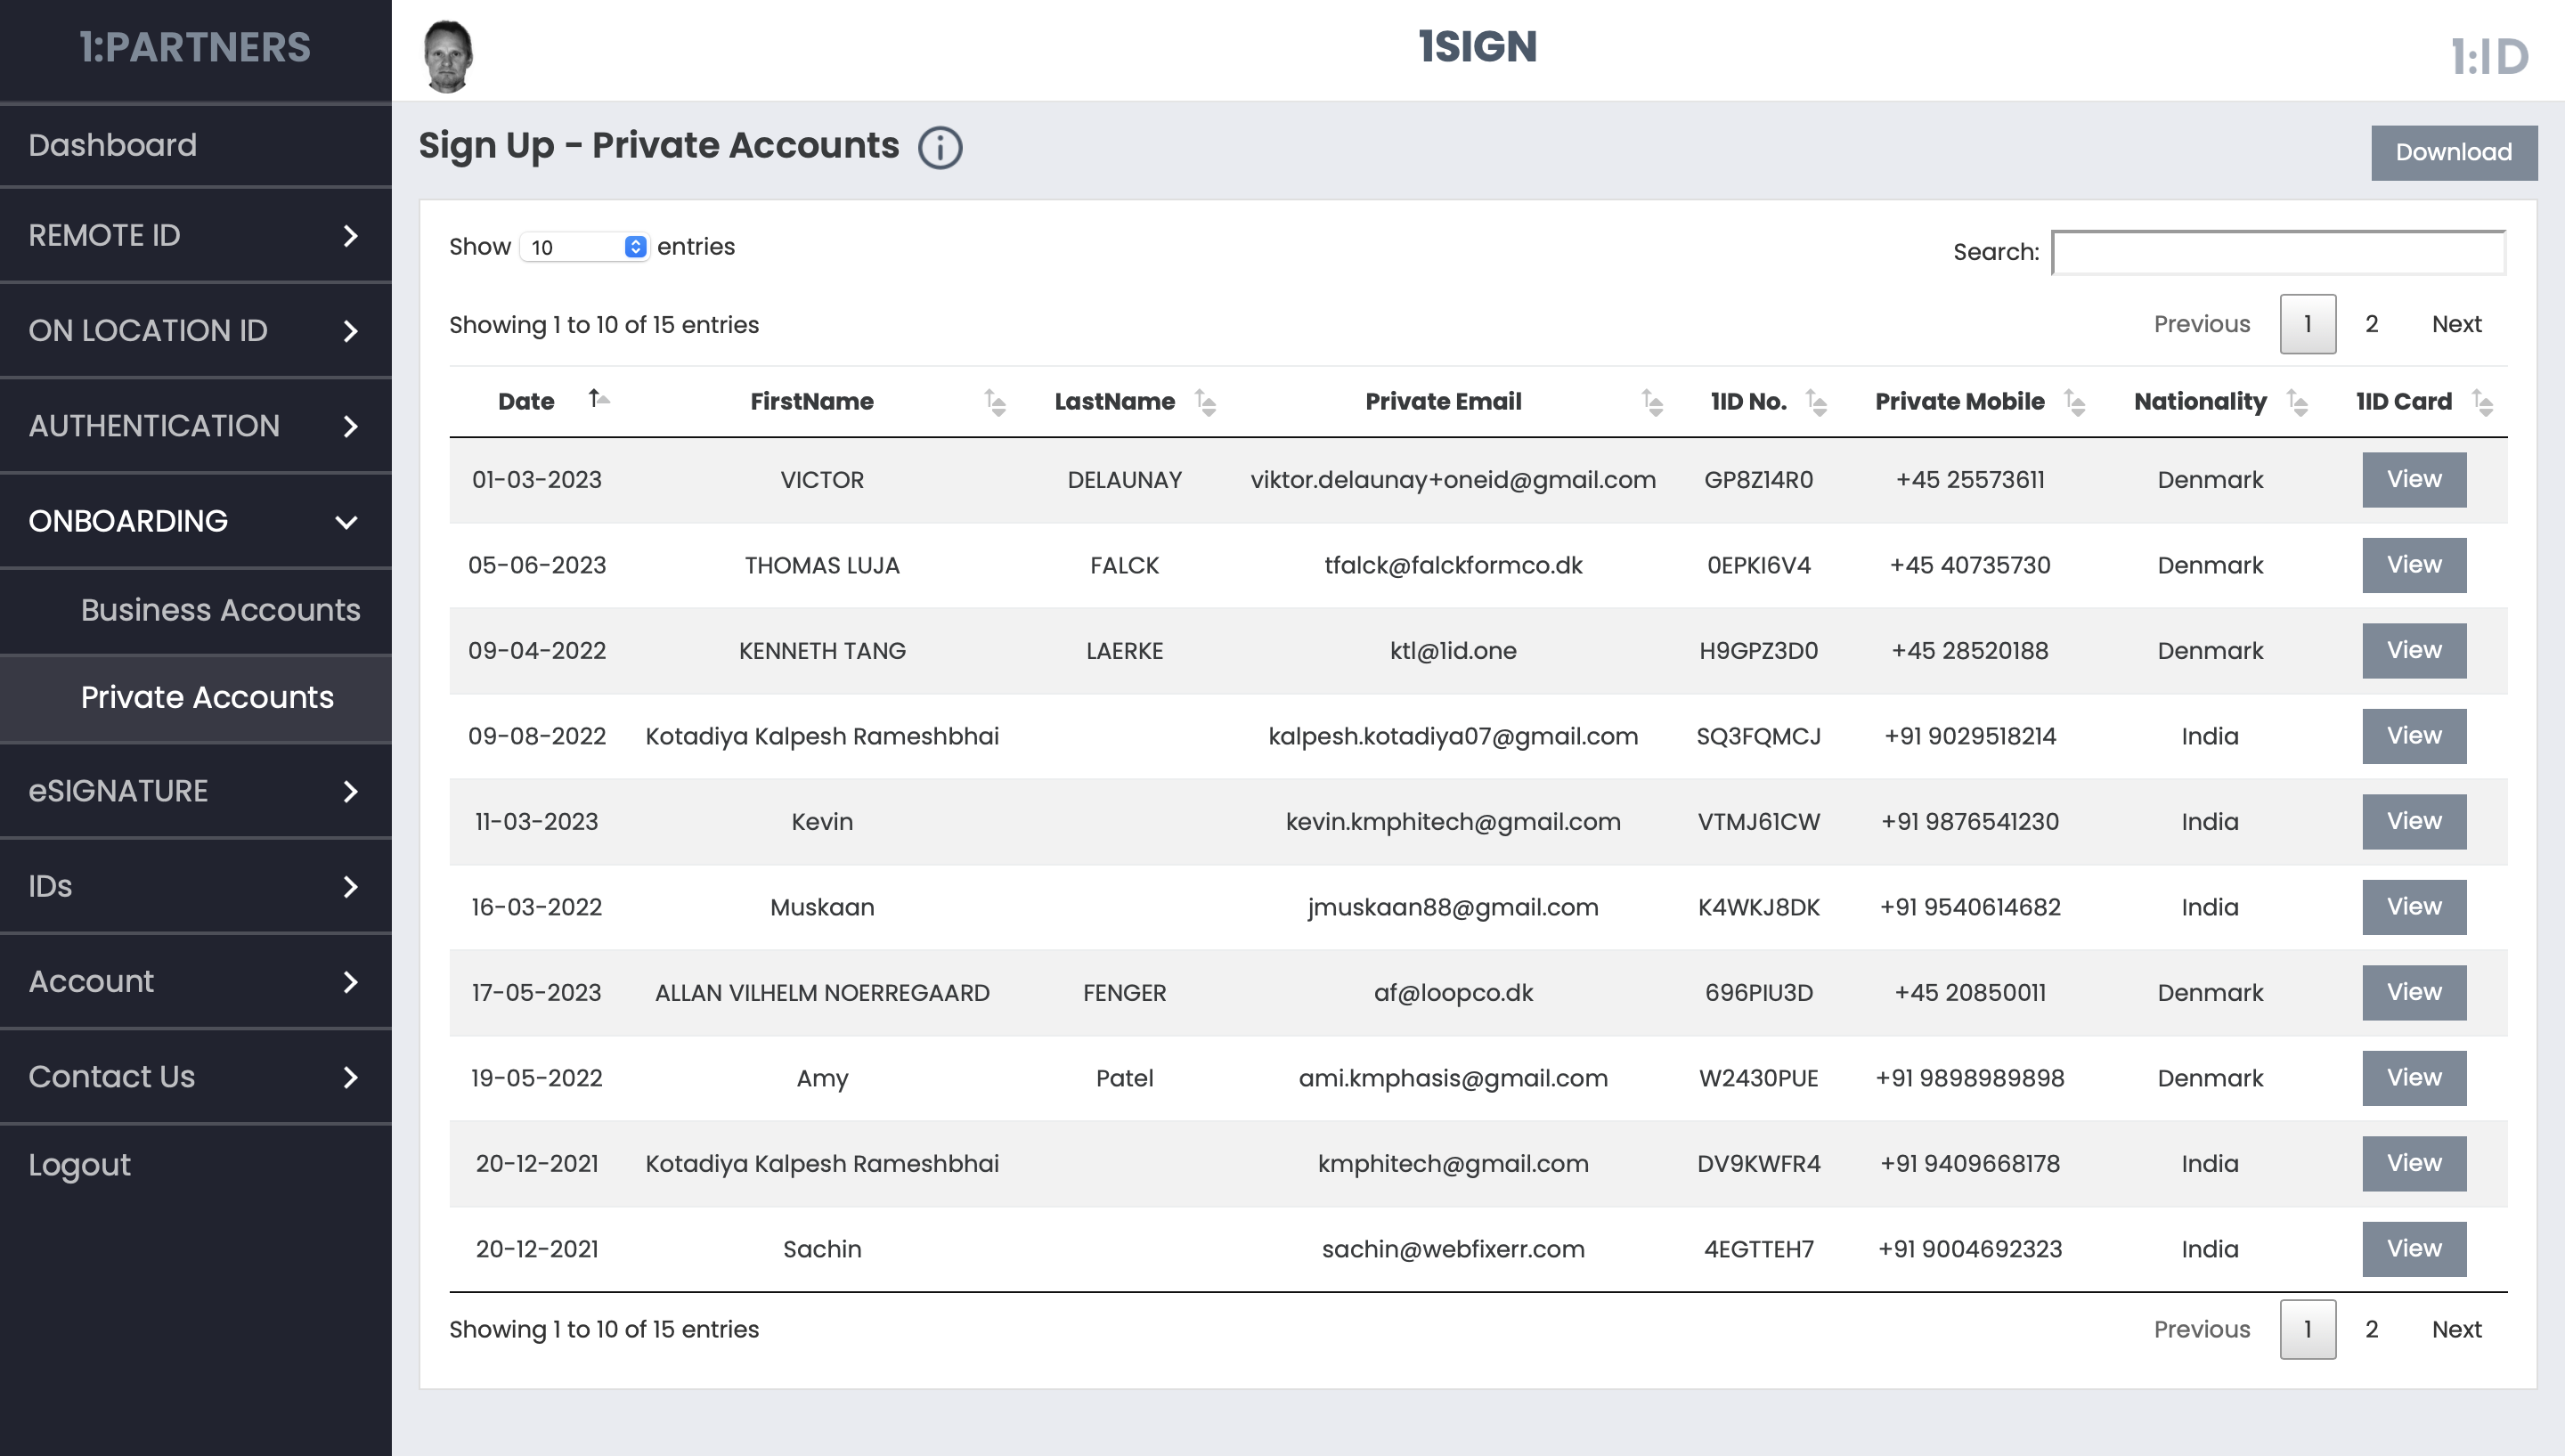
b. Private Accounts
Private Accounts lists all the individuals who have onboarded and created an account with the partner.
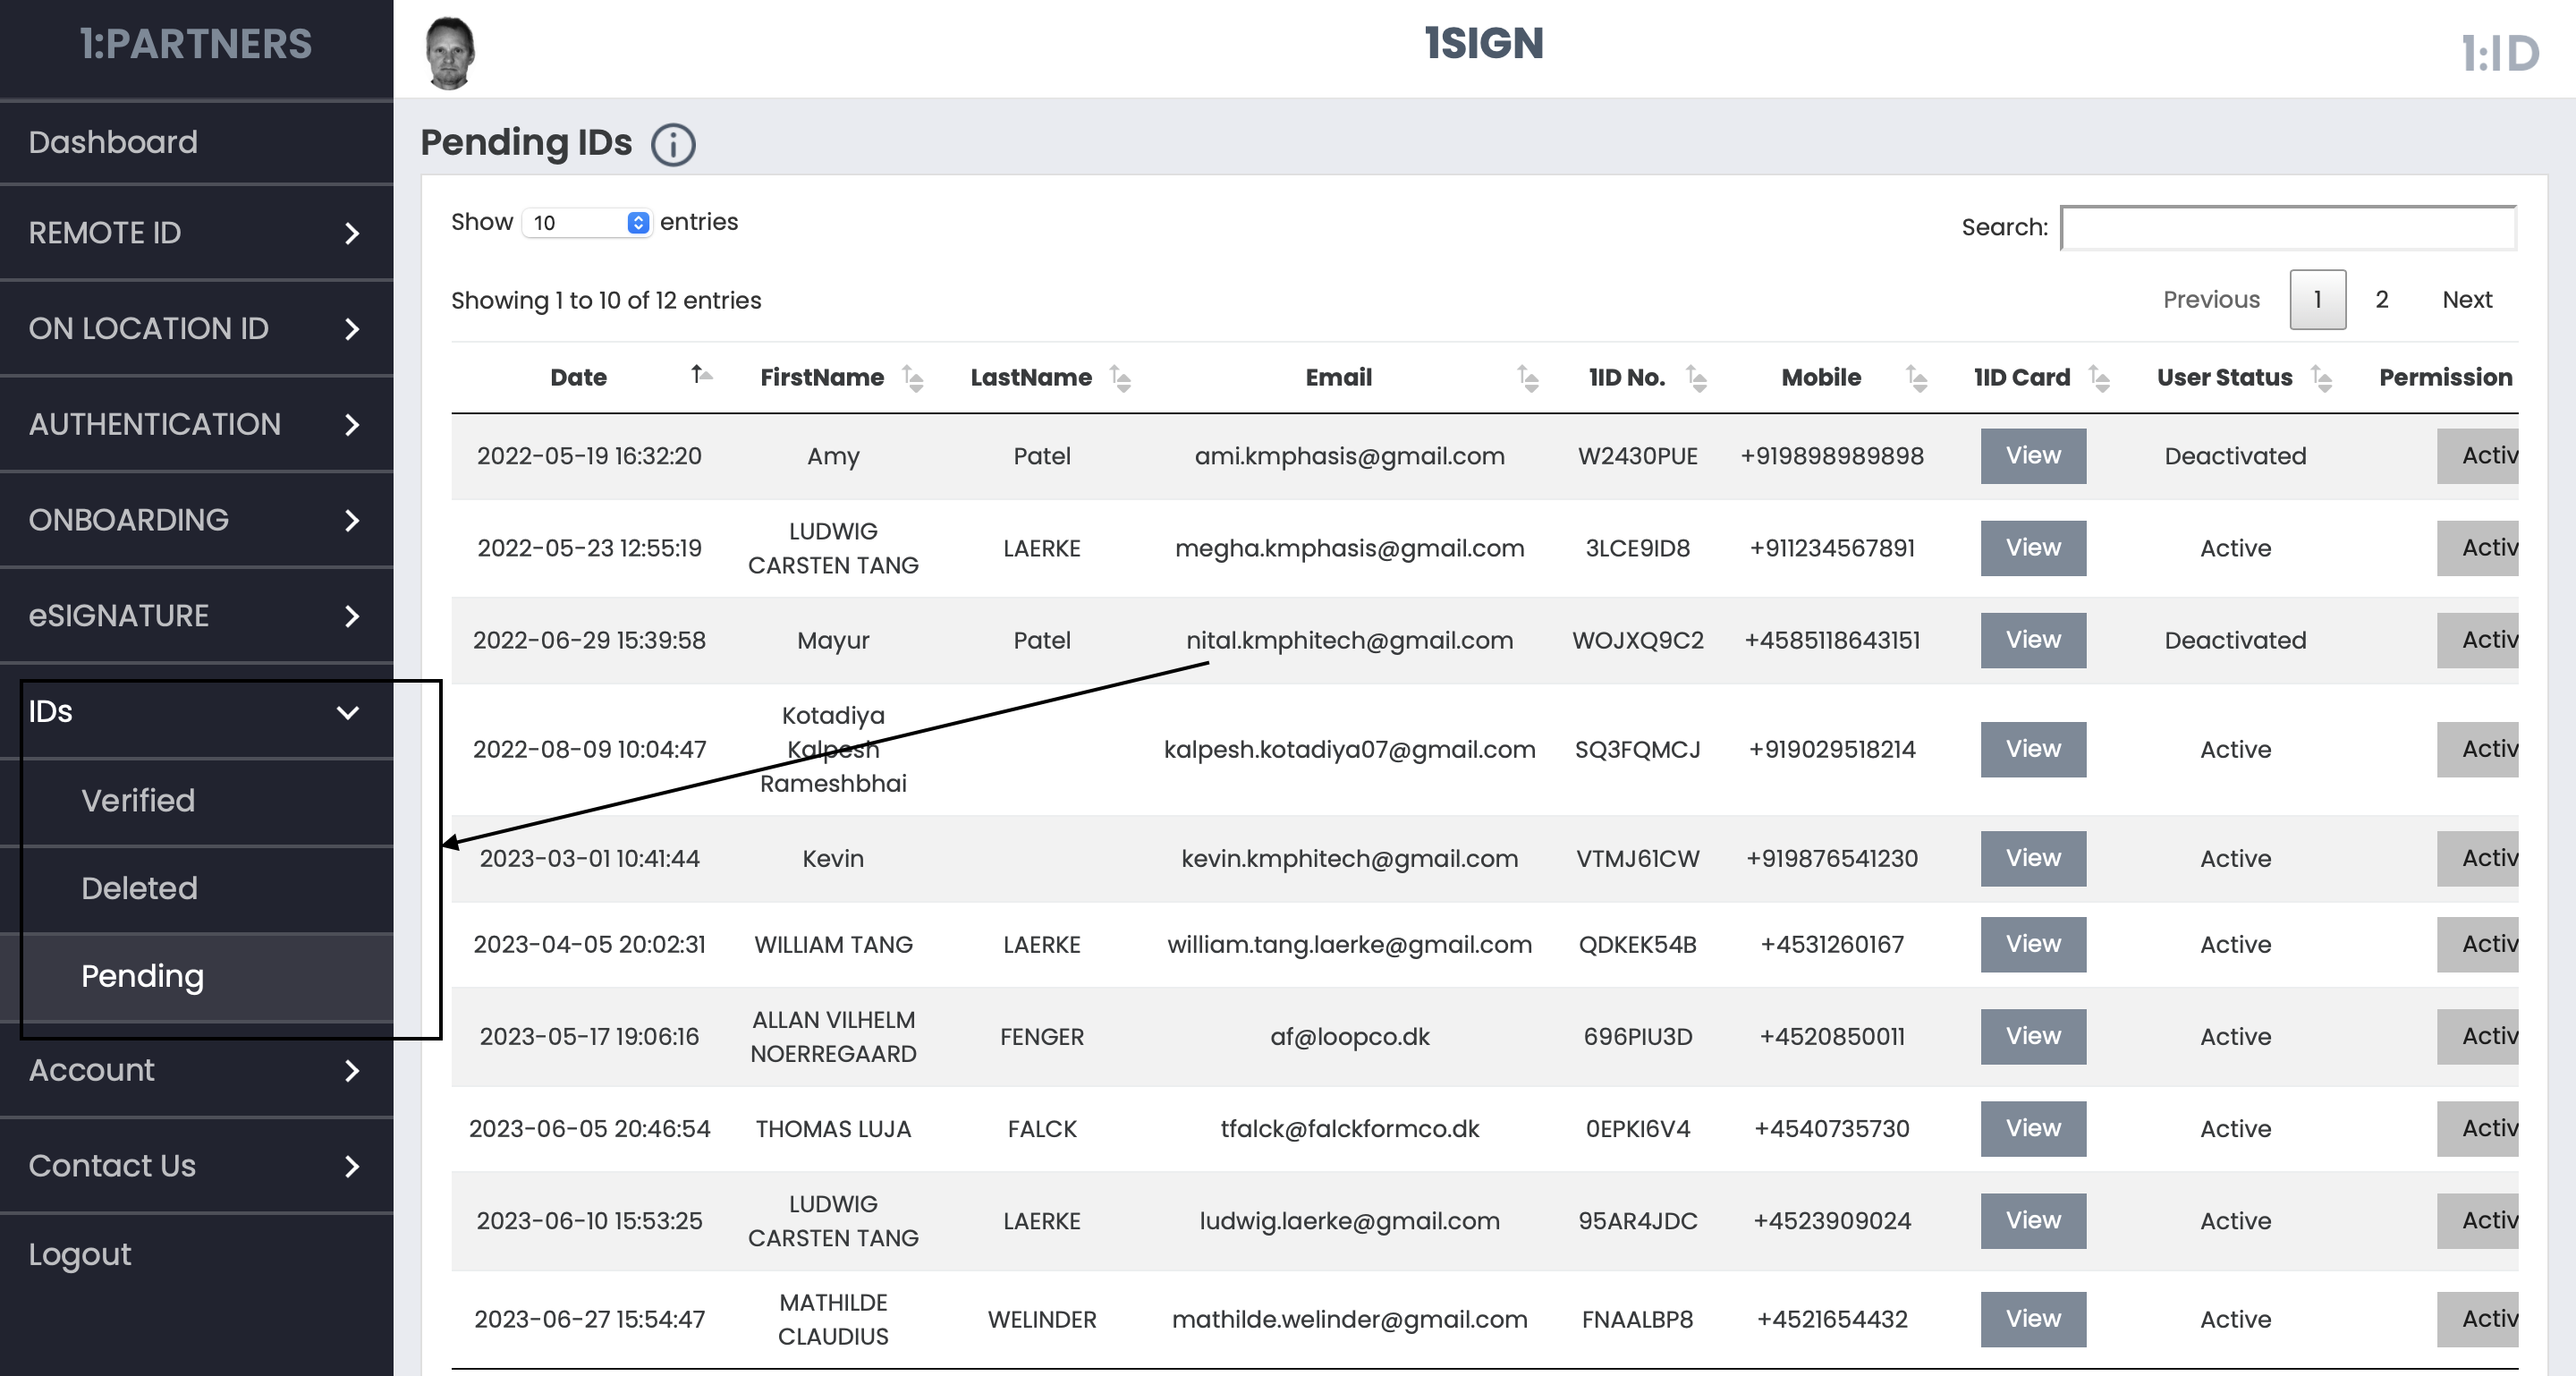
6 IDs
In the IDs Tab, Partner Company can see all the 1ID users whose IDs areneither verified with them or deleted or Pending ID requests from the users.
4 Account
Click on the Account Tab from the left sidebar.
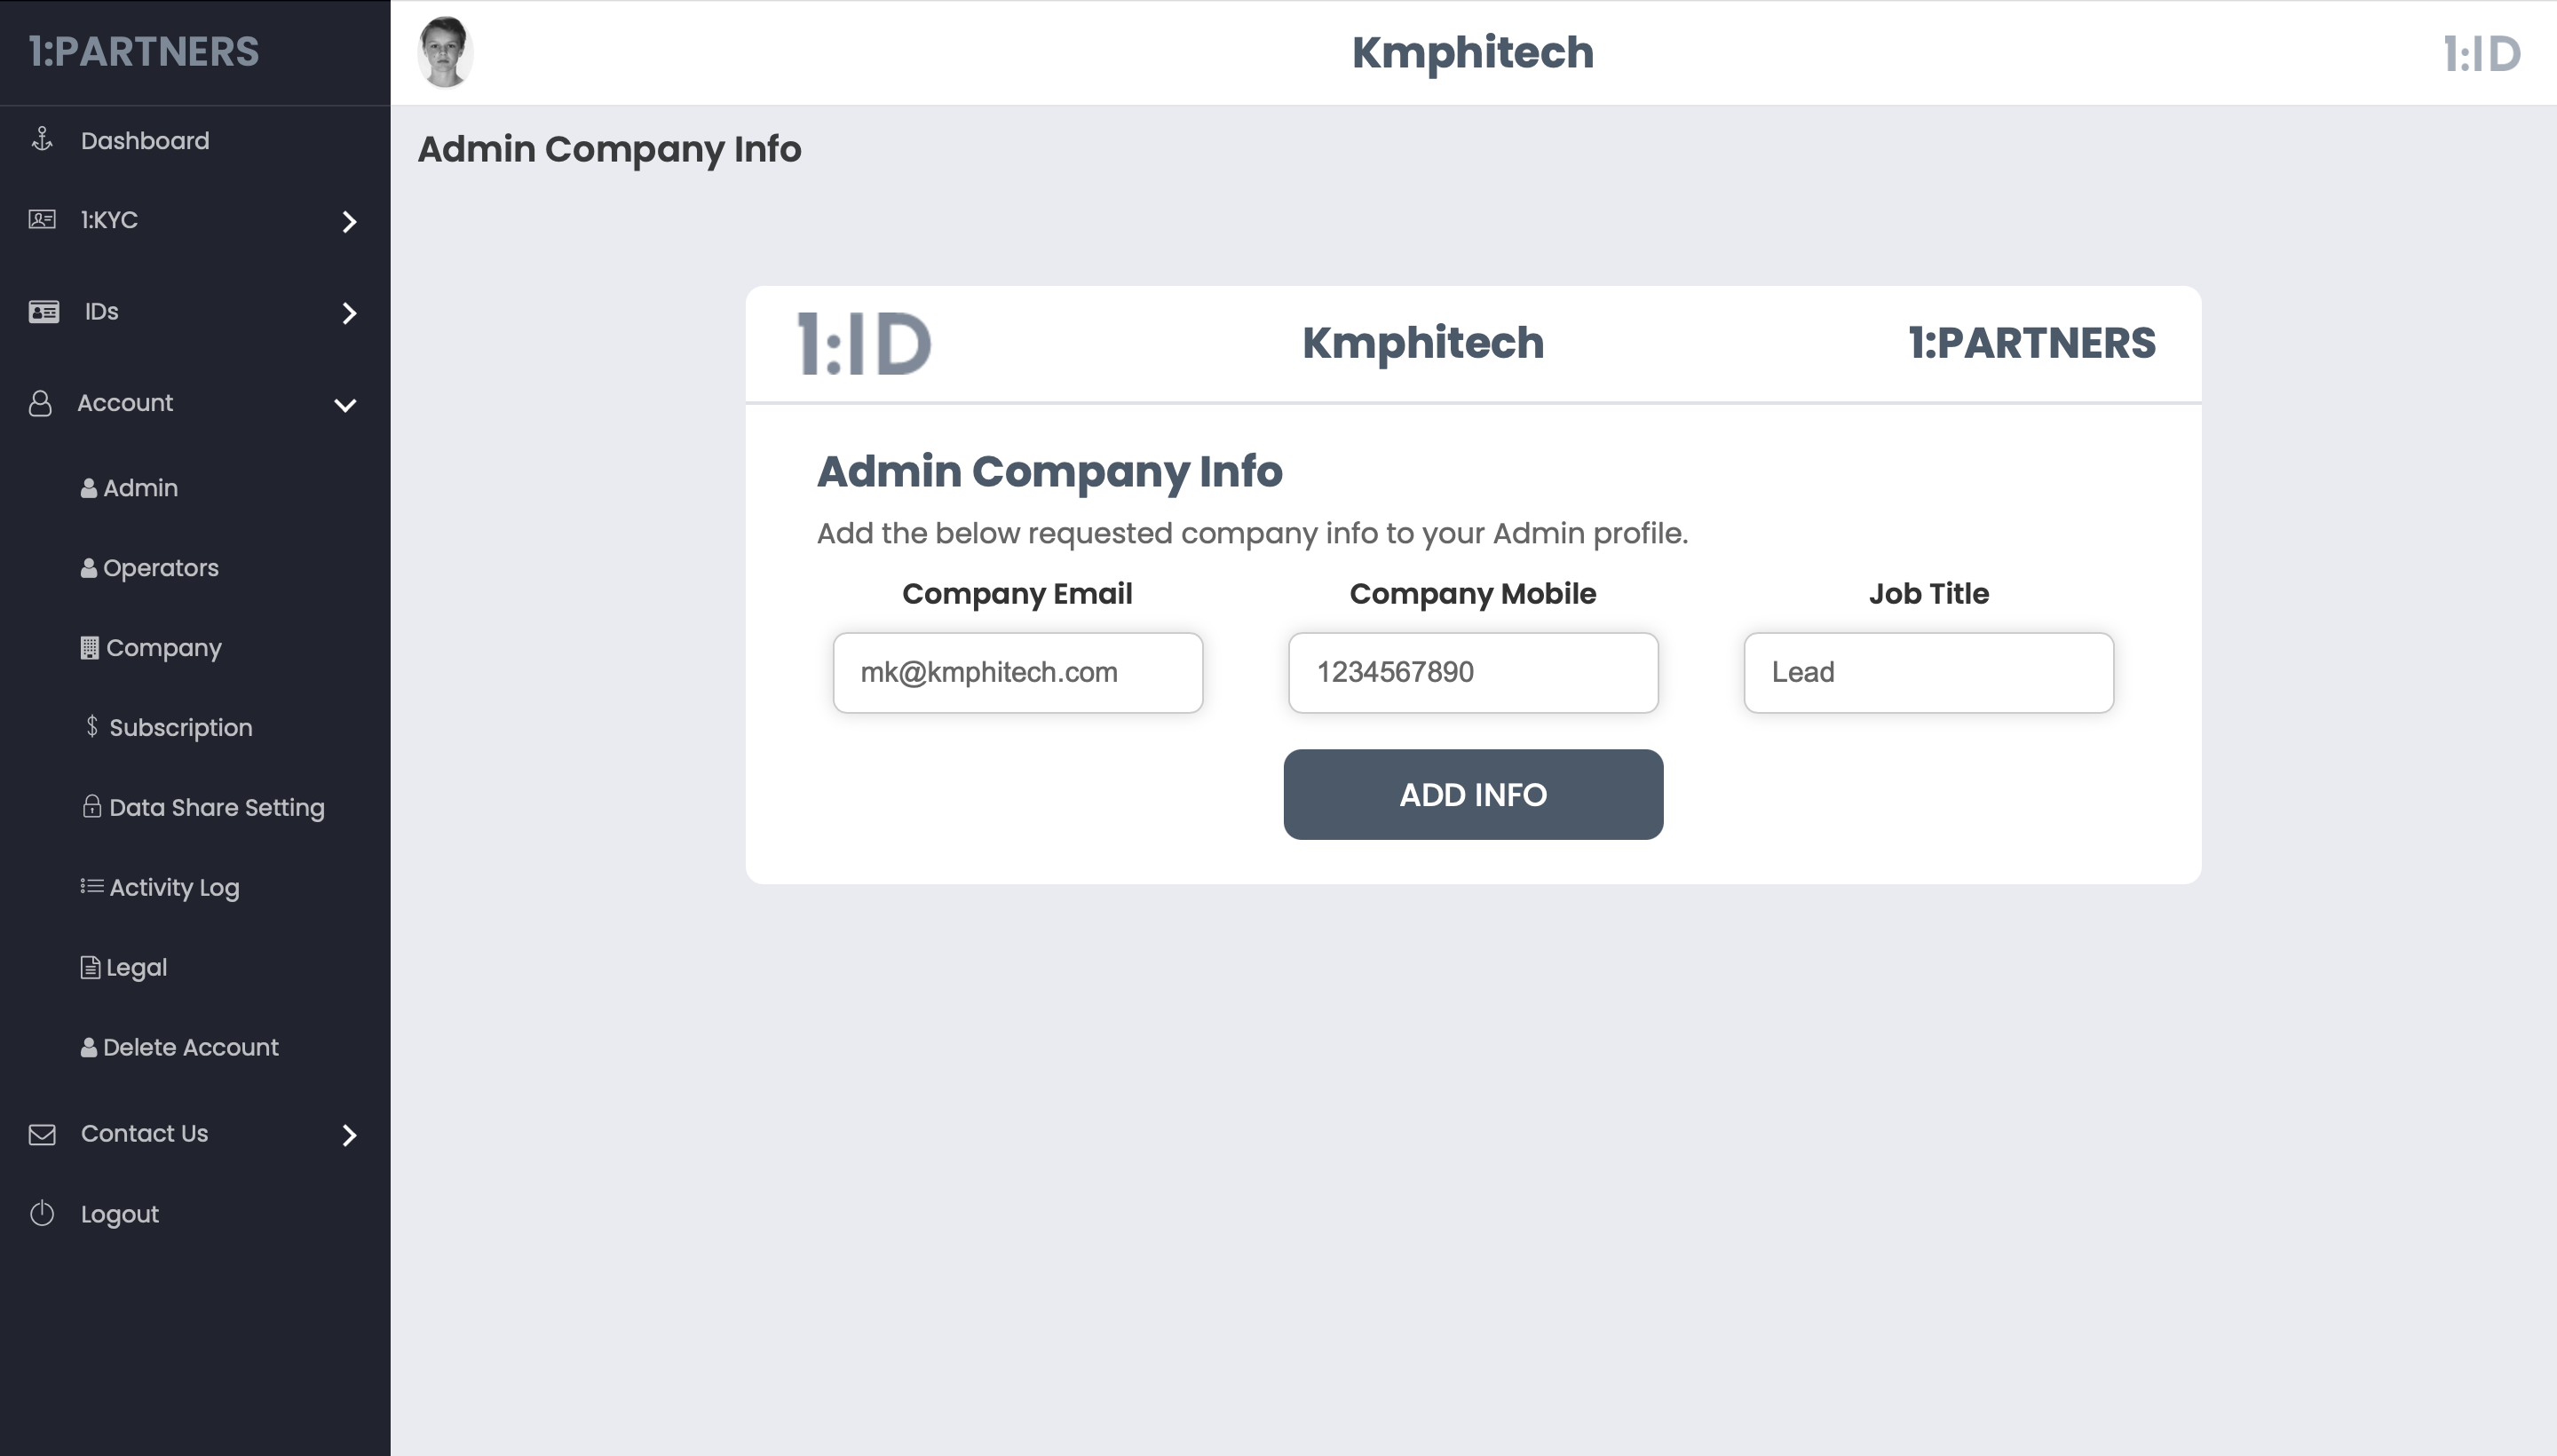
a. Admin : Admin tab shows the account owner or the person who registers the company as a Partner with 1:ID. Admin can view his 1:ID card from here and can edit any data.

Admin can add/edit his company information from this page. Click on the Add Company Info button on the top left of the Admin page as shown in the above image to change the company information.
Admin can add an Operator who handles the Panel in his absence. Click on the Add Operator button on the top right of the Admin page as shown in the above image to add the Operator.
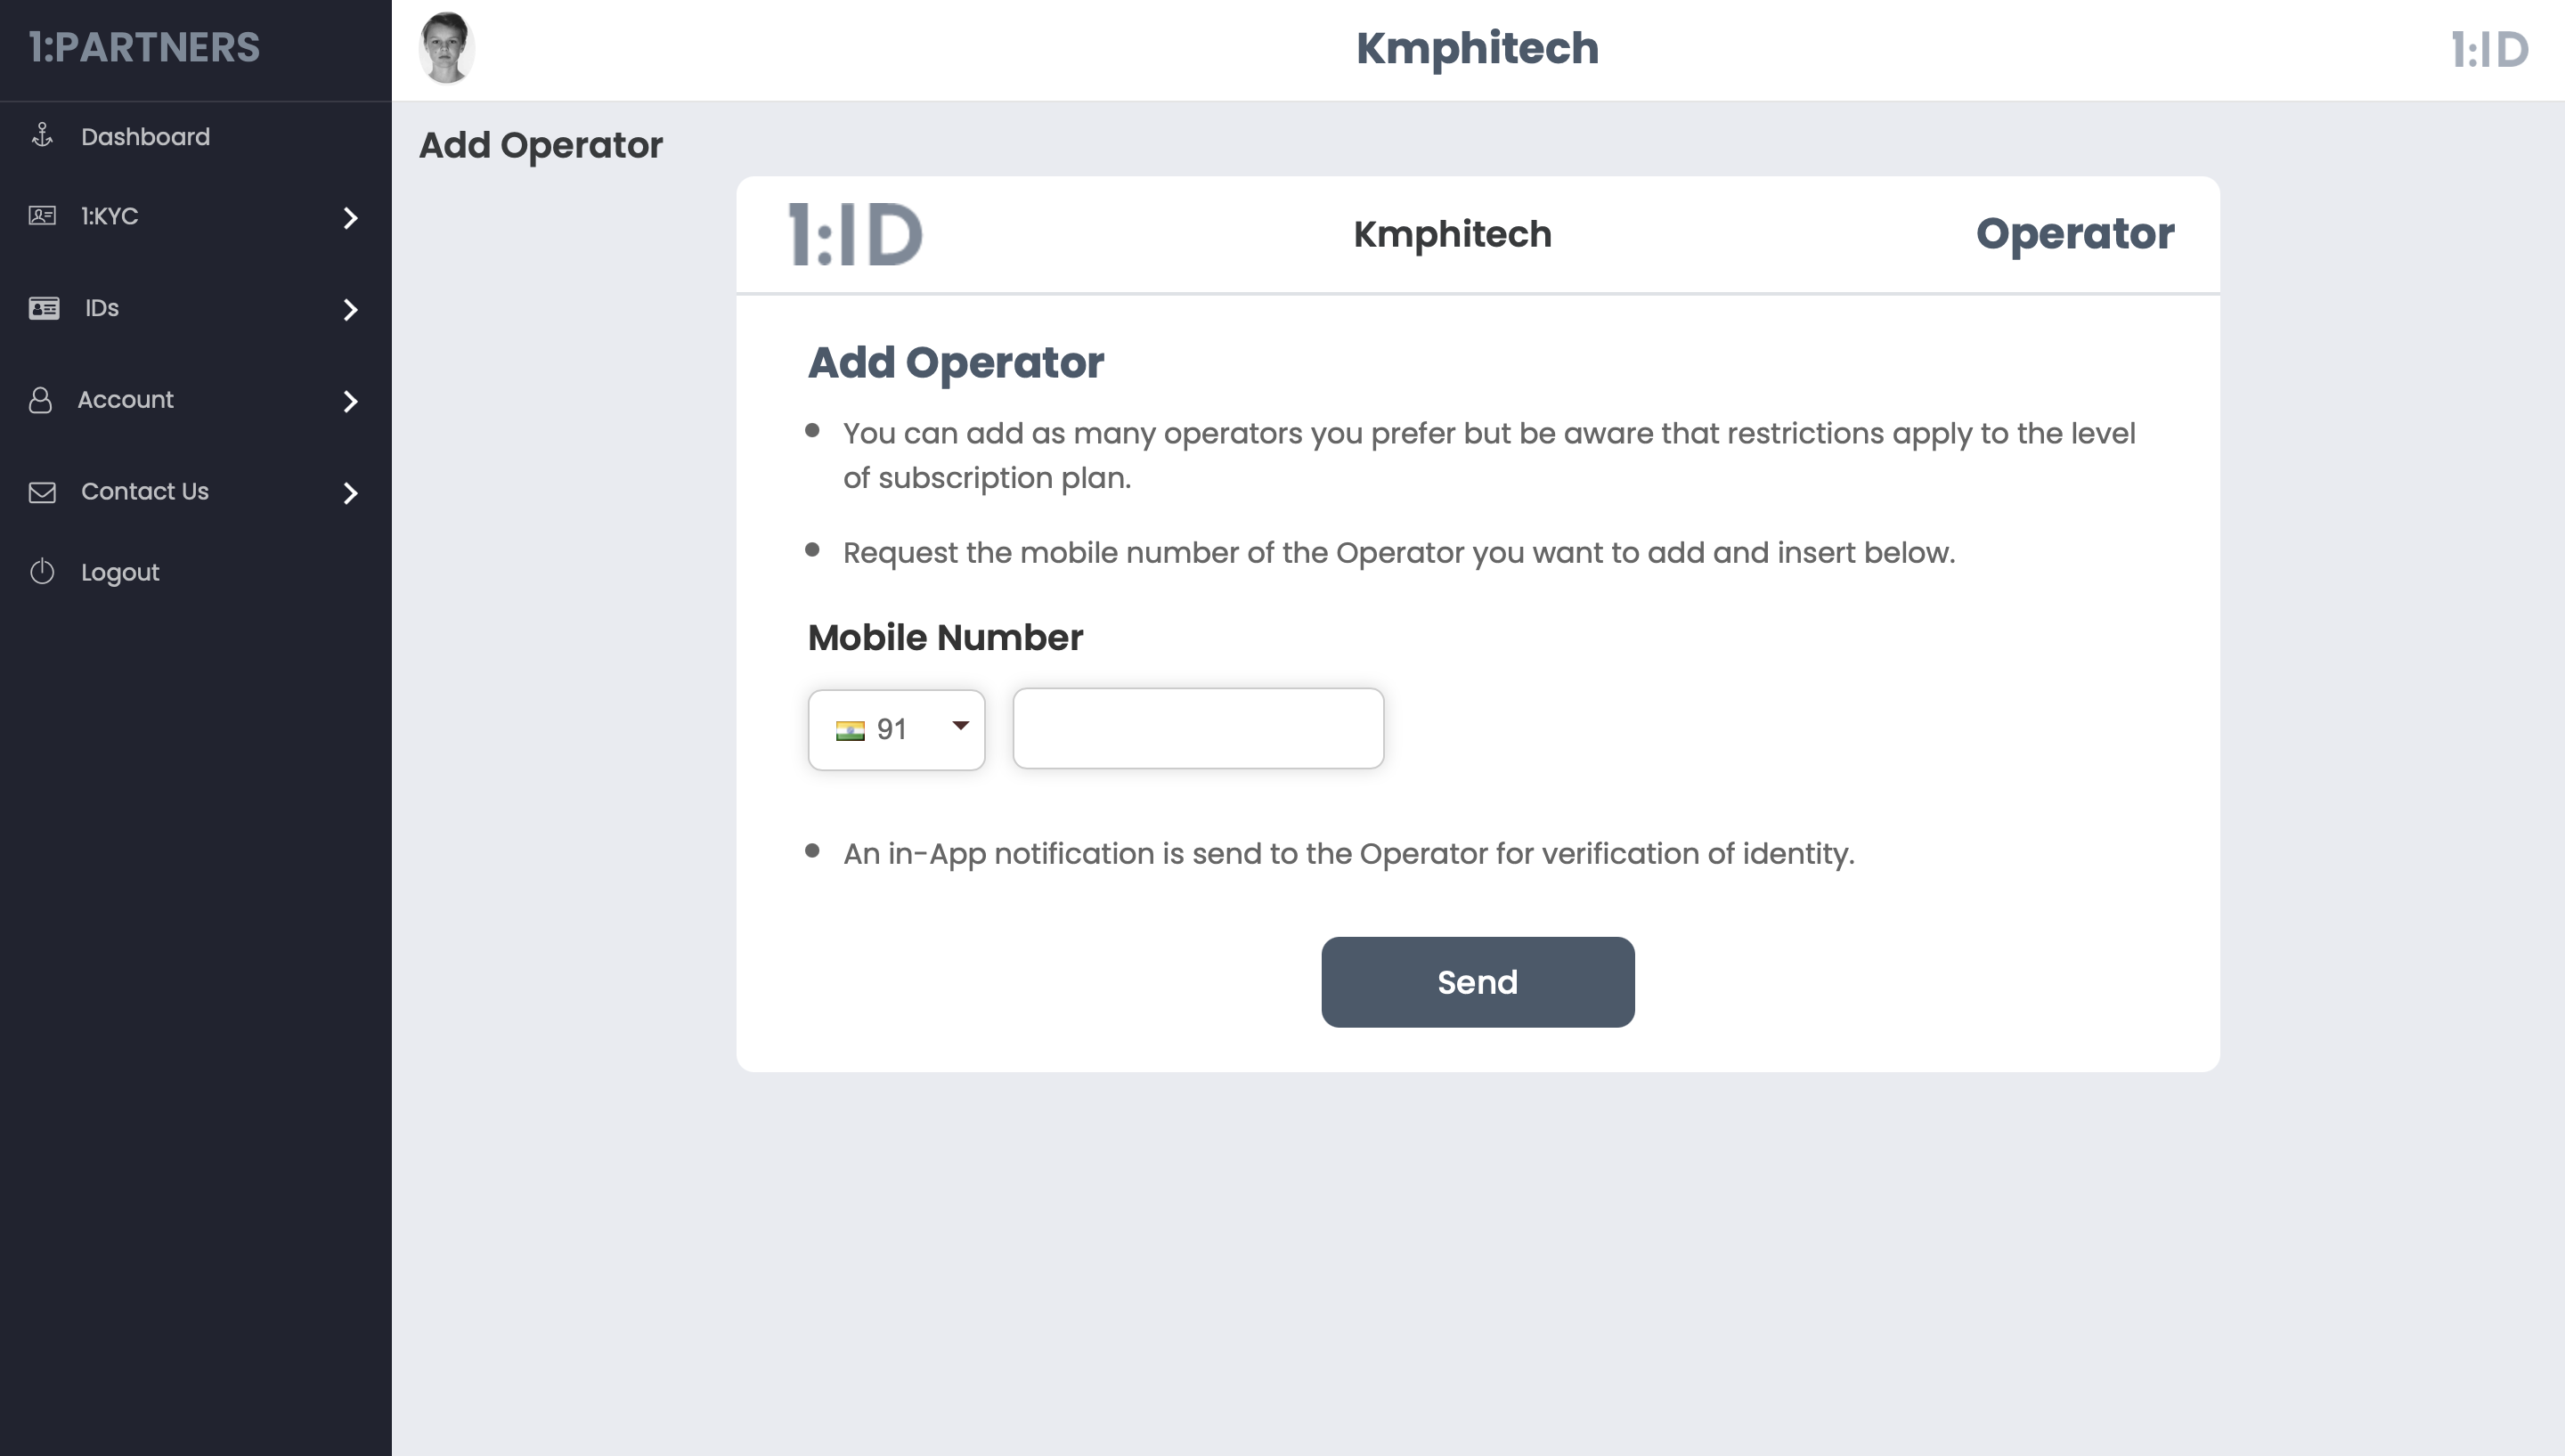
Enter the Mobile number of a person you want to add as an Operator.
Please note that Operator has all the access of the panel as the Admin except Operator can not delete any IDs or records from the panel.
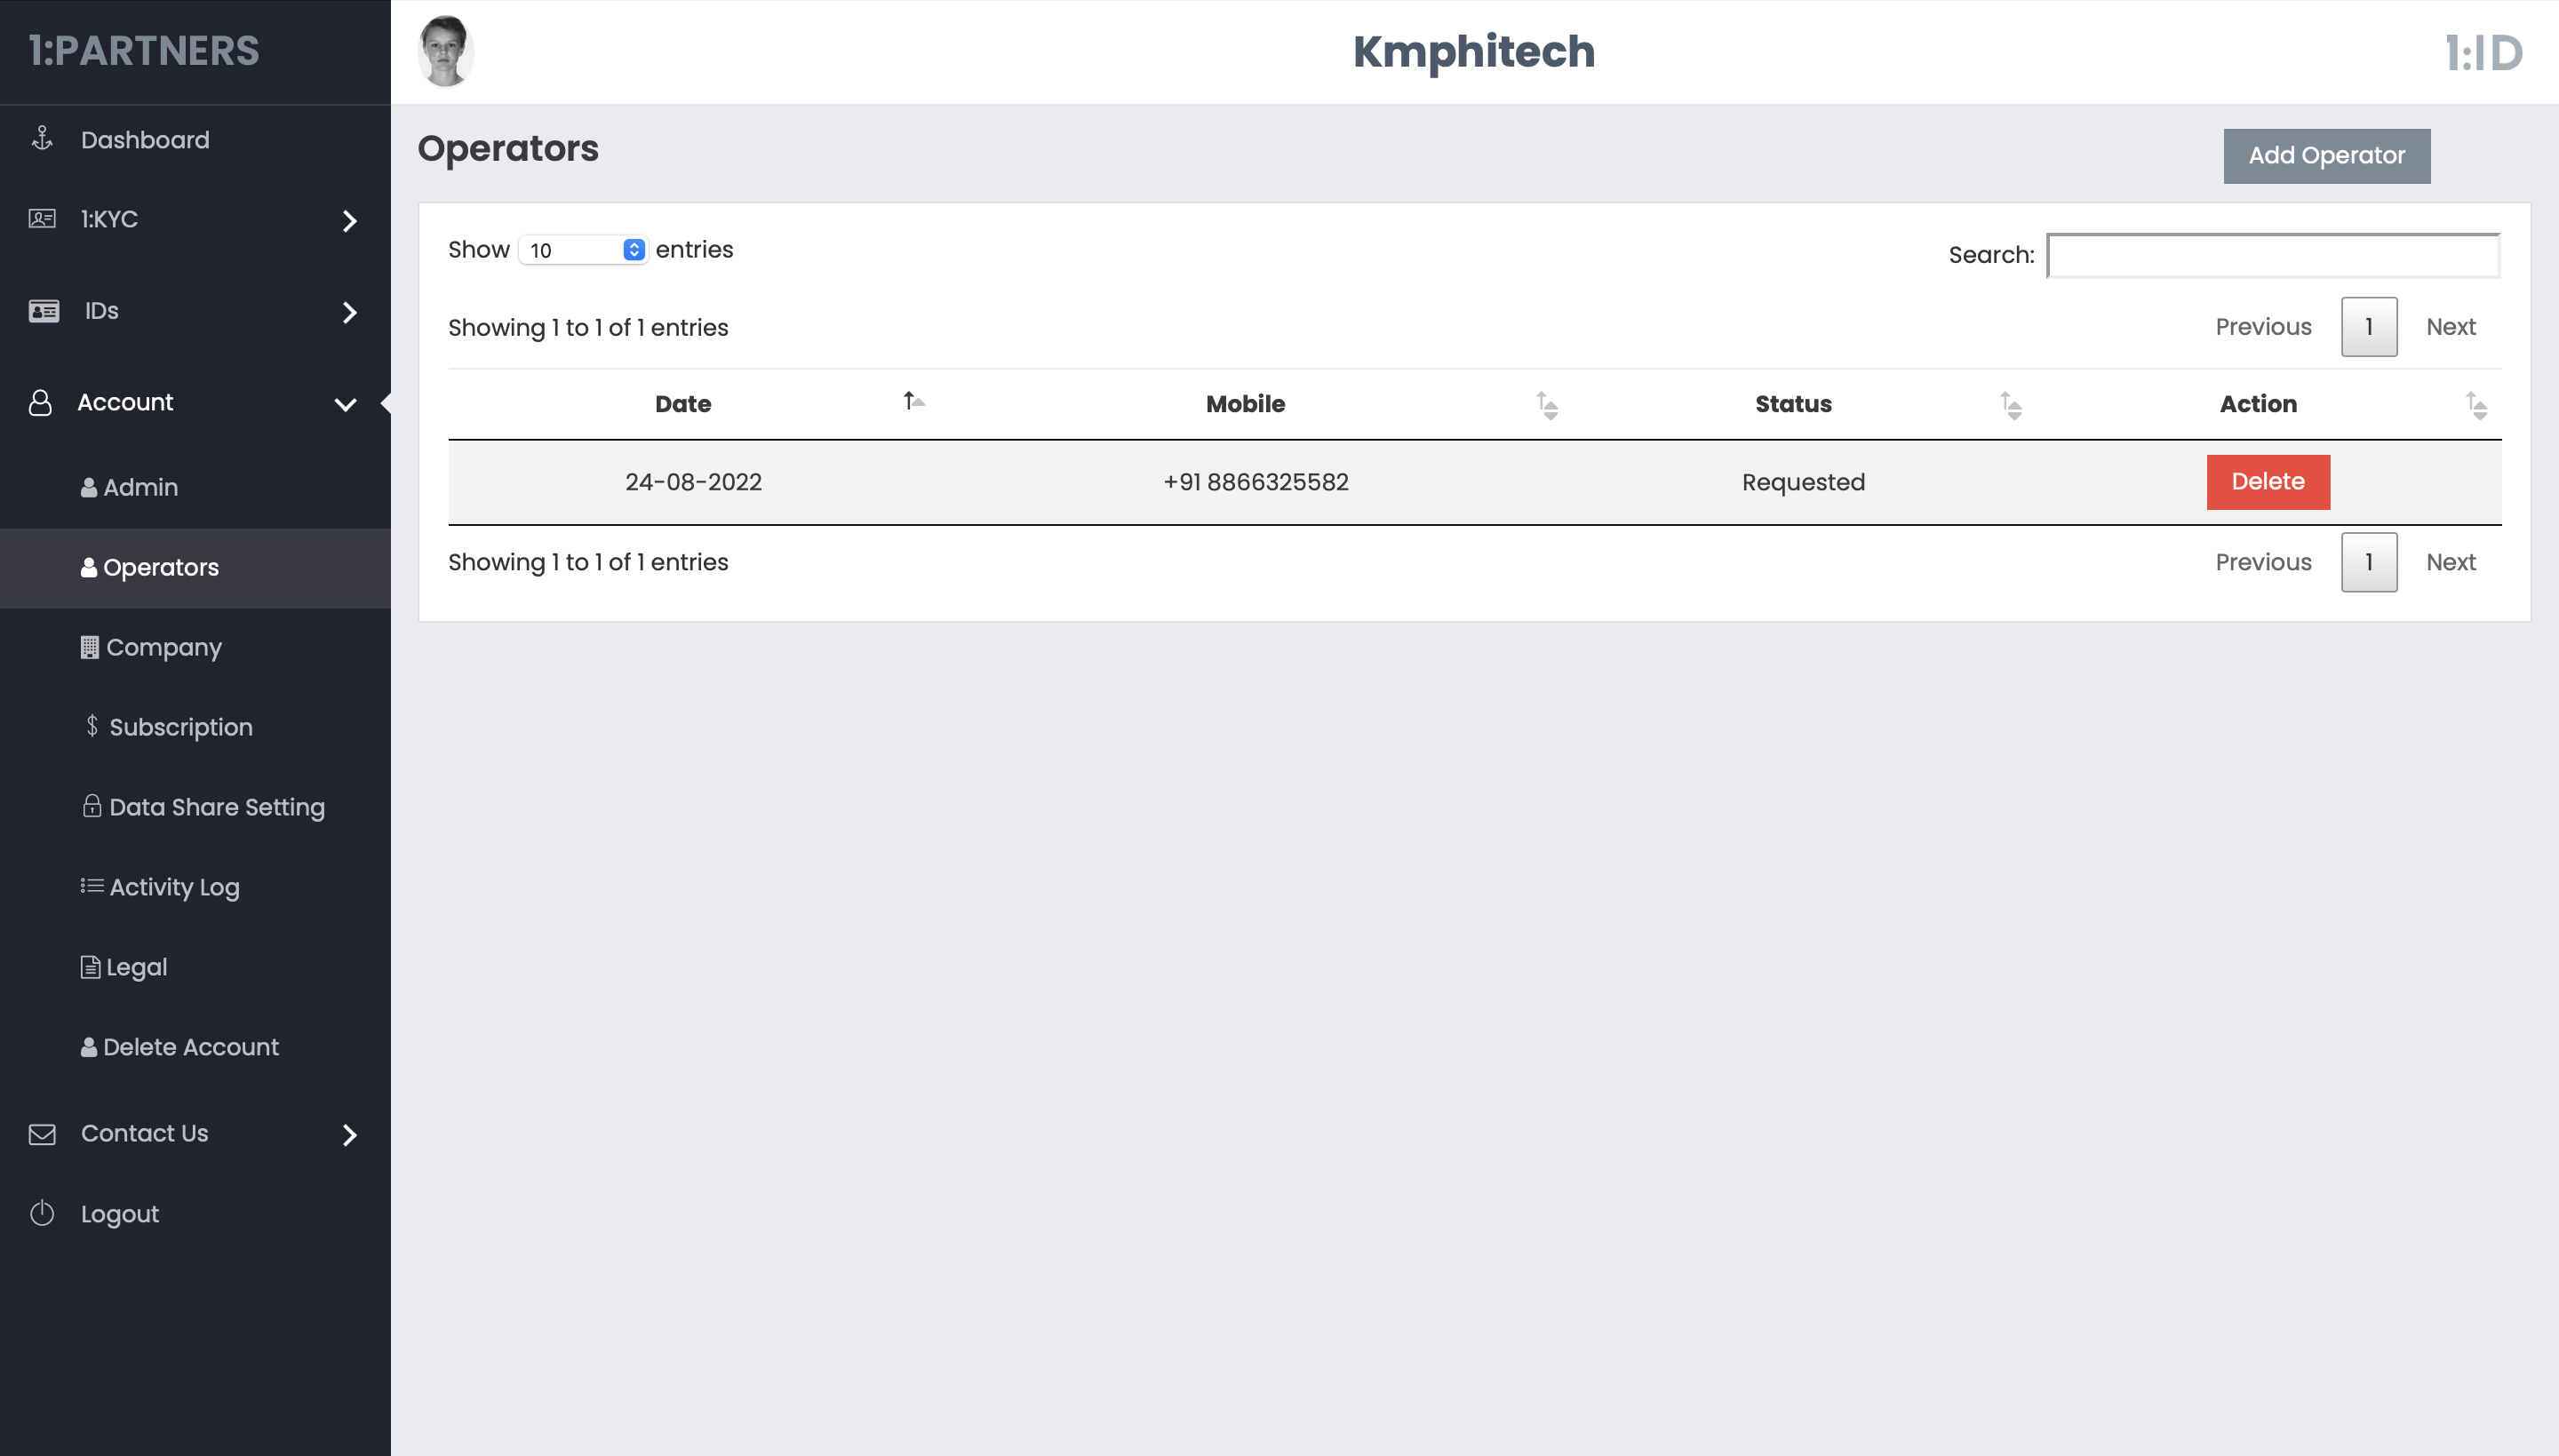
b. Operators : In the Operators tab, all the Operators Admin has added or requested will be shown here. Admin can remove any Operator from this tab.
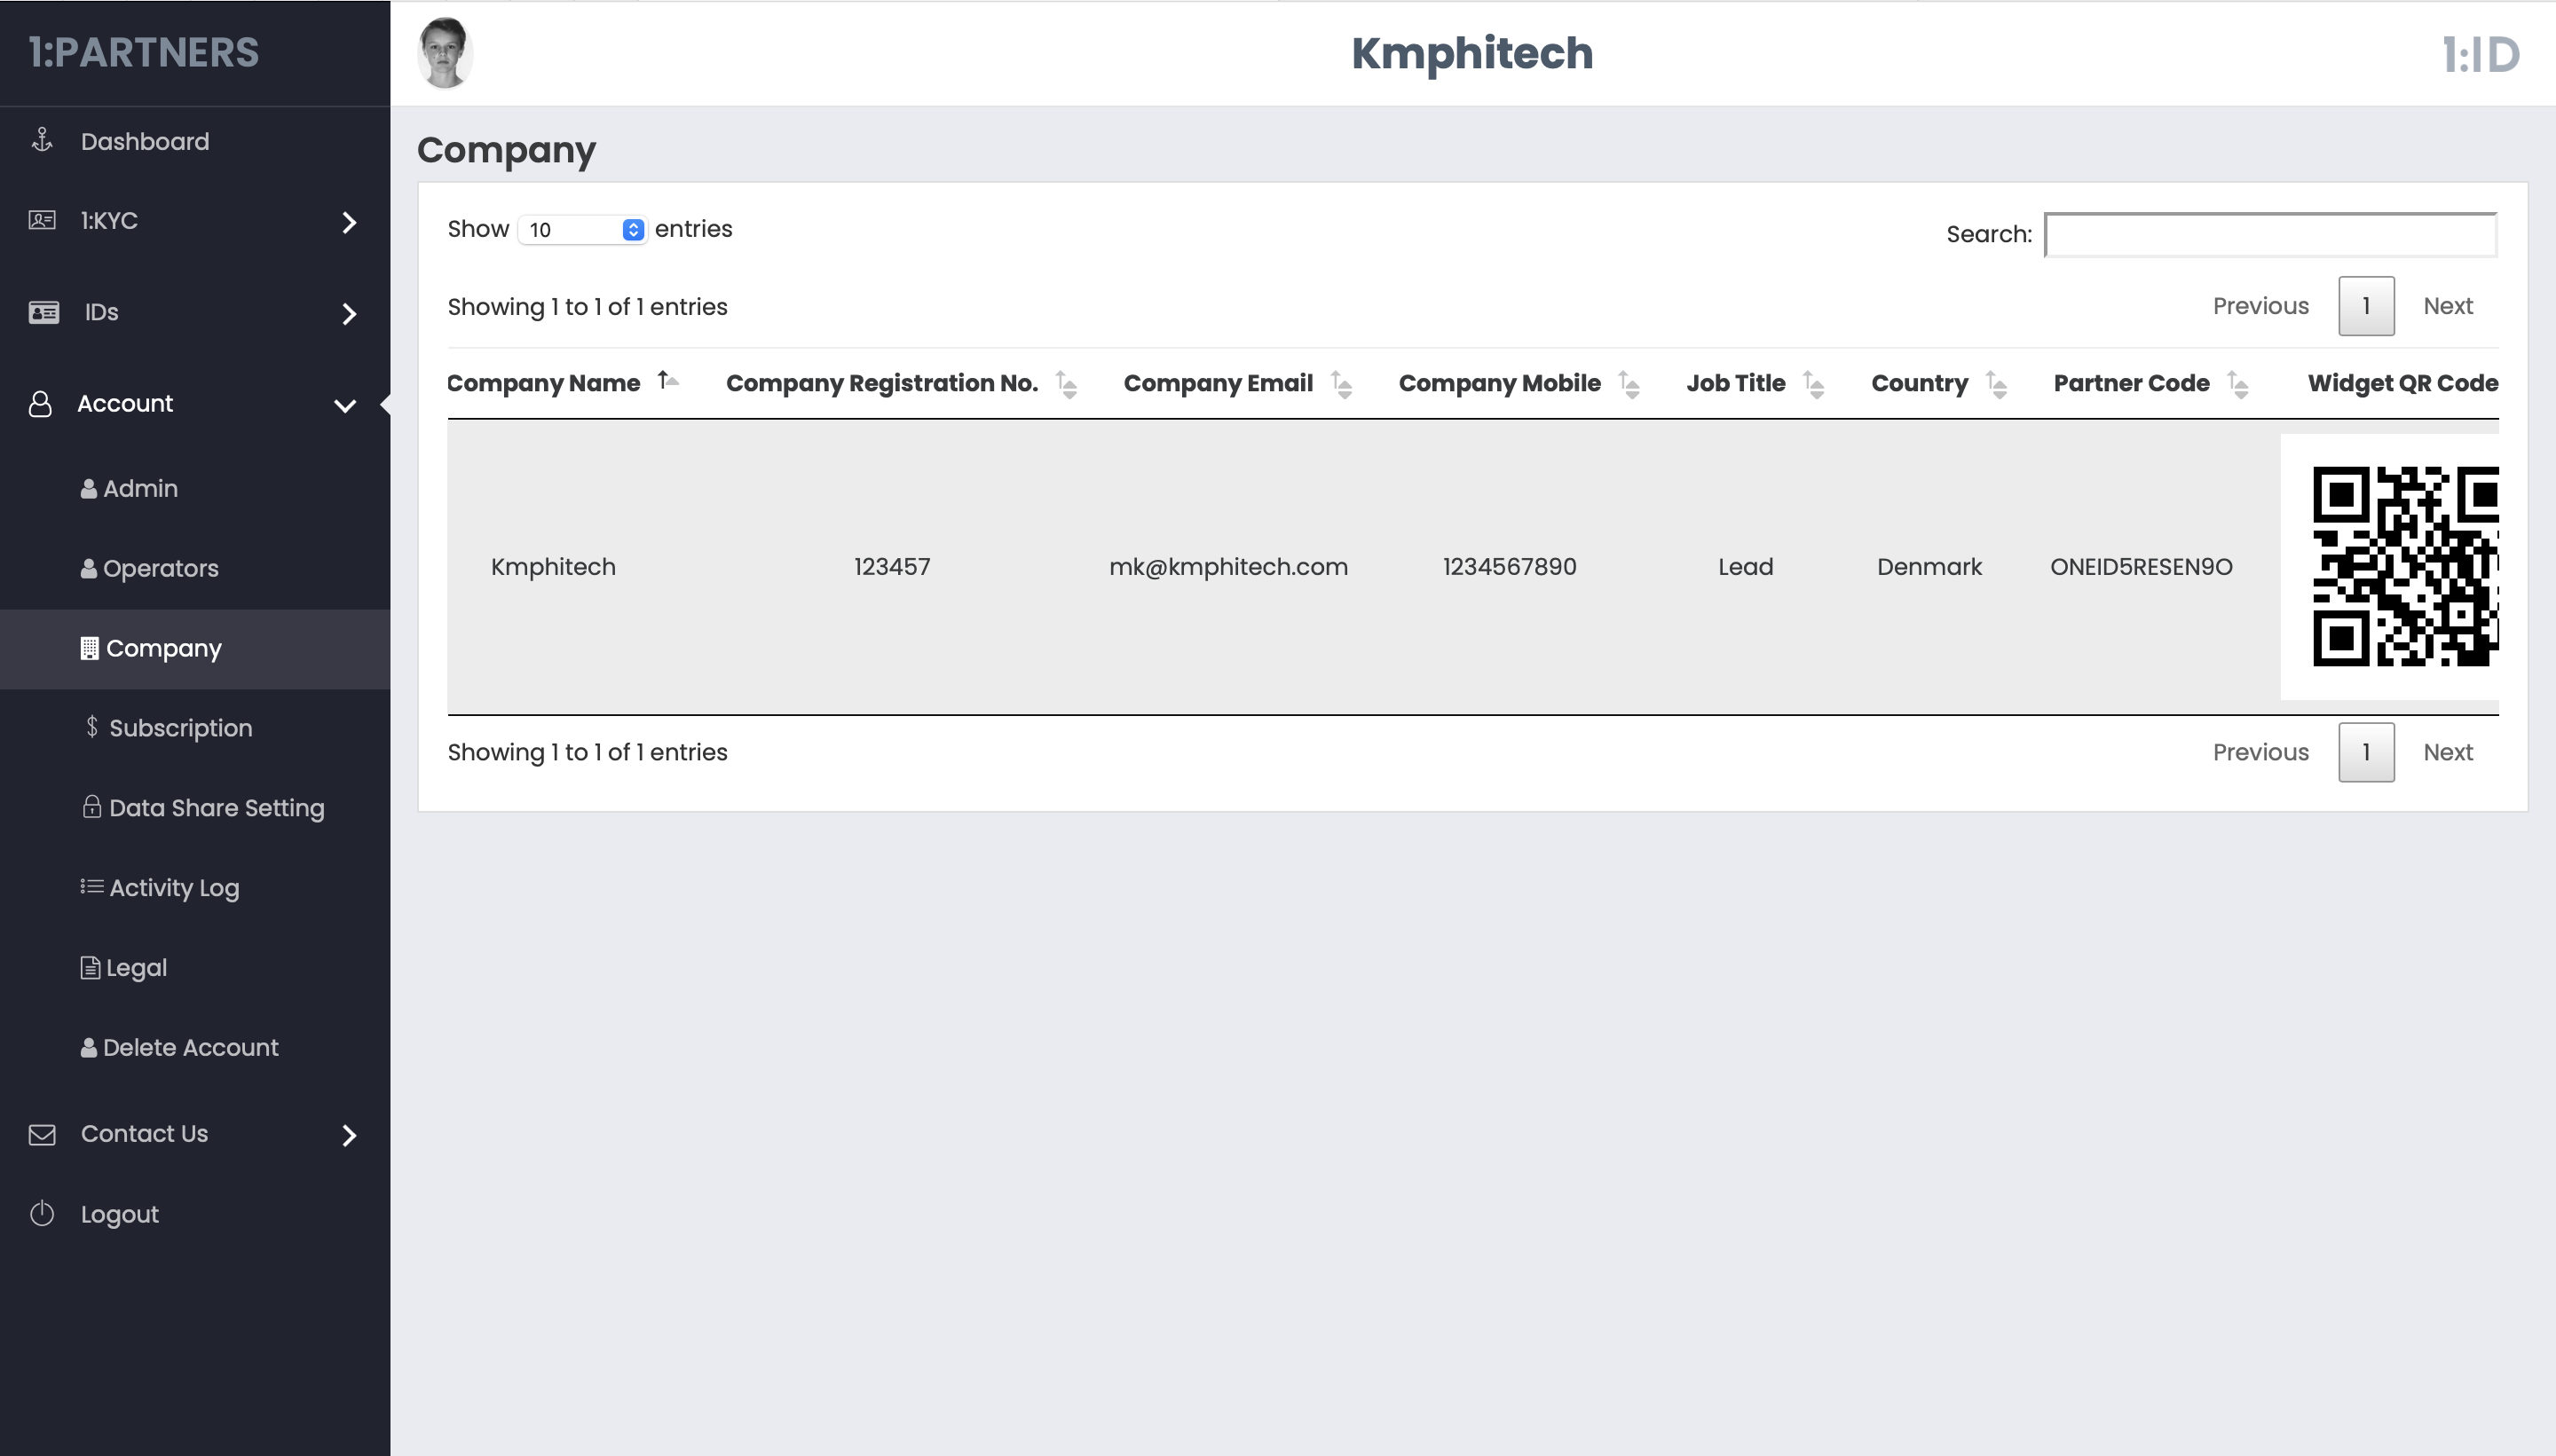
c. Company : In this page, all the companies that Admin has registered with 1:ID as a Partner and the basic informations of these companies will be listed out.
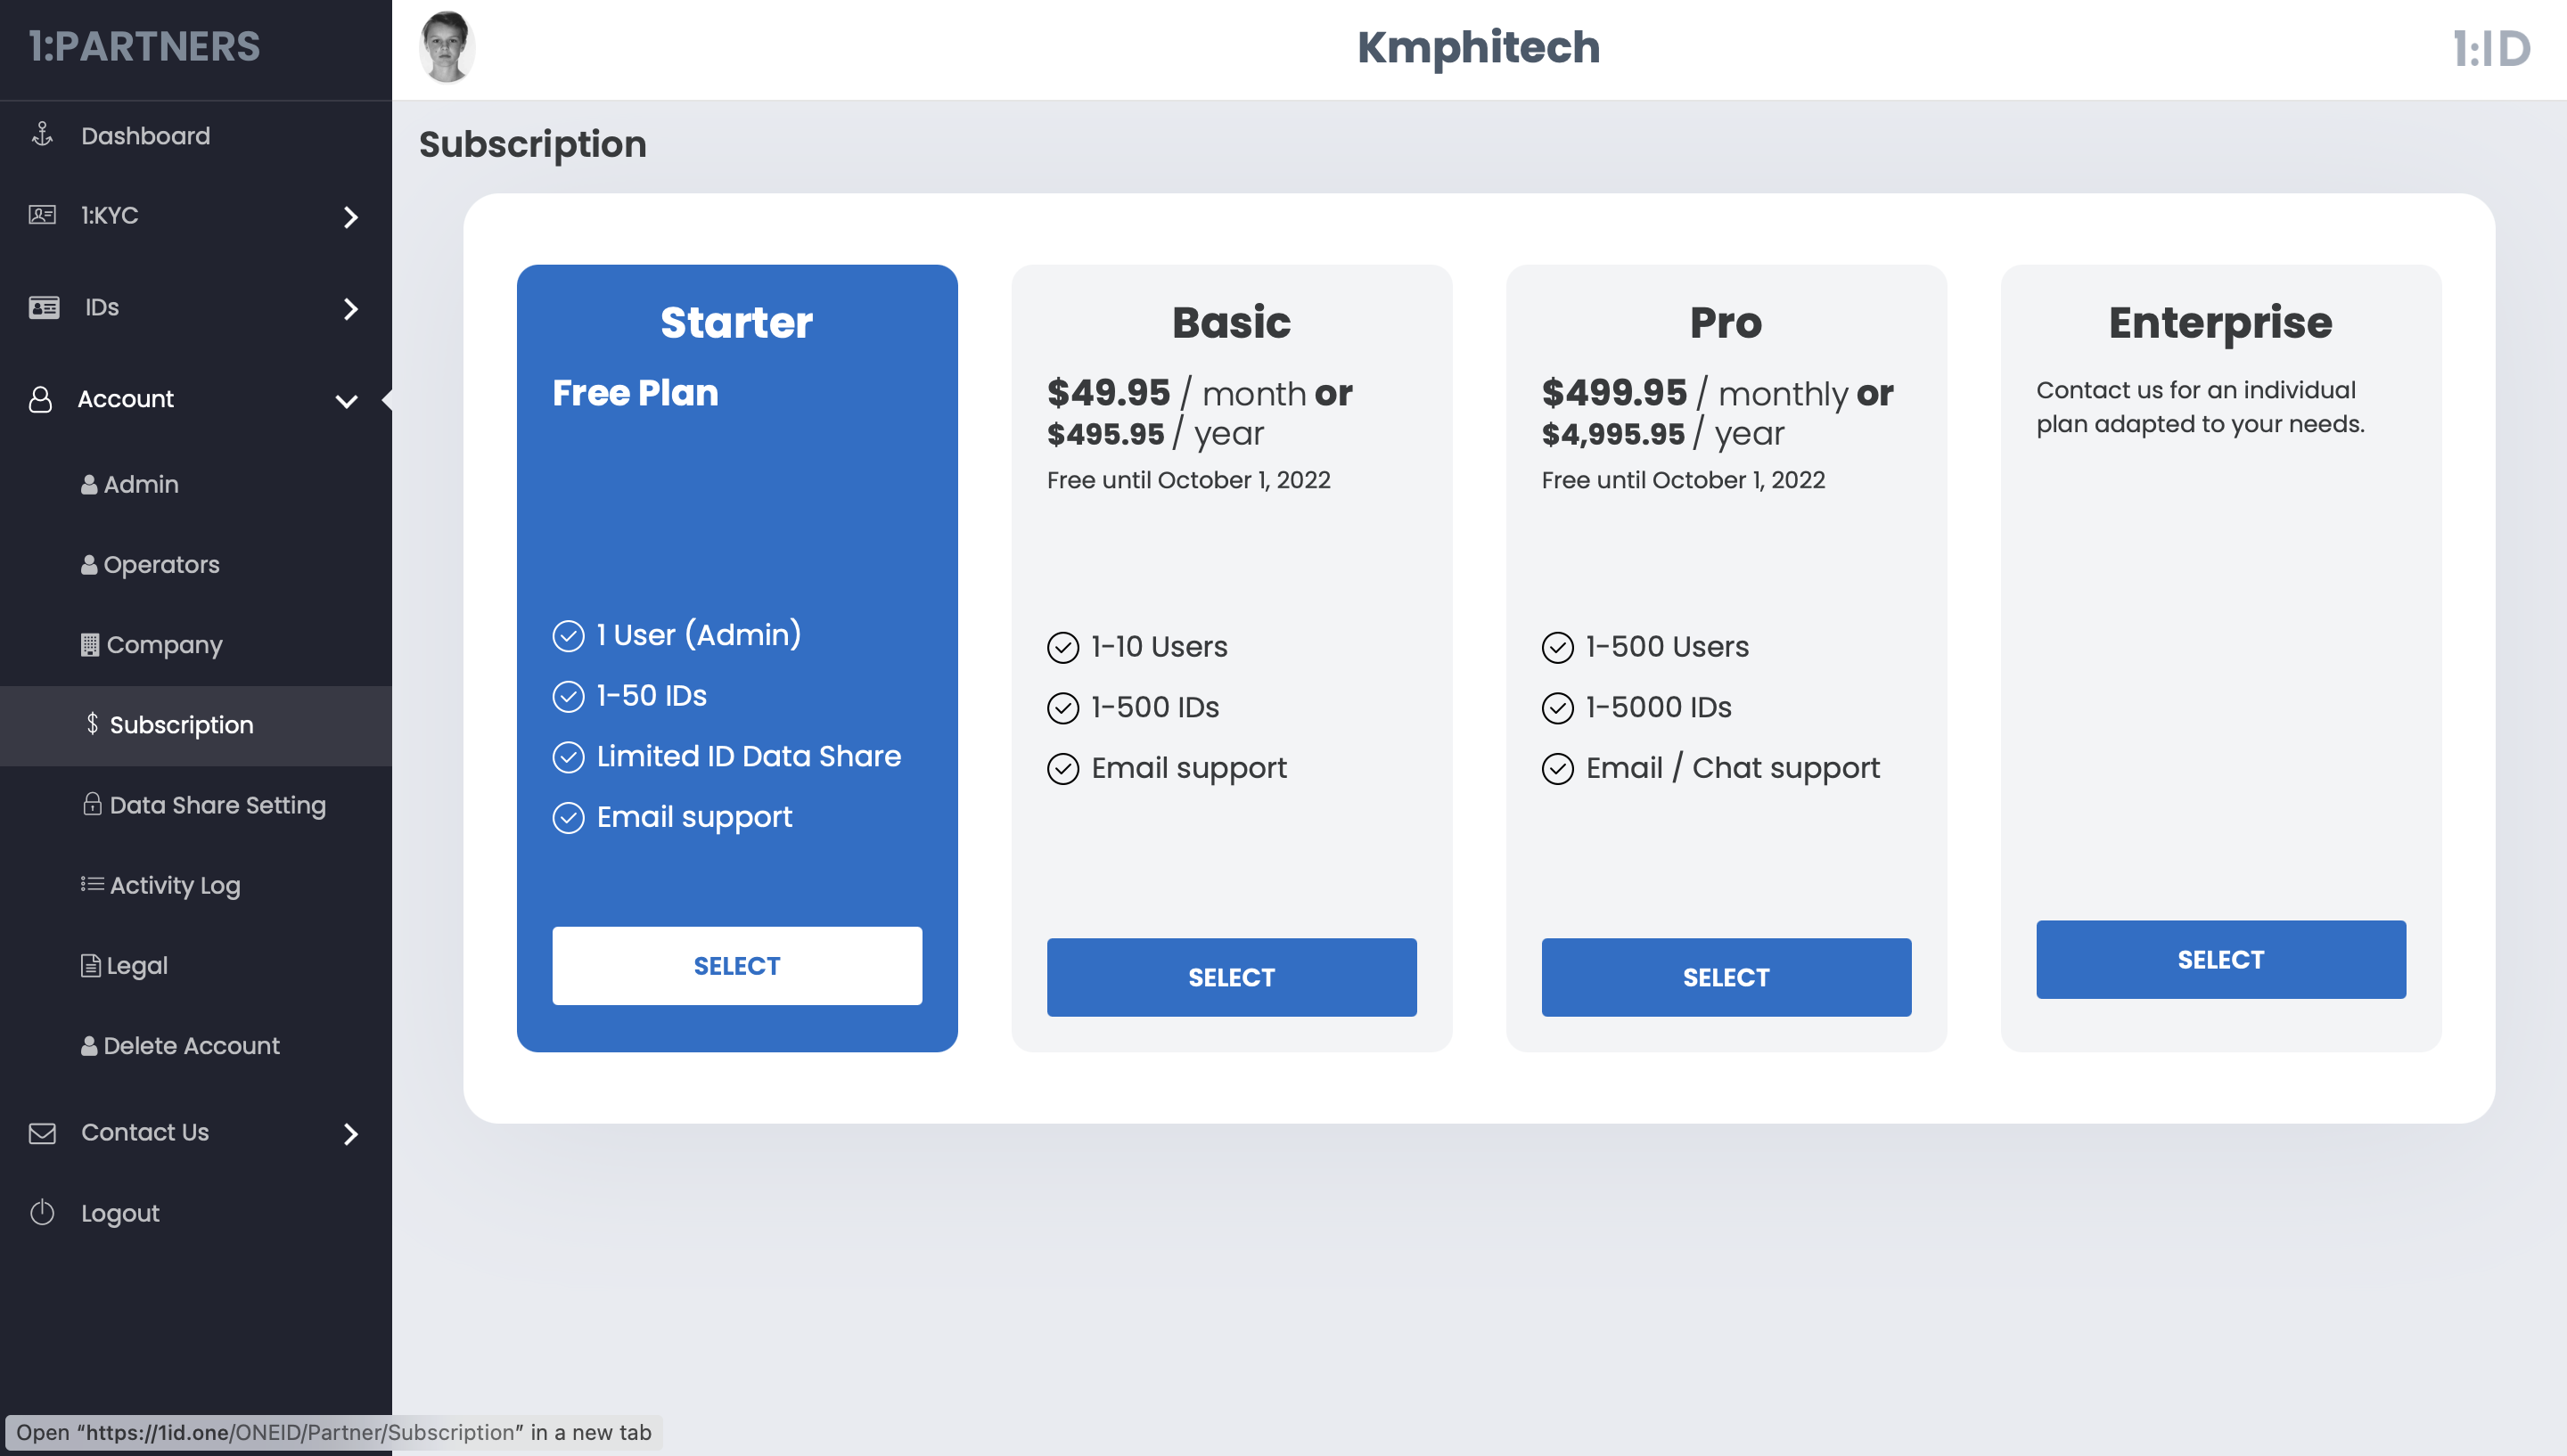
d. Subscriptions : This page shows the Subscription plans of 1:ID and the current running plan of a Partner company. Admin can change the subscription plan from here.
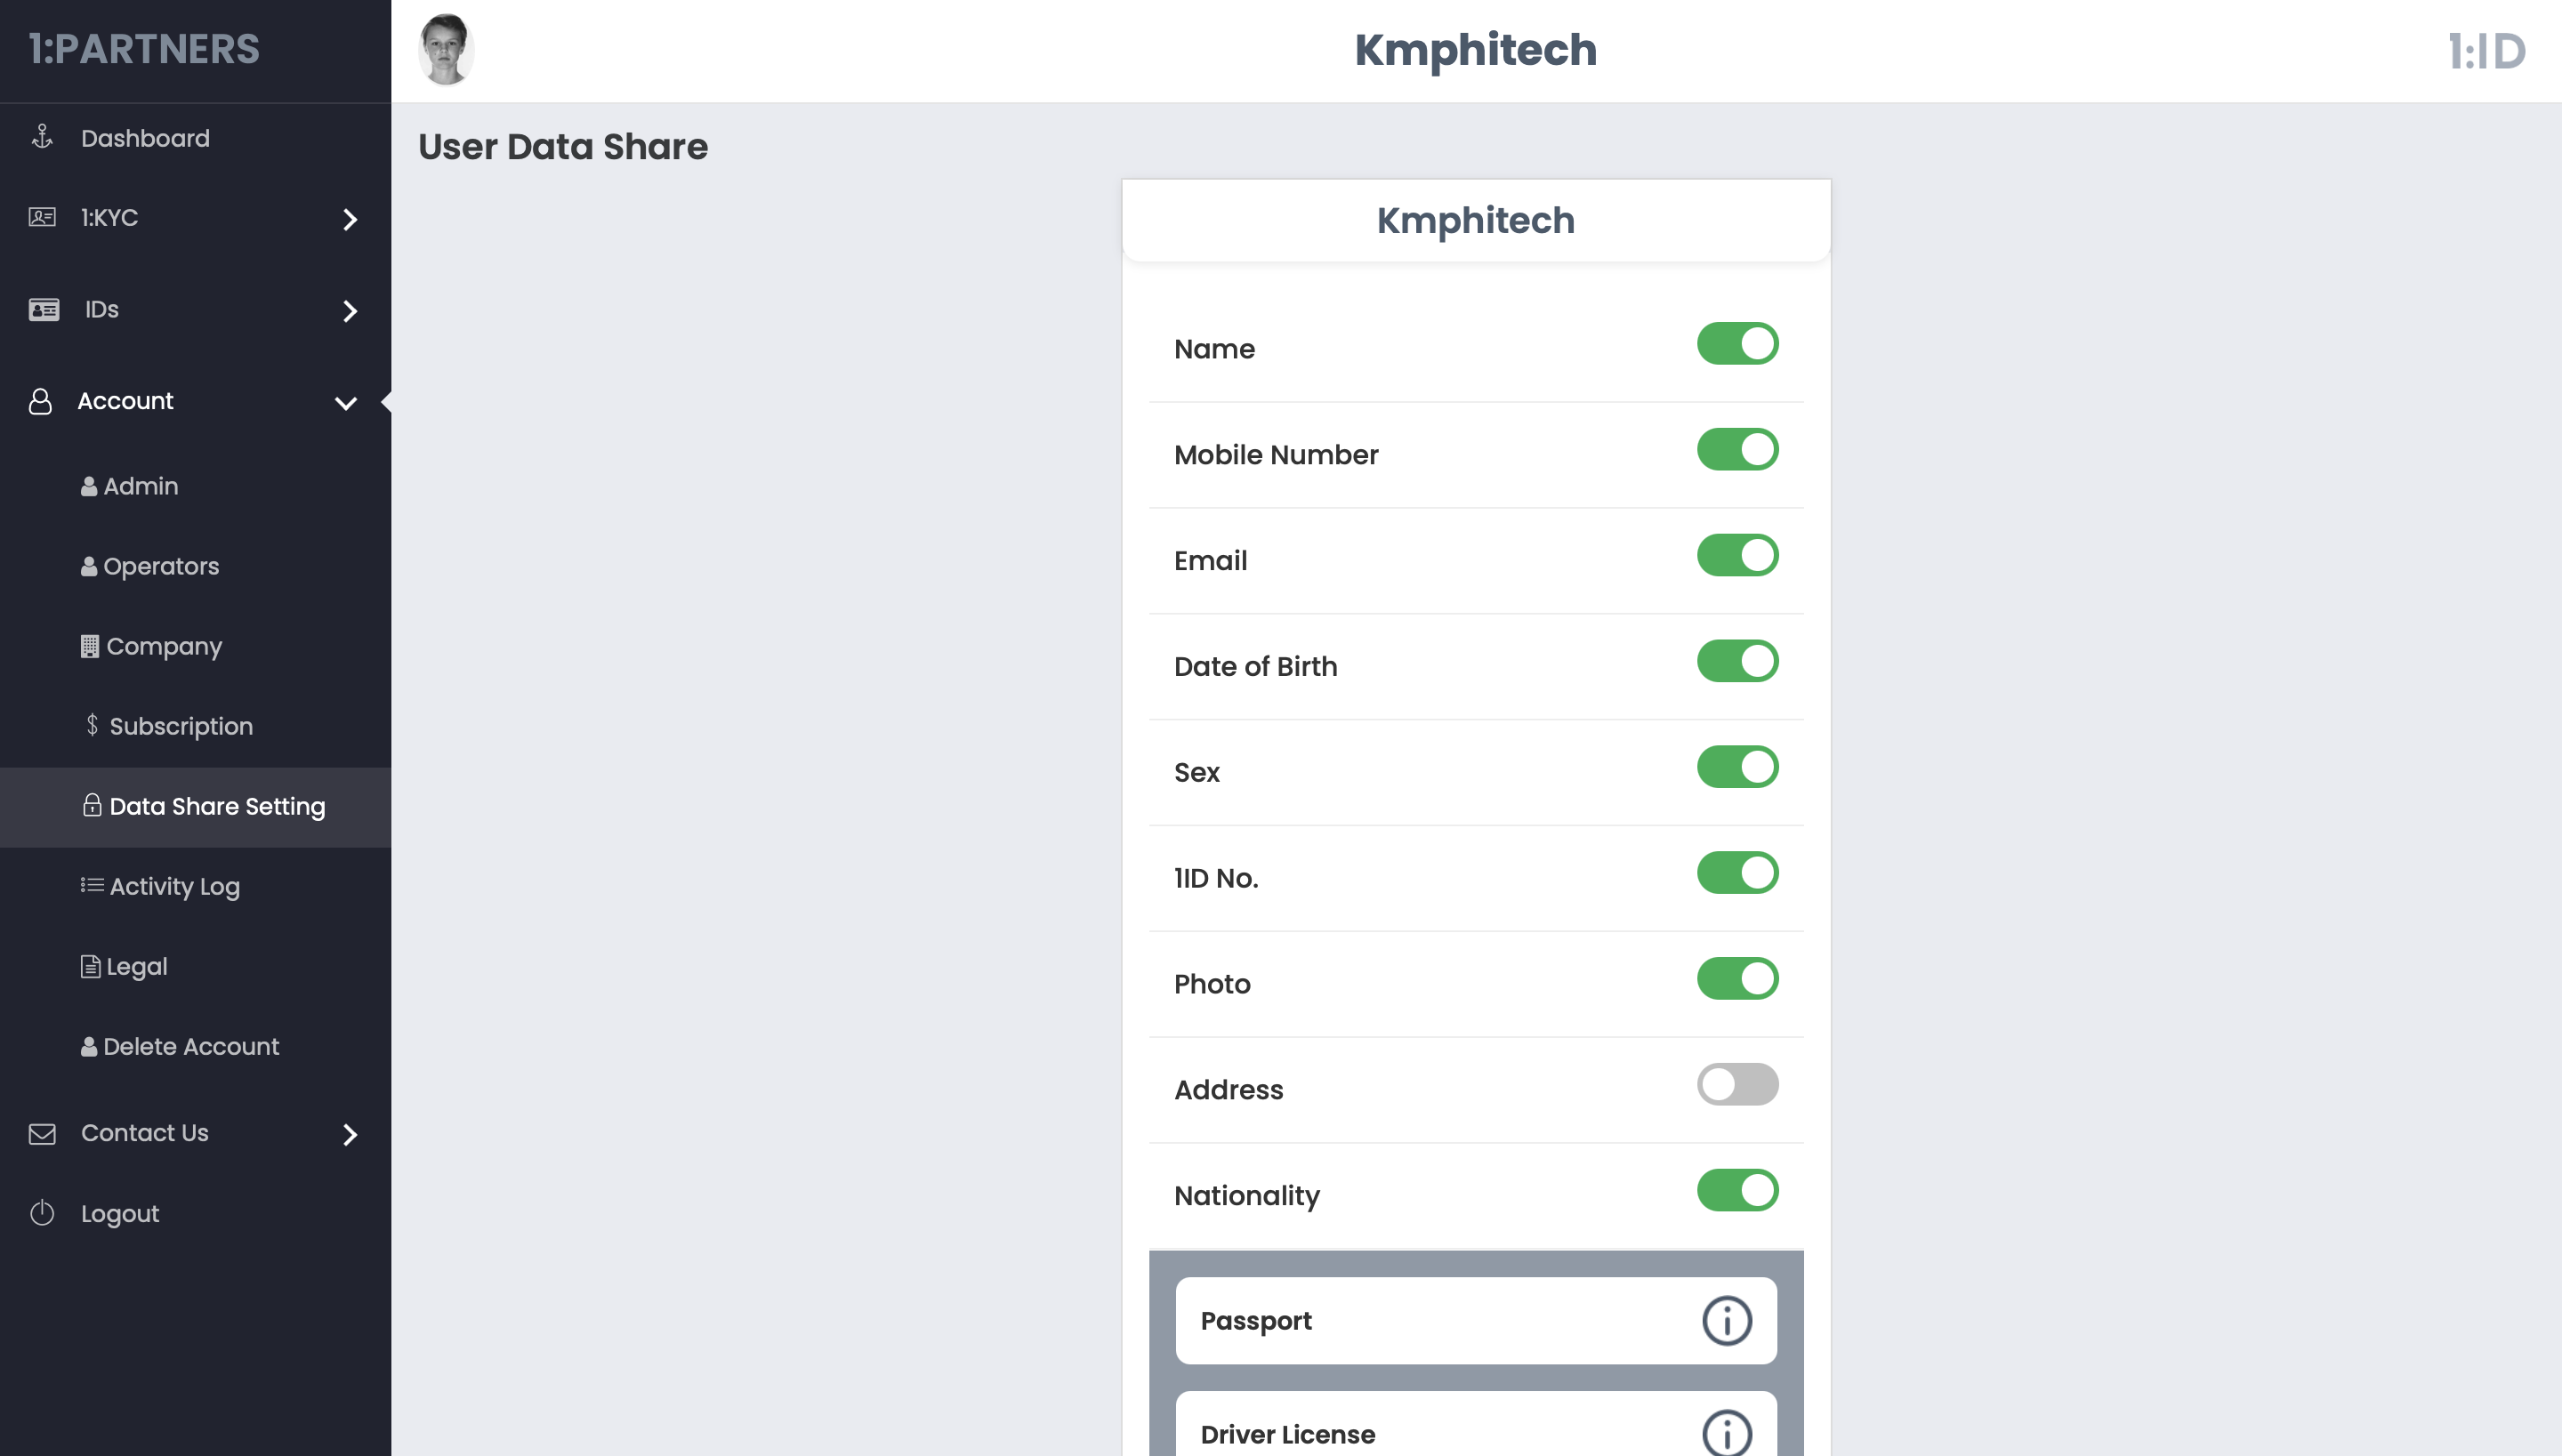
e. Data Share Setting : This page shows that the green toggled data are the user's data that company has access to.
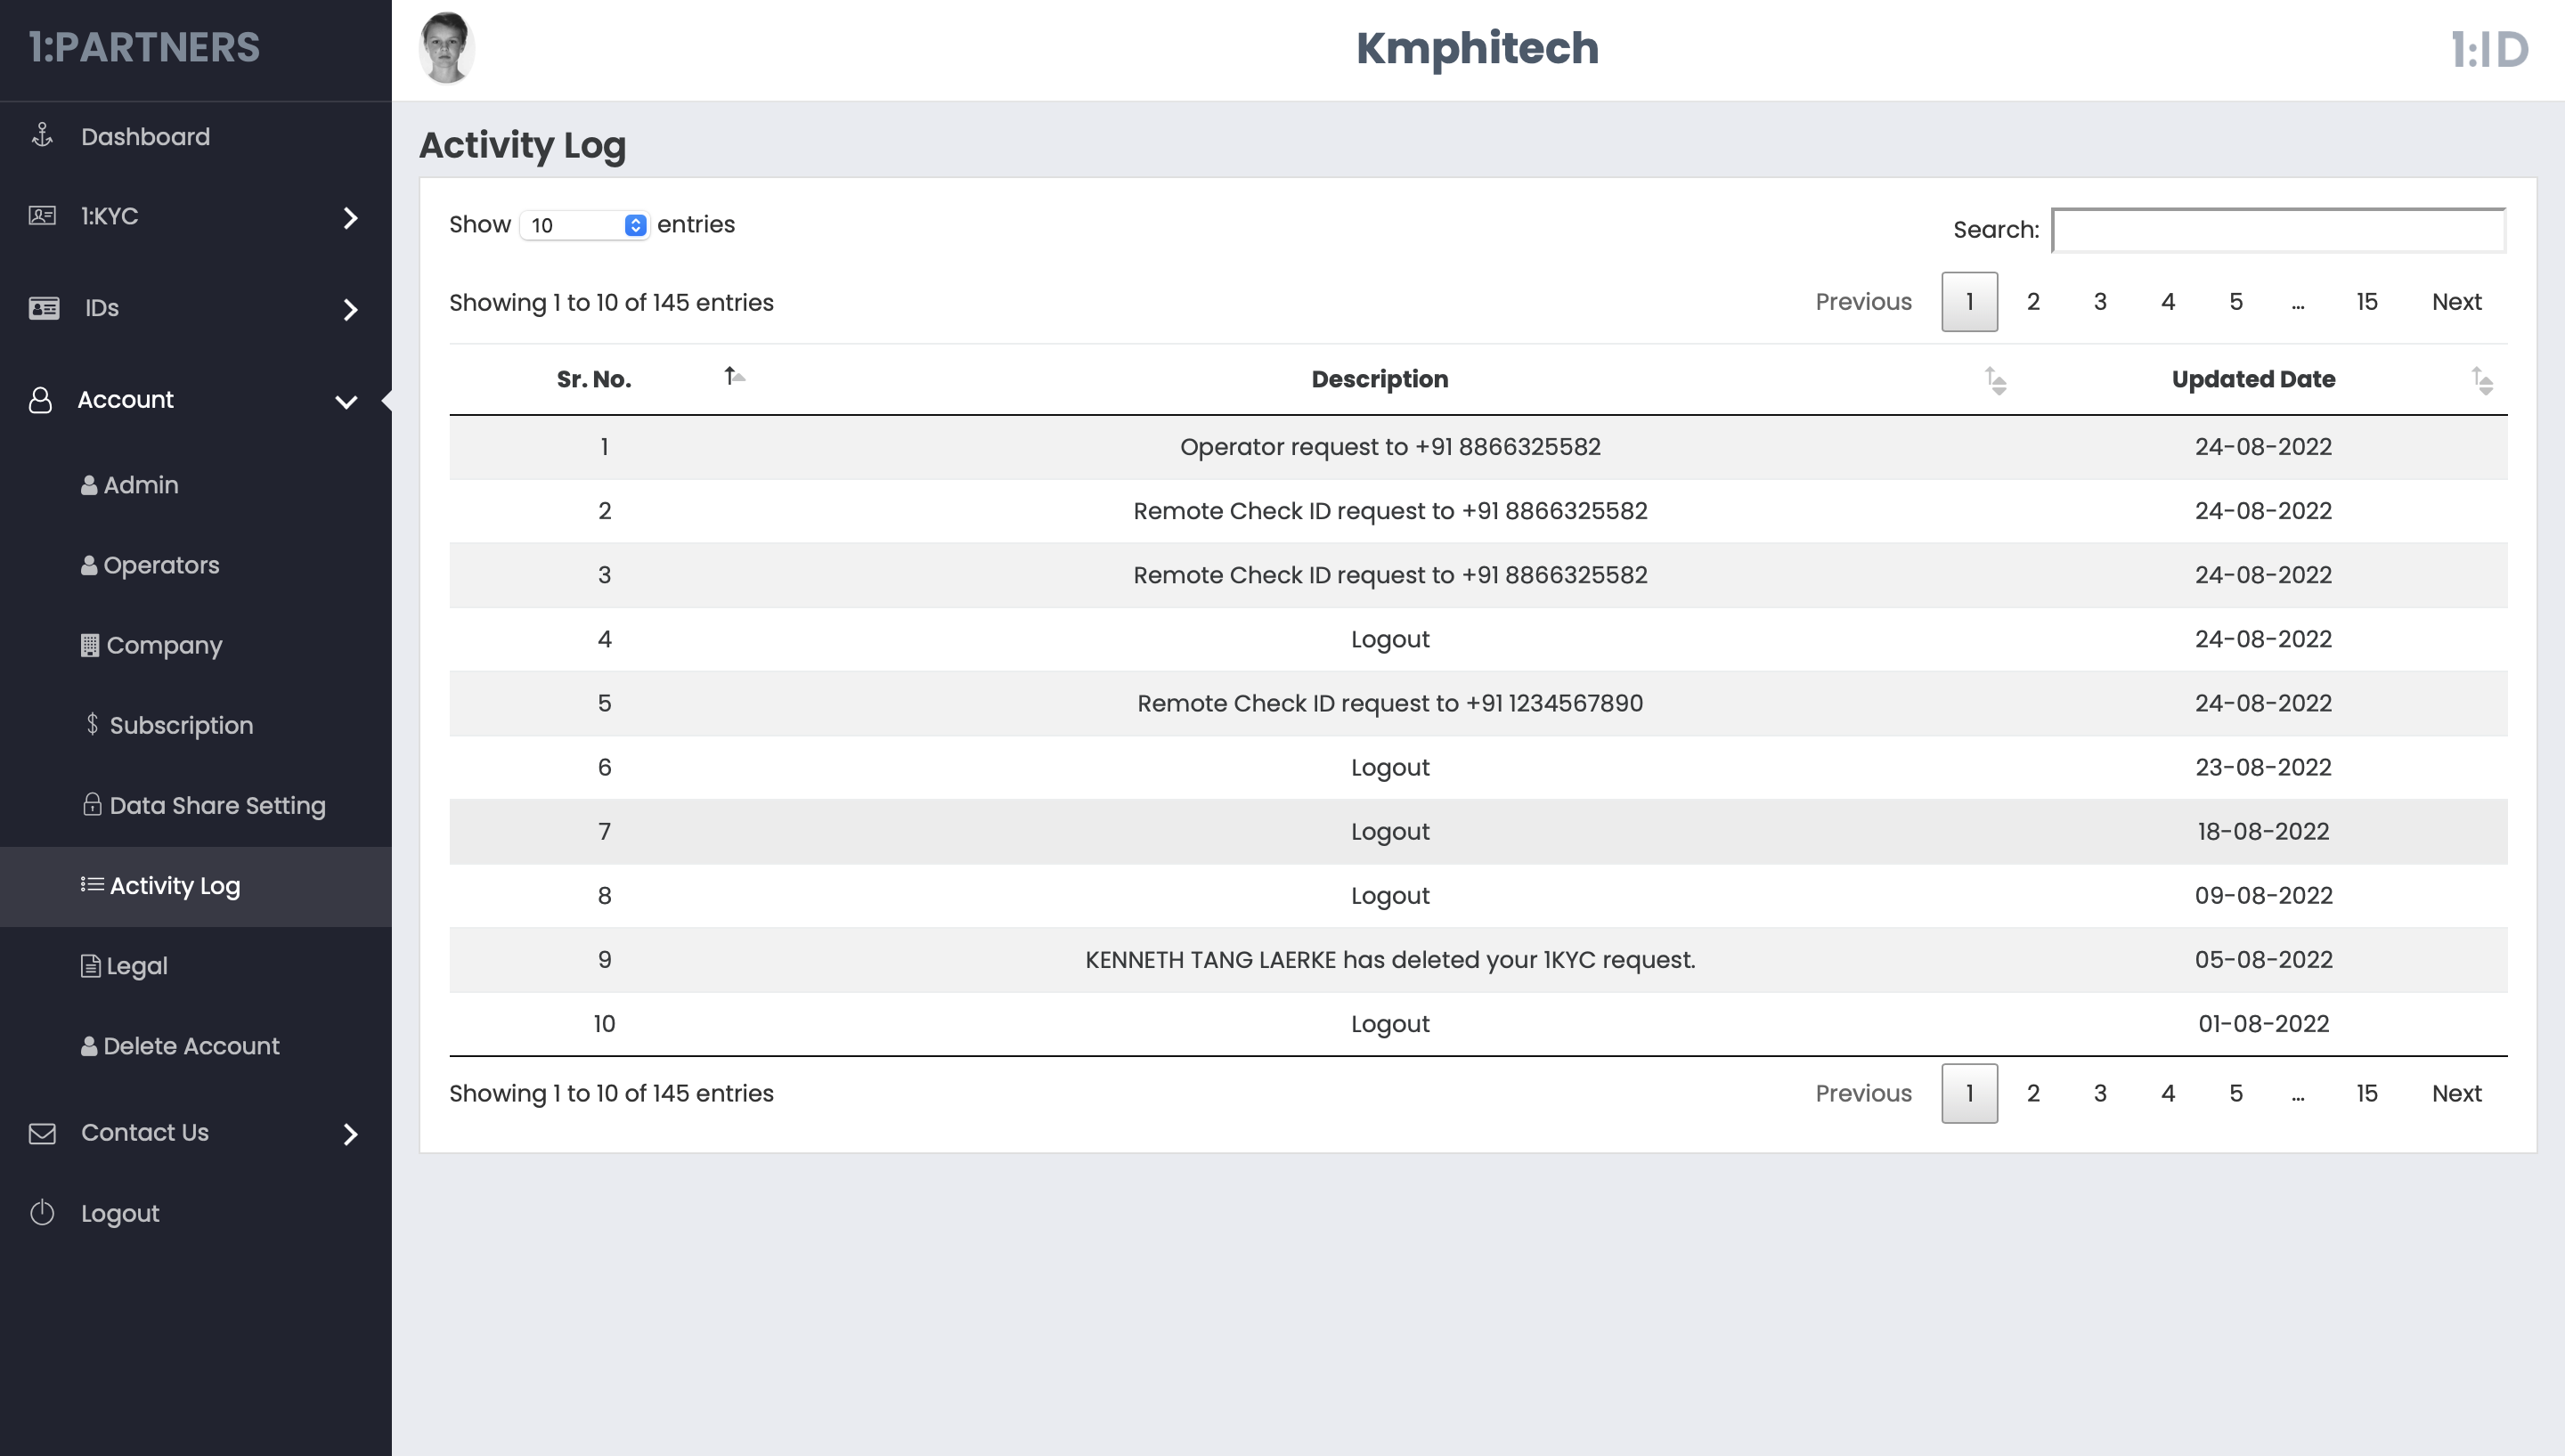
f. Activity Log : Company can see all the Panel activities in this page such as Request to check ID, if Admin adds an Operator, if admin logs out from the account etc.
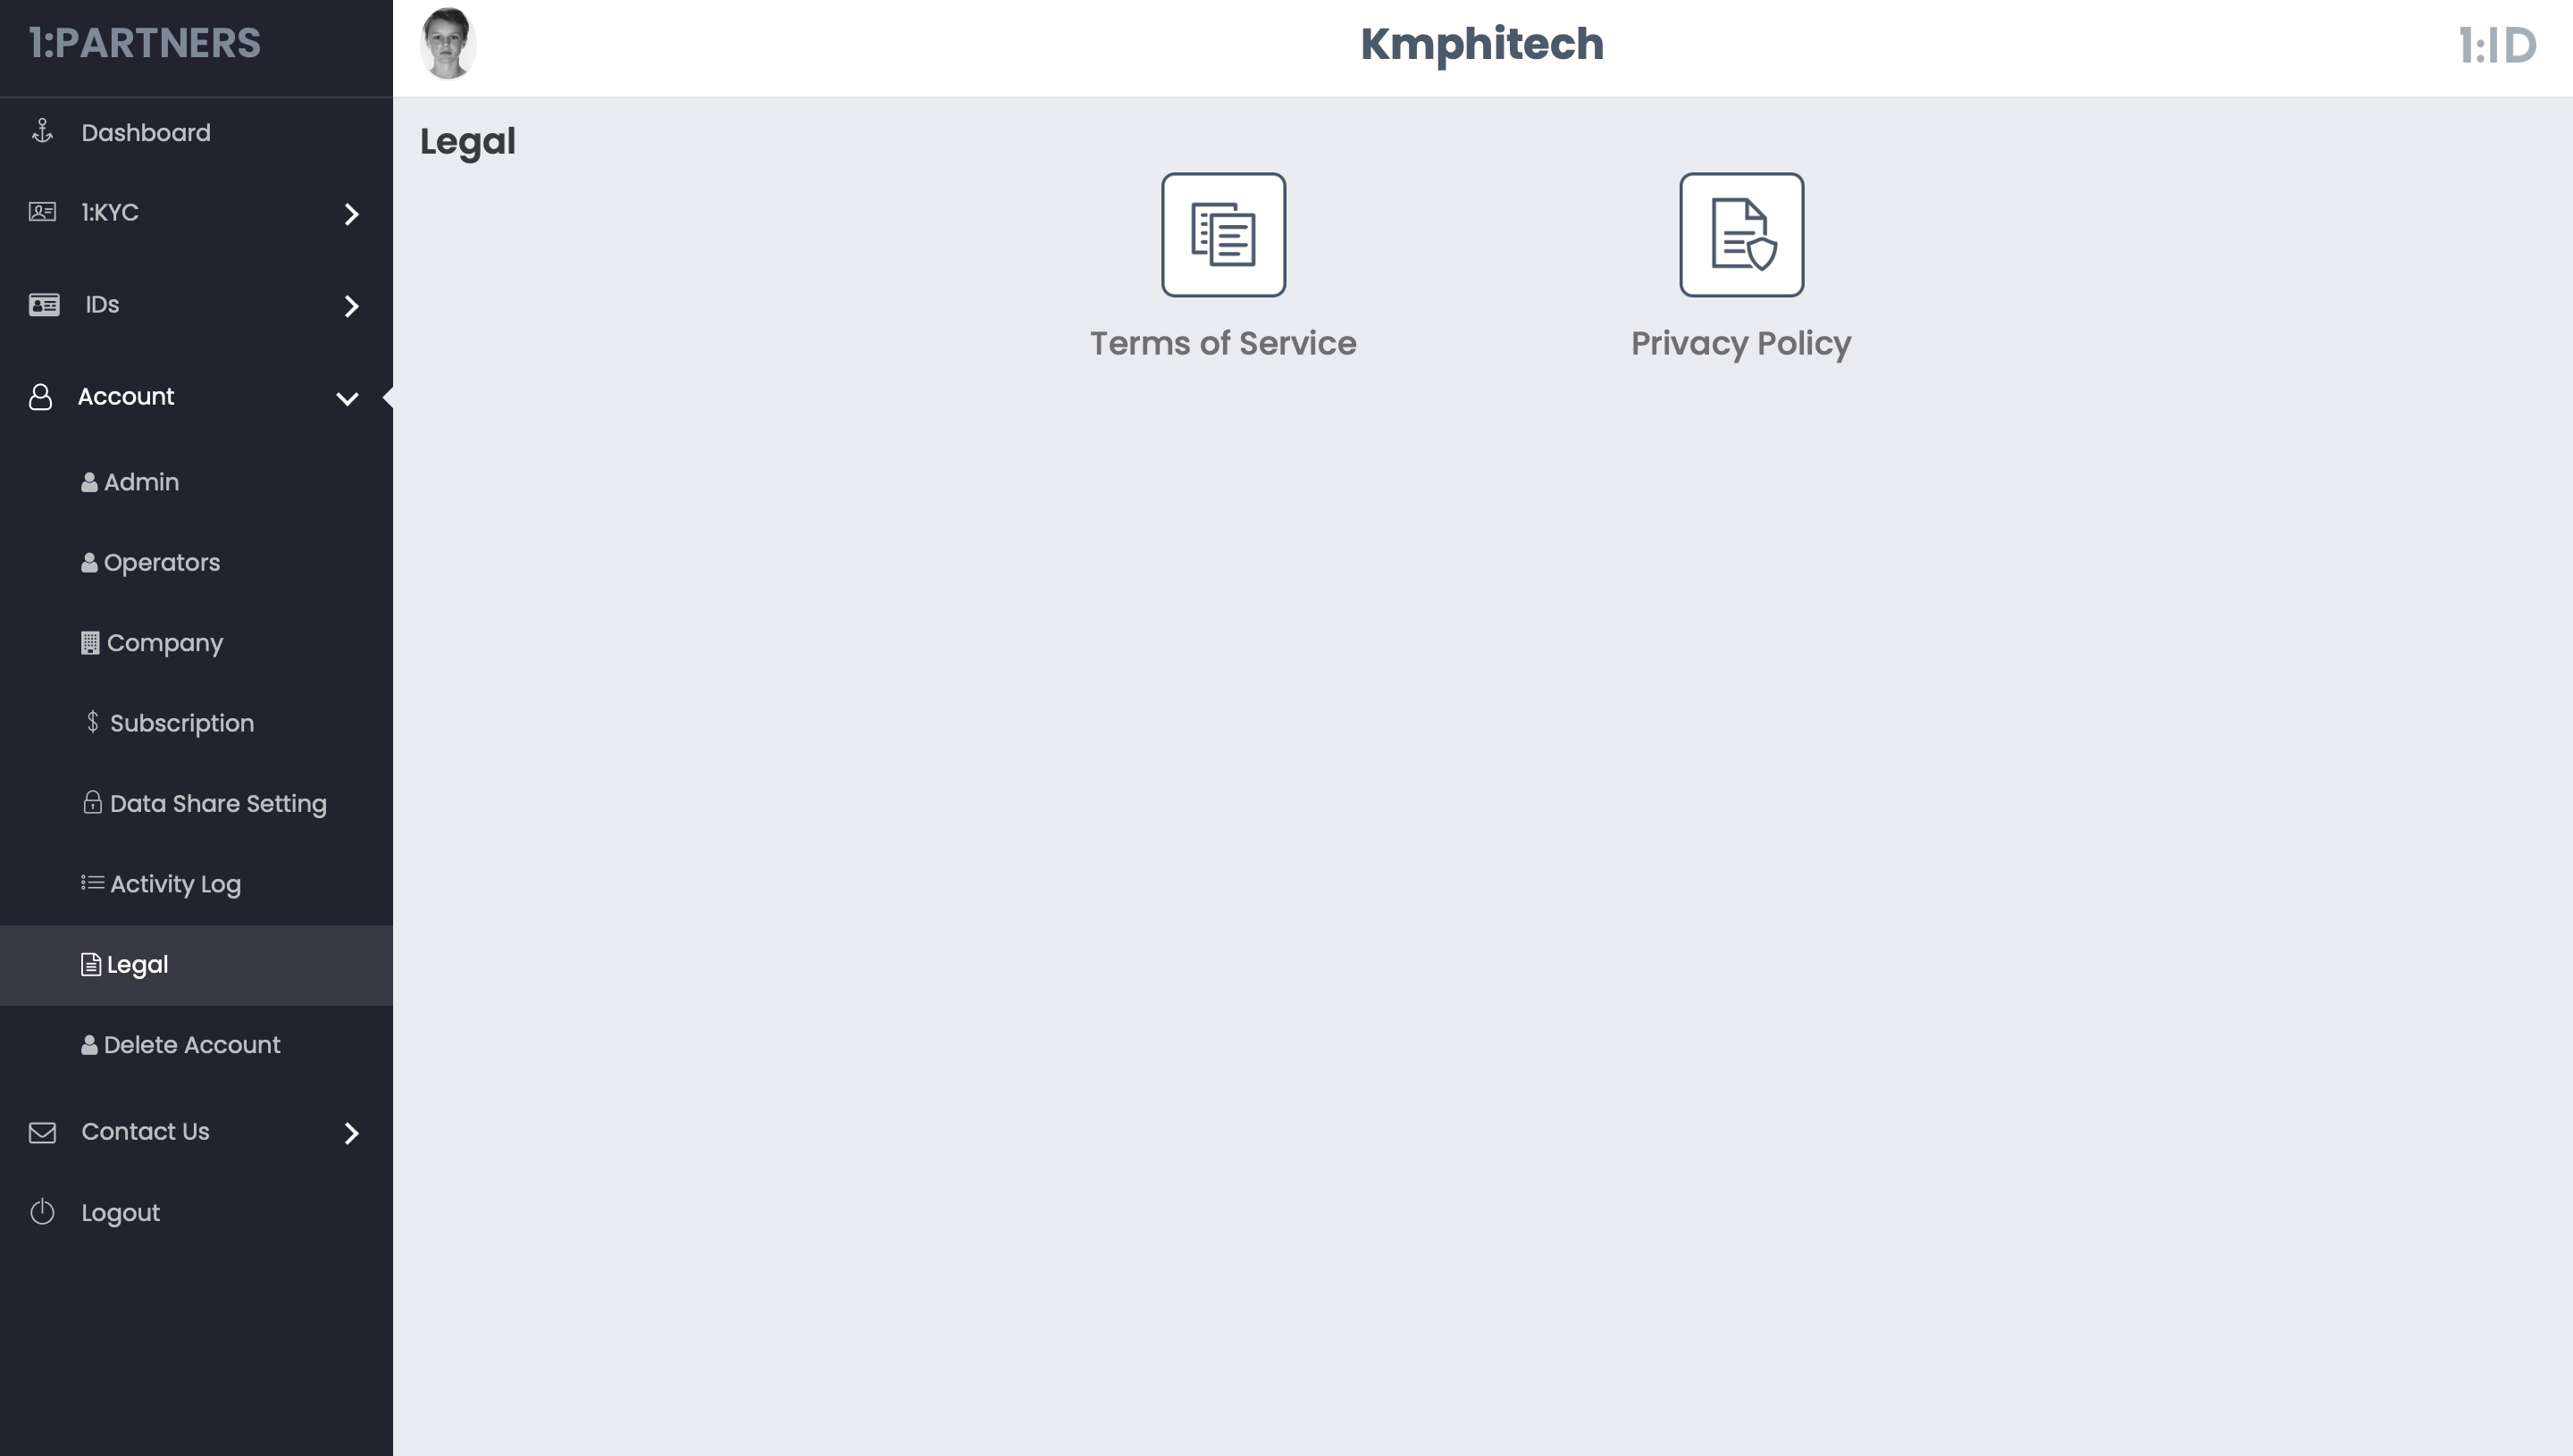
g. Legal : The Terms of Service & the Privacy Policy of 1:ID are stored in this page so that Admin can go through these legal documents at any time.
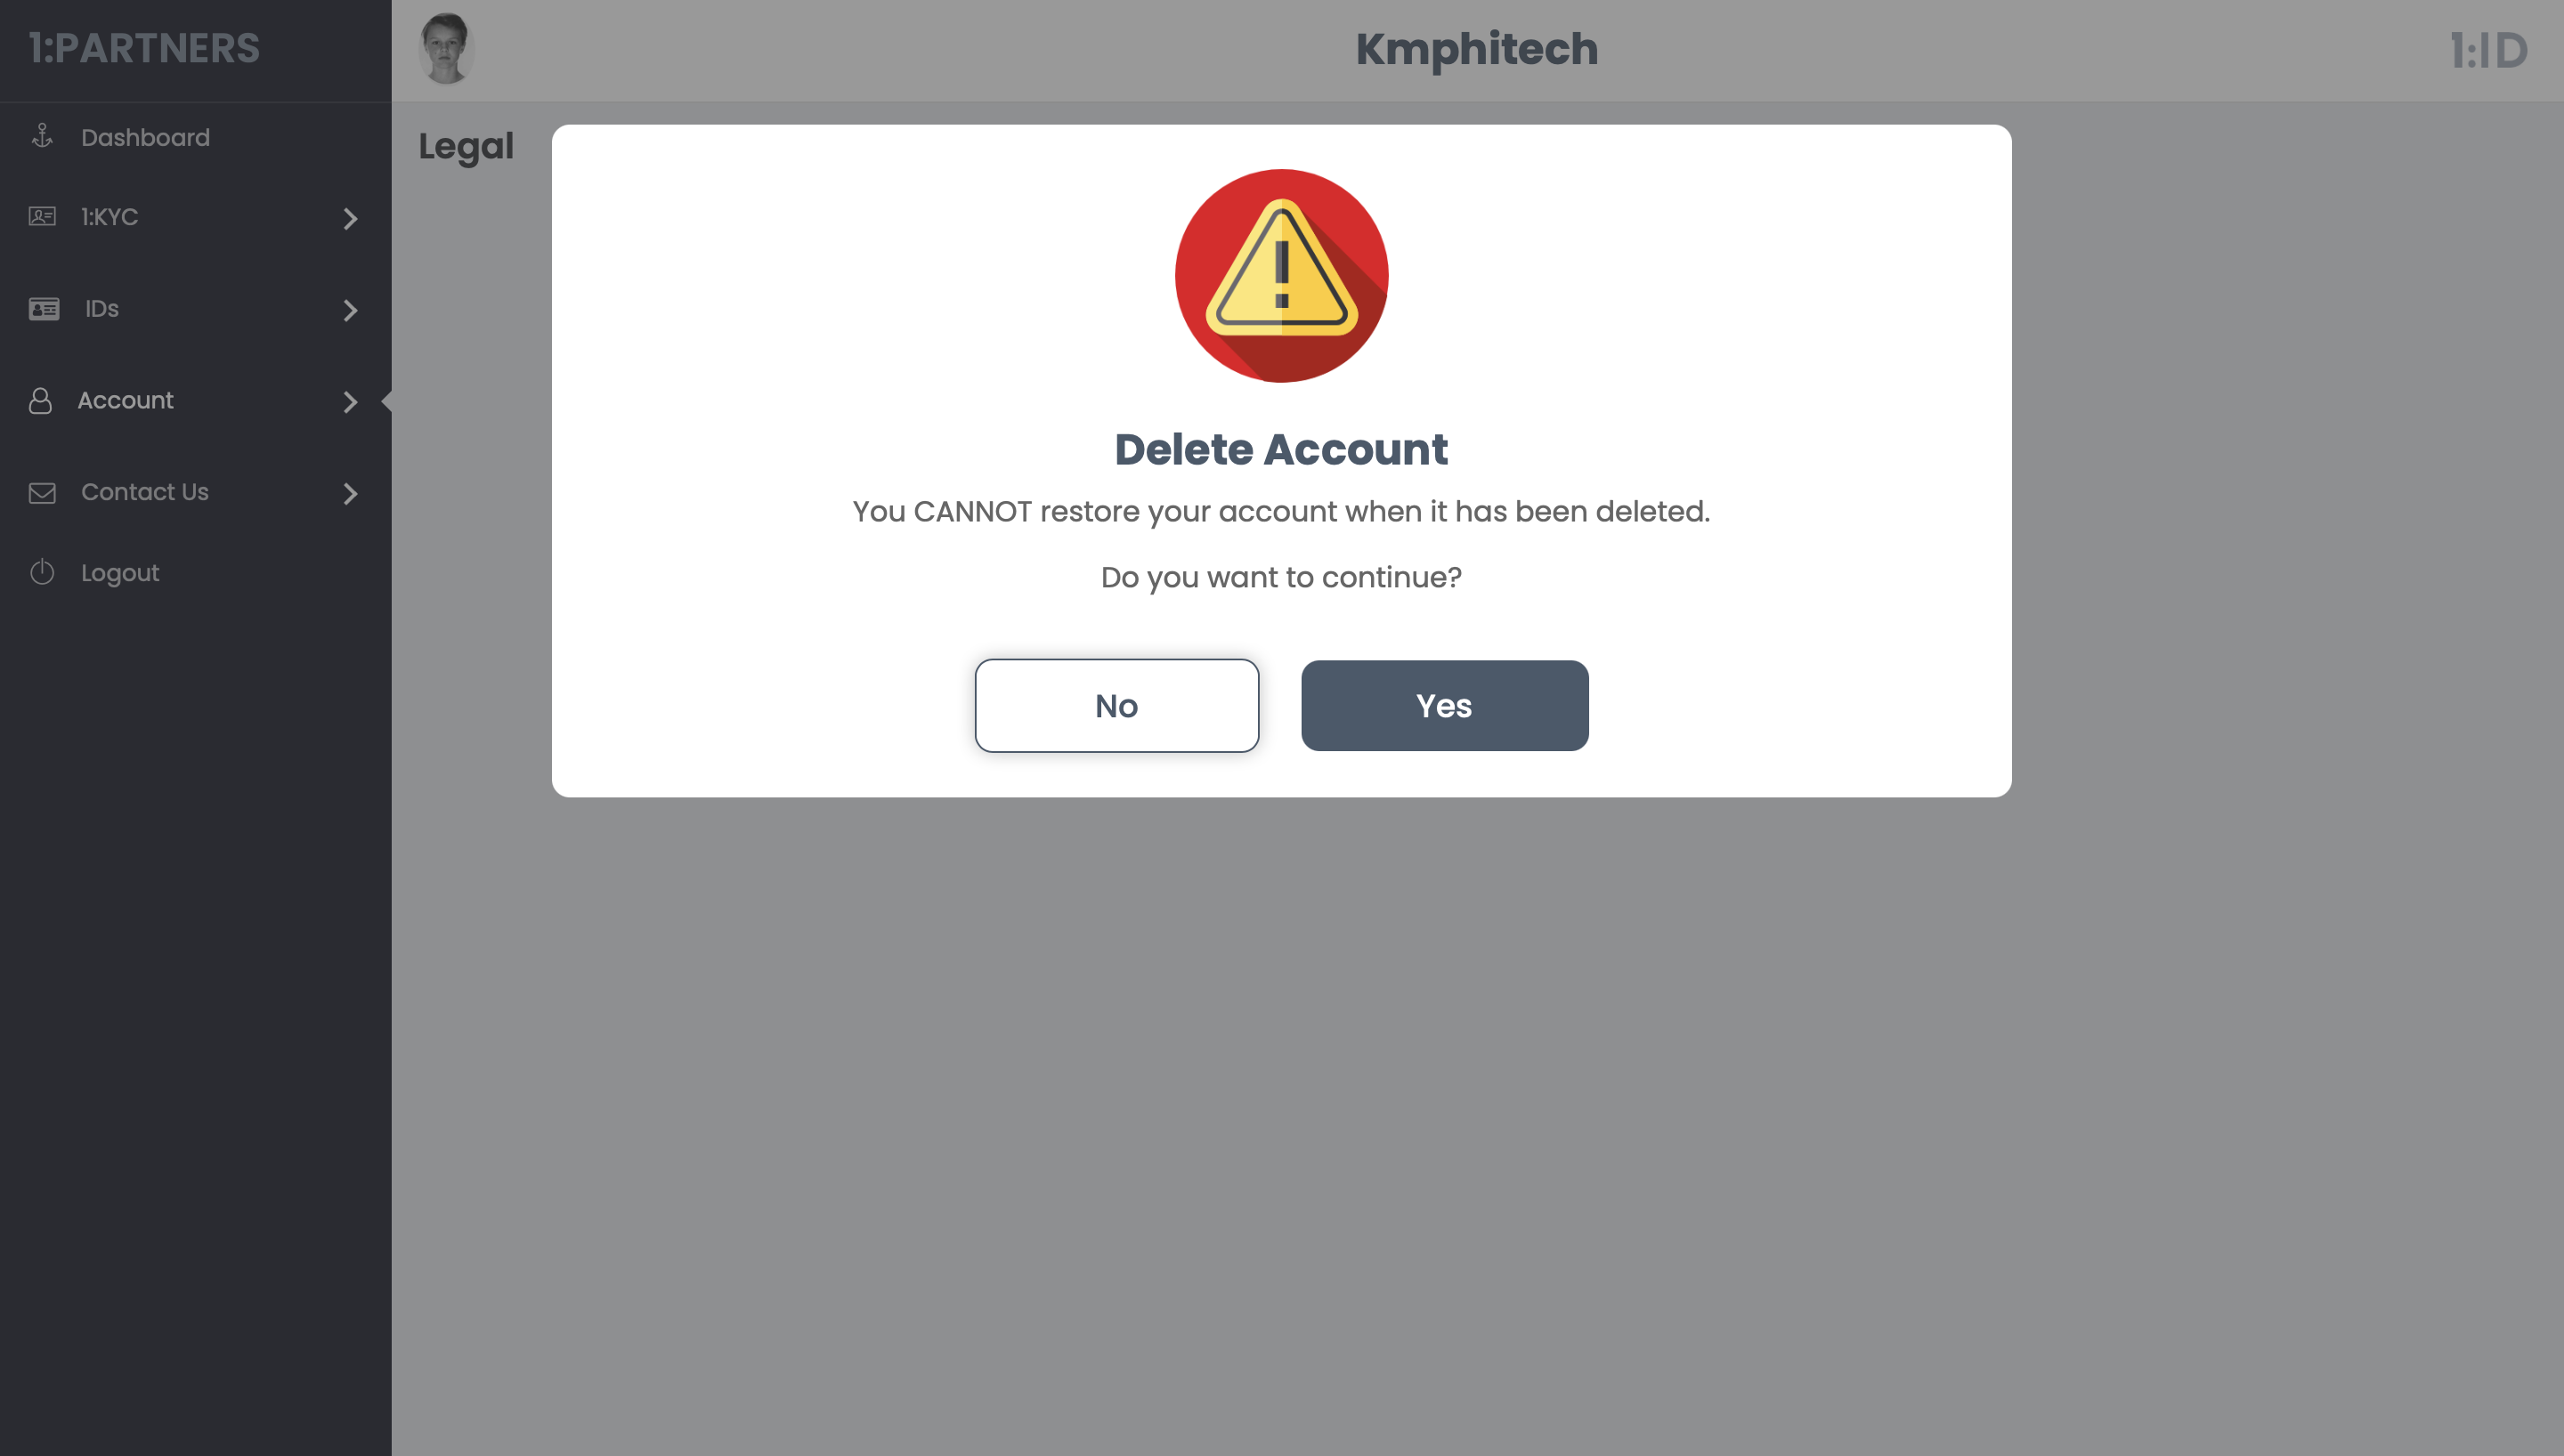
h. Delete Account : If an Admin wants to delete a company account, he can do so by clicking on this Delete Account option.
5 Contact Us
a. Send : If Admin has any query and he wants to contact the 1:ID team, he can contact the team from here.
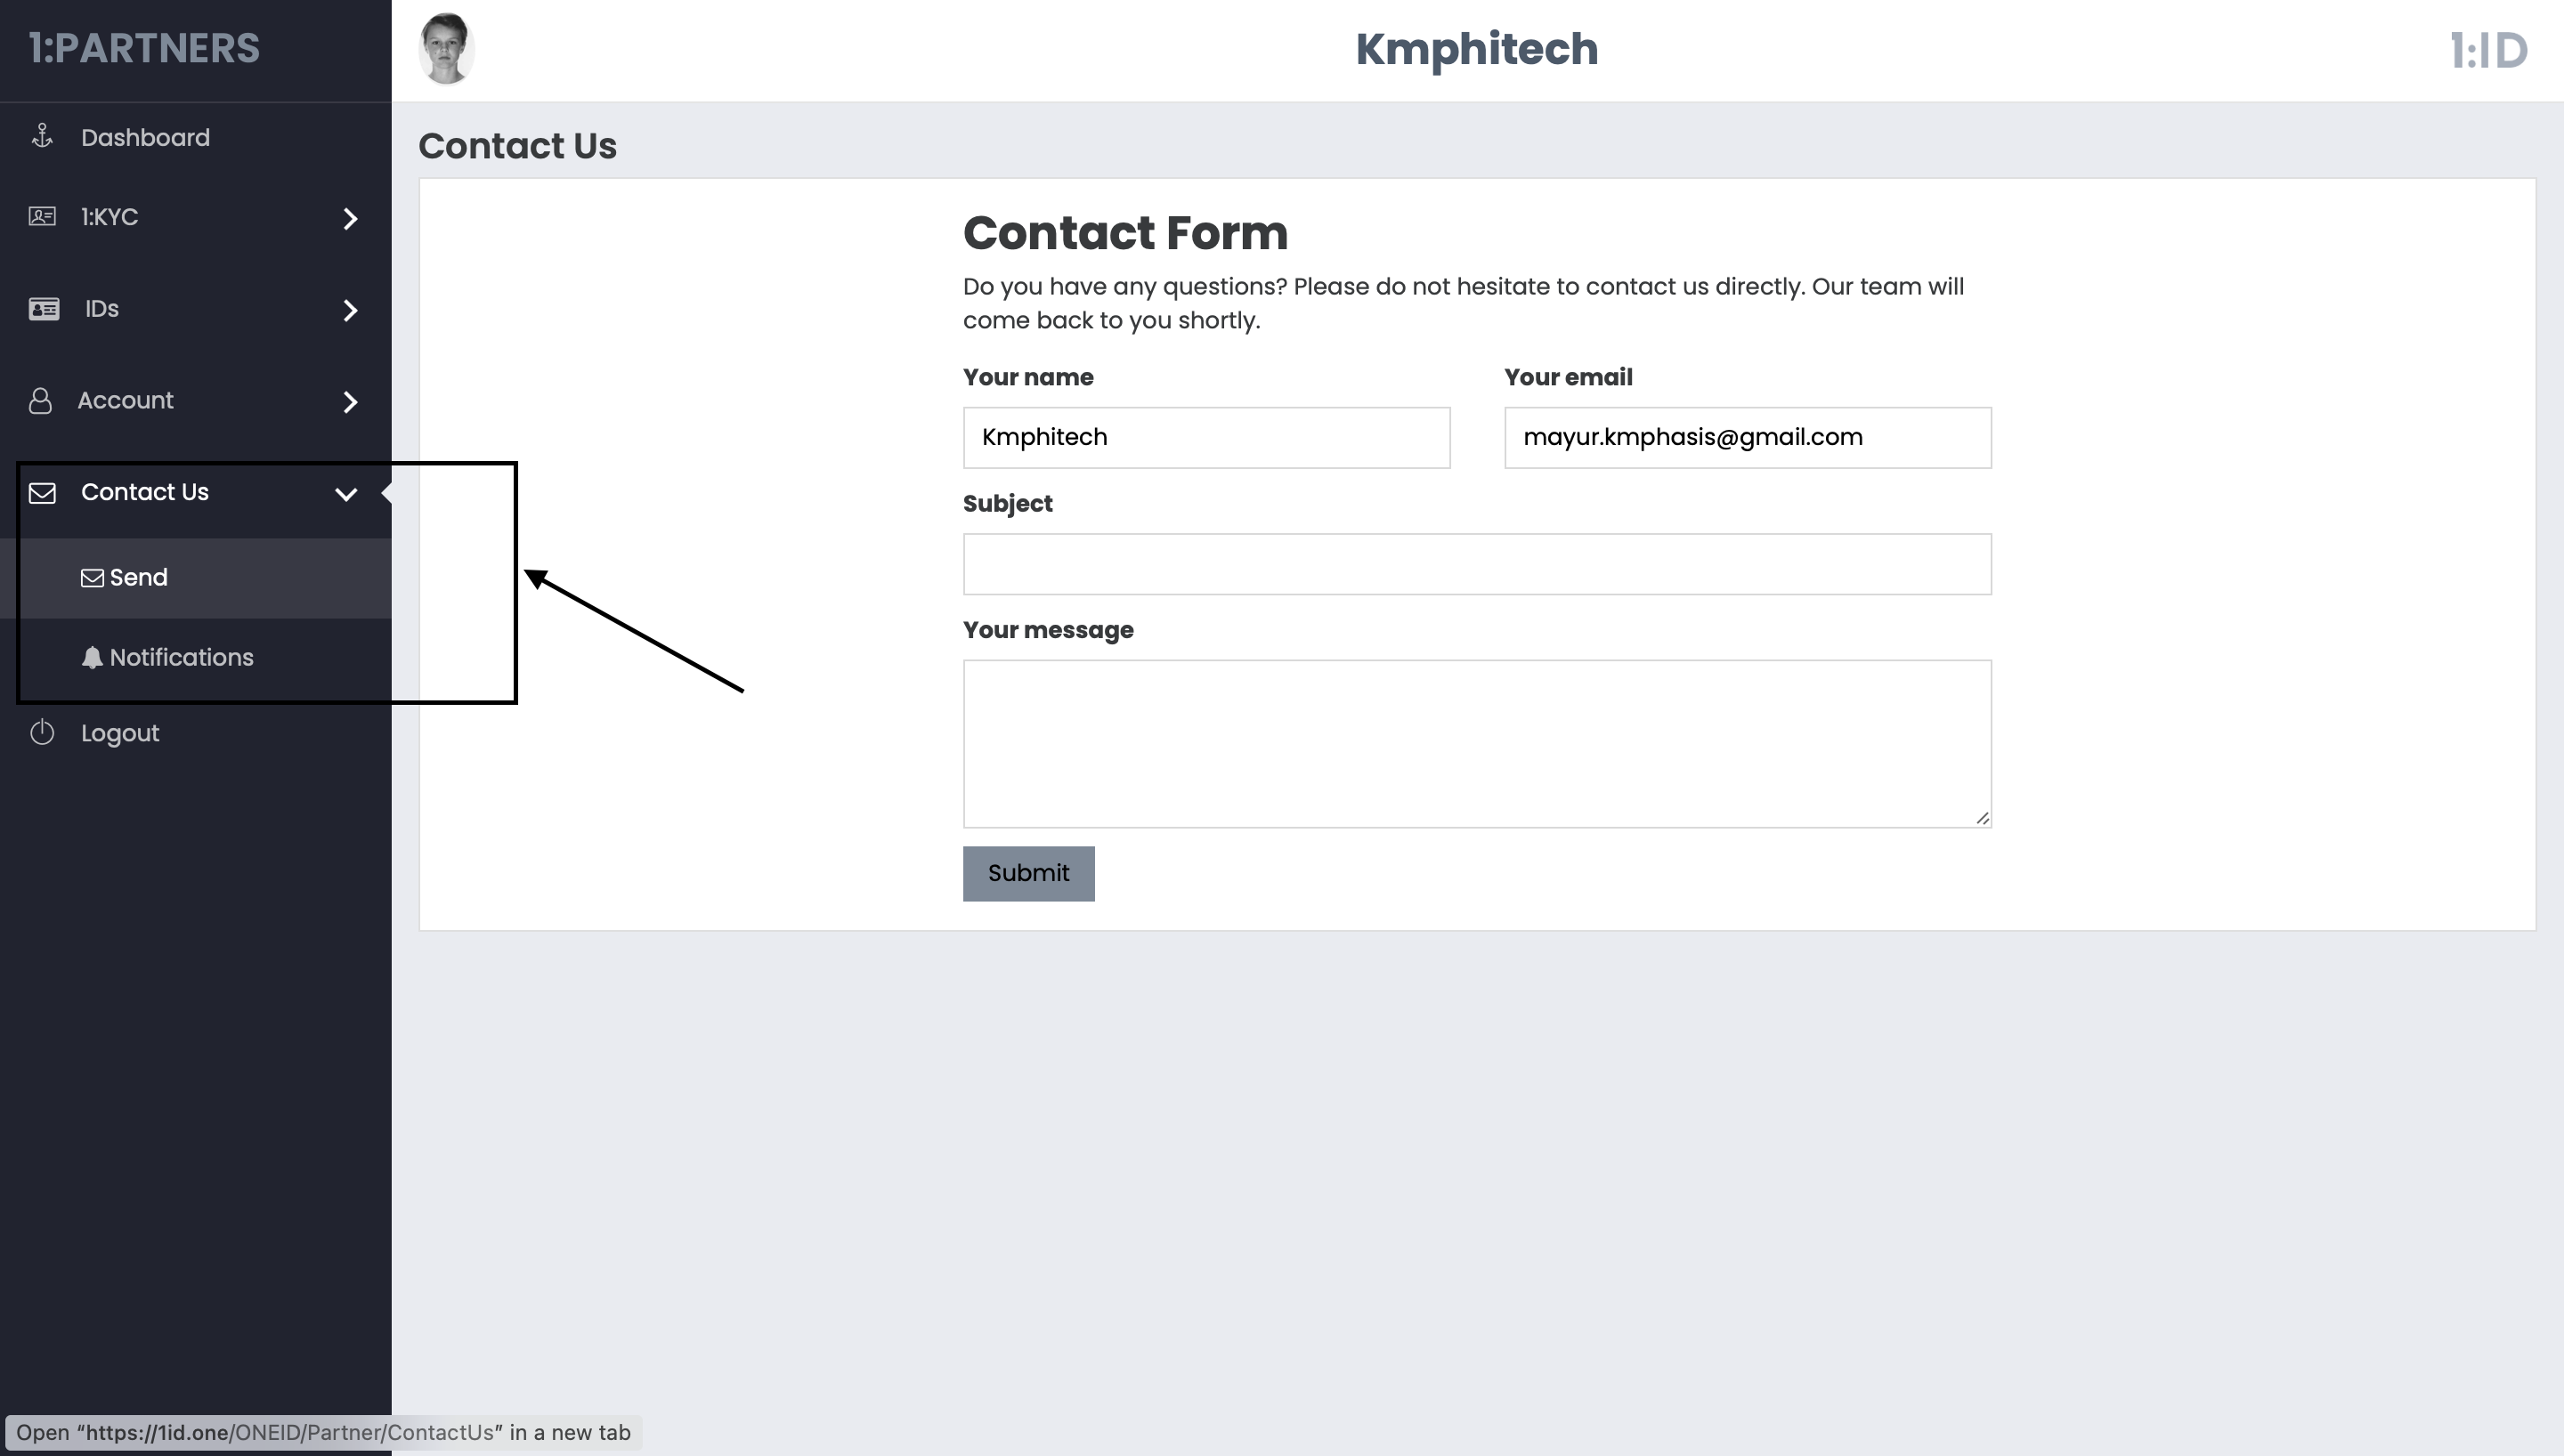
b. Notification : If 1:ID makes any changes in the panel or if they add/edit/update any feature of the Panel, Admin will be notified in this tab for those changes.
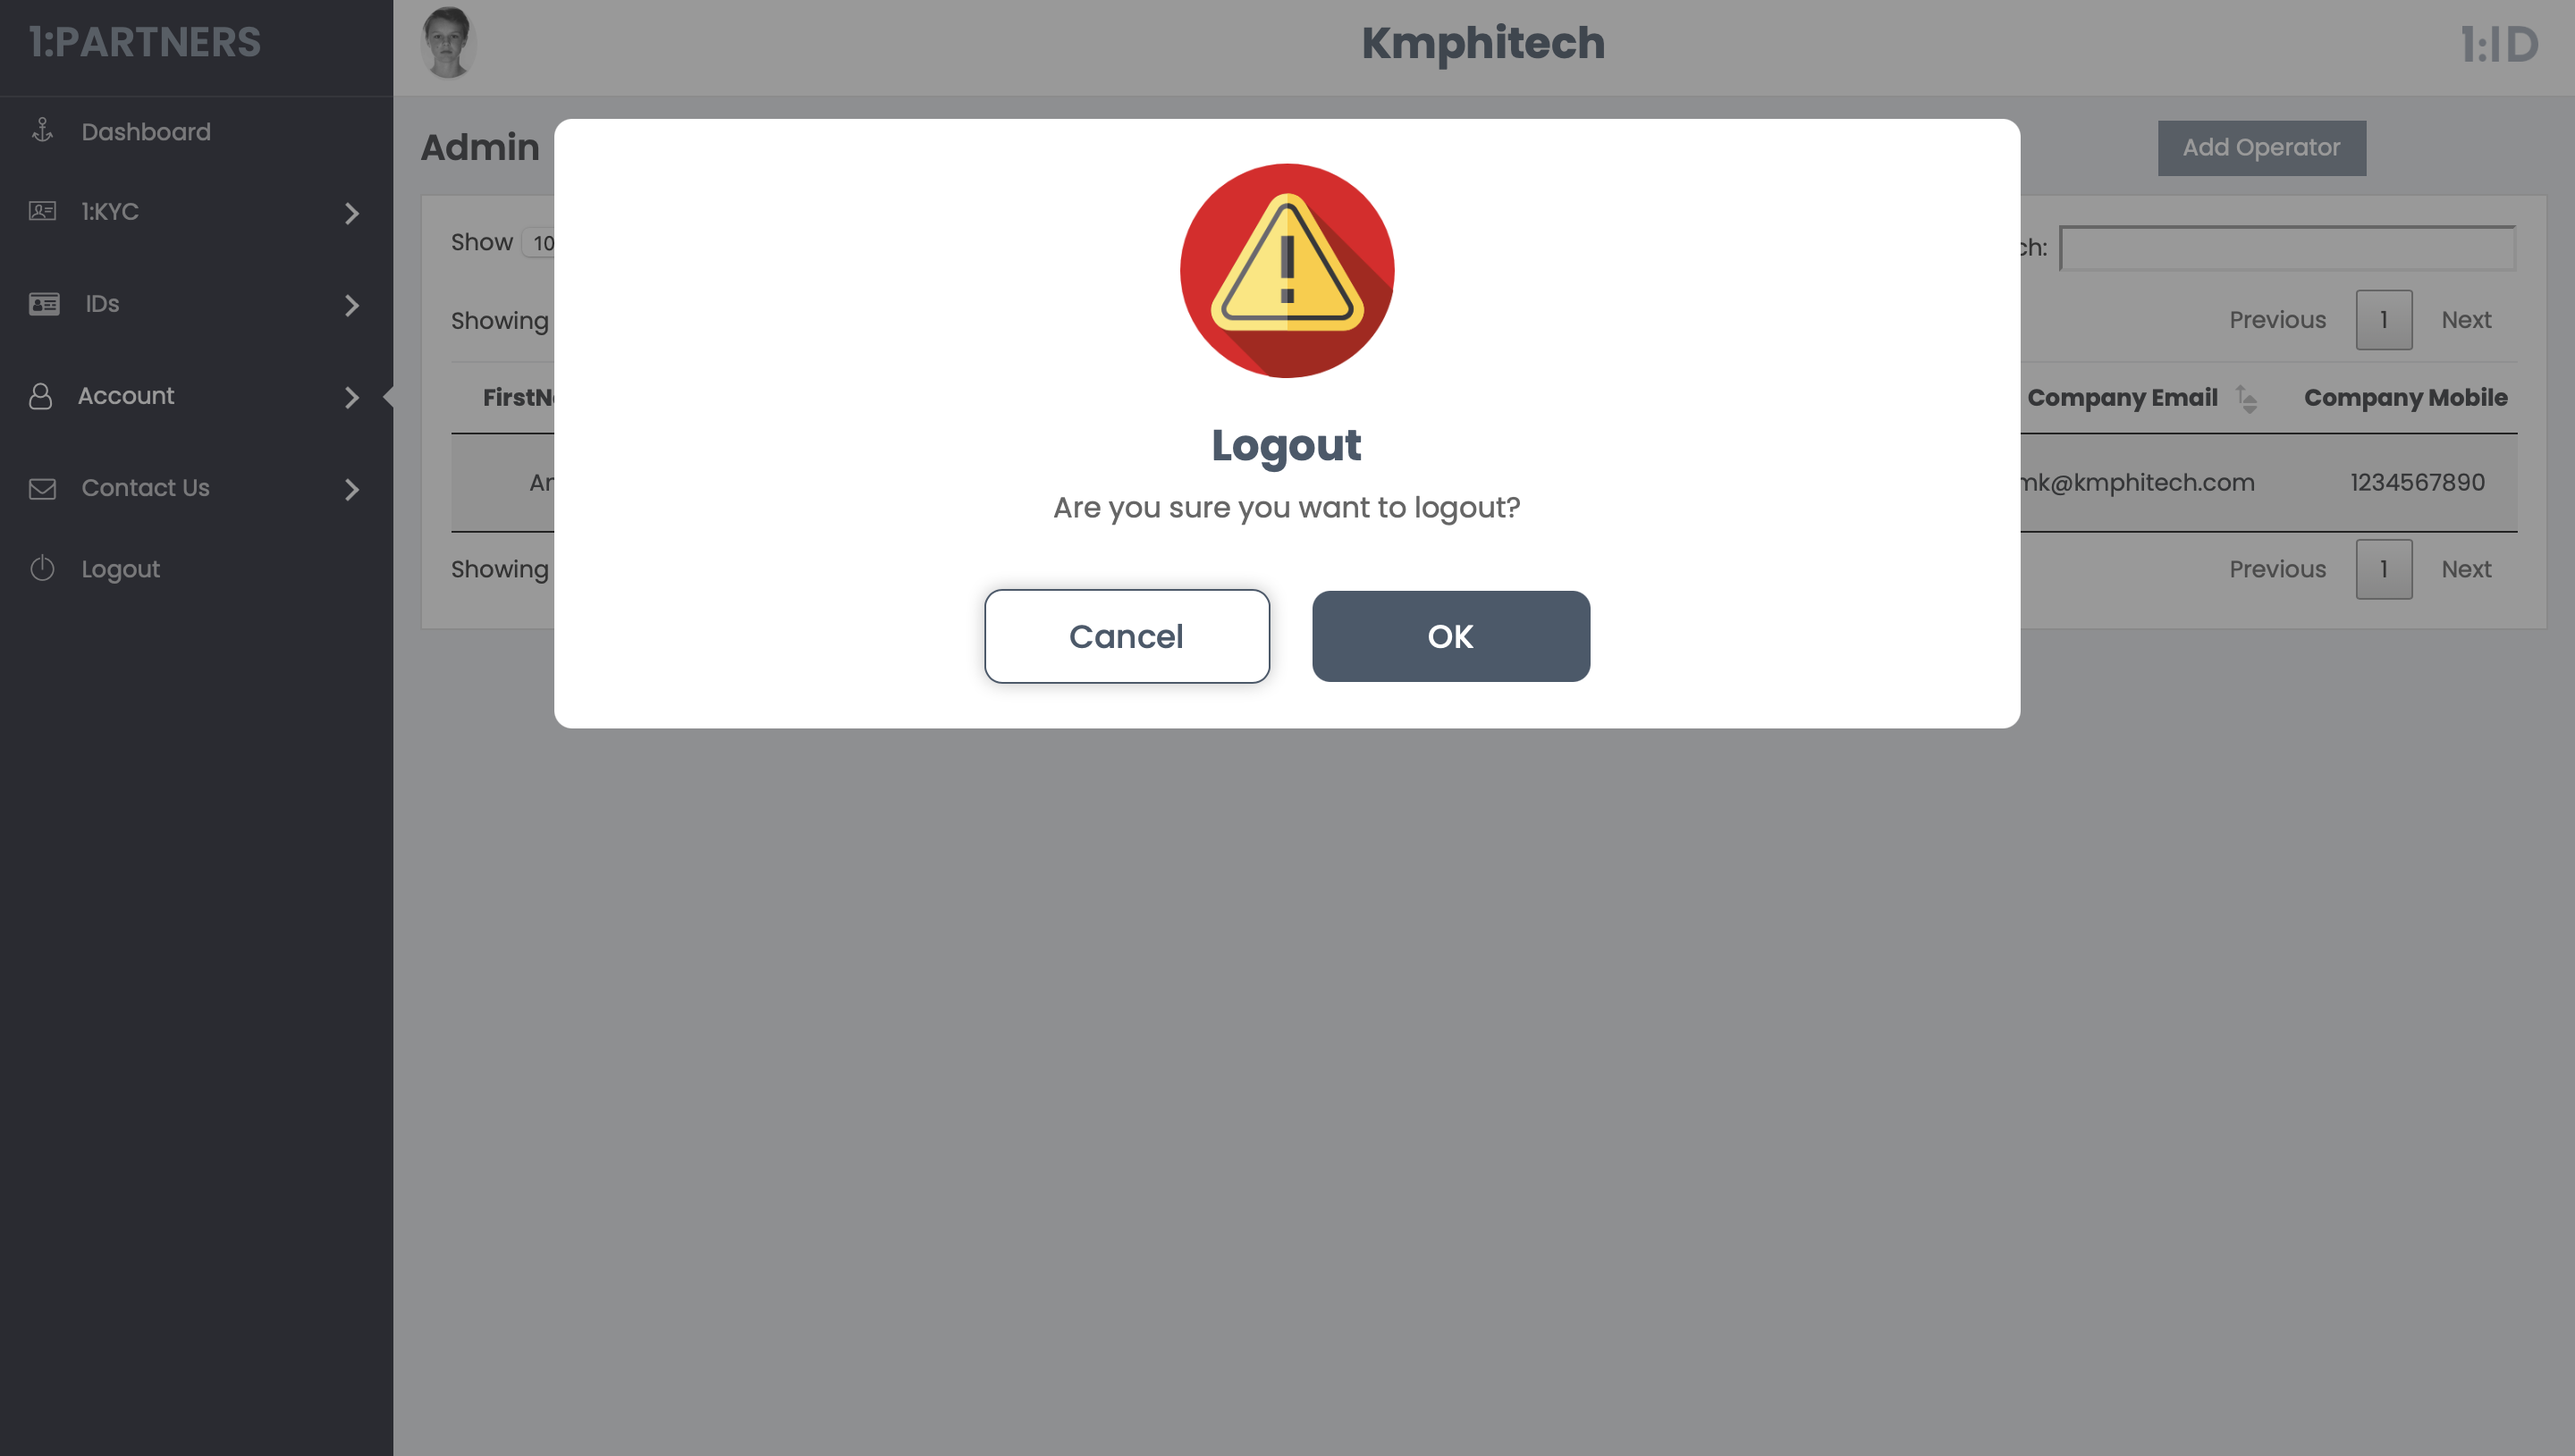
6 Logout
Admin can log out from his current account from this option.
Updated about 1 year ago